Customer Stories and Photos
It is always great to hear from our customers. These stories are unsolicited and not edited. They are provided to better educate you as the potential installer. Ideas, steps, tools used and techniques are presented in this fashion to possibly aid you in your particular situation. Here is the place to show off some of your work! Send photos of your most-recently completed installation to frank@dryerbox.com. Tell us about the installation, any tips and techniques, what you liked about the product, and what improvements you'd like to see.
-
Model 425 installed in 2x6 stud wall with upflow exhaust.
 1
1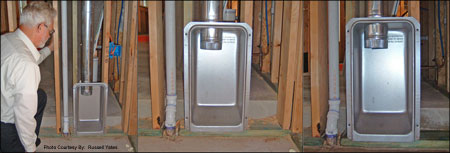
-
Model 425 installed upside down for a pedestal dryer.
2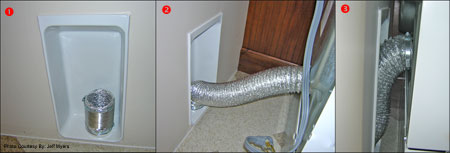
-
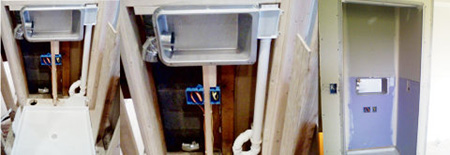
Retrofit of a new construction Model 425.
3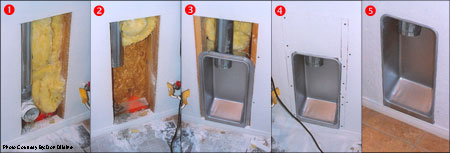
-
425 New Construction Dryerbox installed in existing construction
4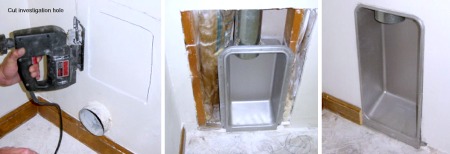
-
Retrofit of a new construction Model 4D.
5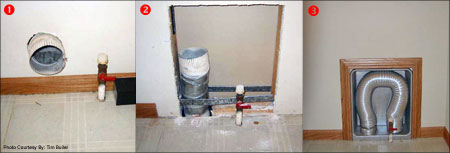
-
Customer install of retrofit Model 400.
6
-
Install of retrofit Model 400 (without powder coating).
7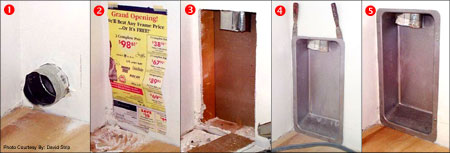
-
Retrofit install 350 upside down for pedestal dryer.
8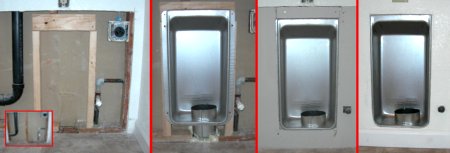
-
No-hole install of Model 3D to vent straight through the back.
9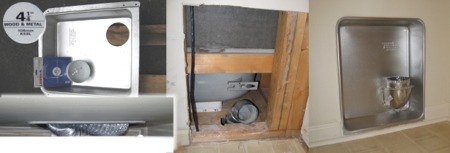
-
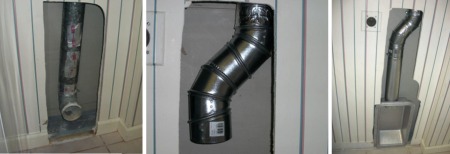
400 Retro Install to Remedy Crushed Transition Hose Problem
10
-
Increasing Laundry Room Clearance w/Dryerbox Installation
11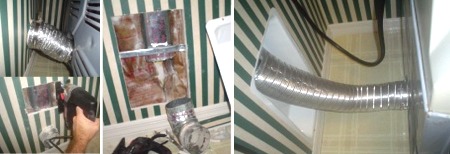
-
Tips for Cutting Existing Duct in the Wall for a Retro-Installation
12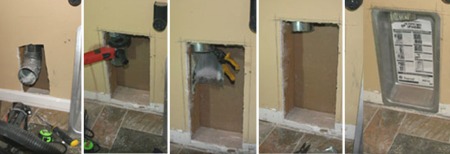
-
Nice 3D Installation in a 2X4 Wall
13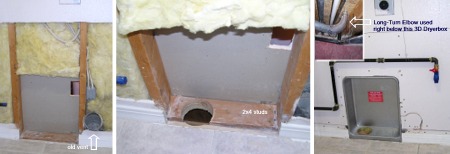
-
Horizontal Installation for Downward Venting14
-
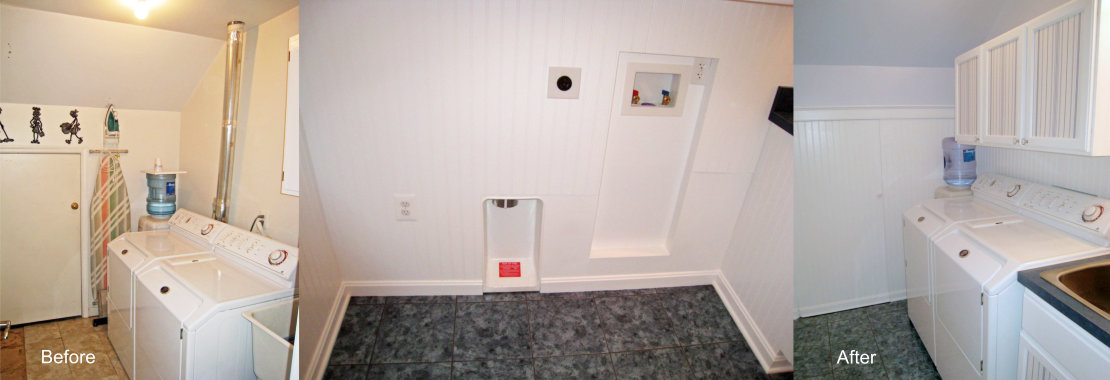
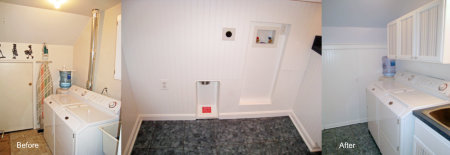
Before and After Photos Highlighting Clean Install and Space Saved15
-
425 Existing Constr. w/Duct Jog on Left-Drywall Pre-Planned
16