High Resolution Images and Illustrations
Licence to use Photo Library: You may download the pictures from the Photo Library section for editorial purposes only for use in any format so long as it is not detrimental to The Dryerbox brand, reputation or goodwill. You agree that you shall not alter, modify or deface these pictures in any way whatsoever. The copyright in all The Dryerbox Photo Library are and shall remain the property of InOvate Technologies, Inc. or its licensors. Any and all The Dryerbox Photo Library used for any purpose, including but not limited to editorial purposes shall bear the words "The Dryerbox".
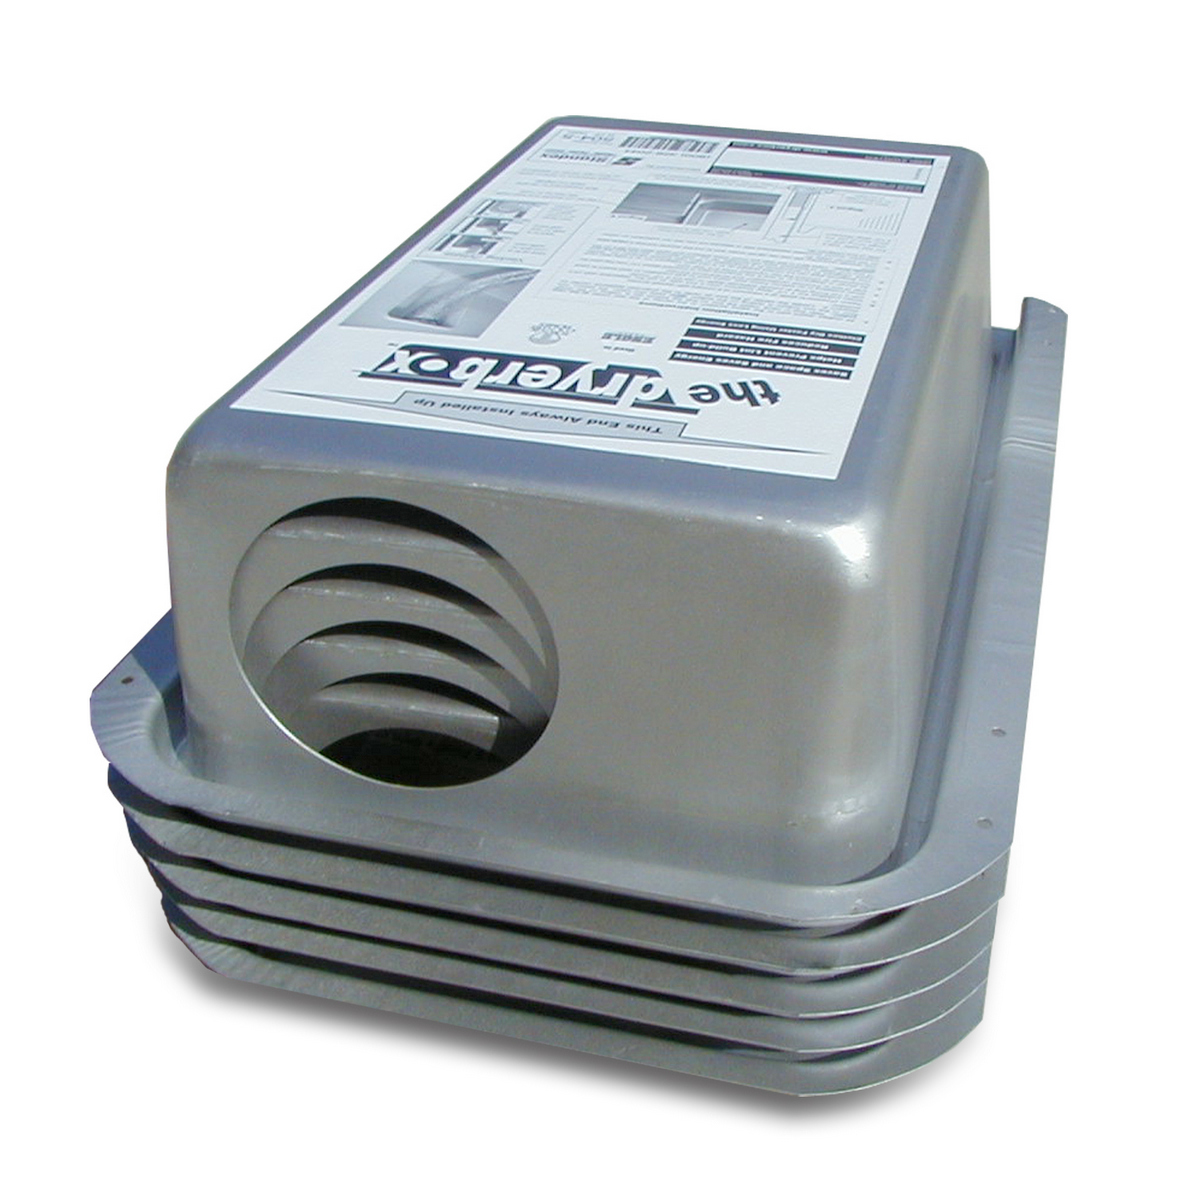
Dryerbox Images
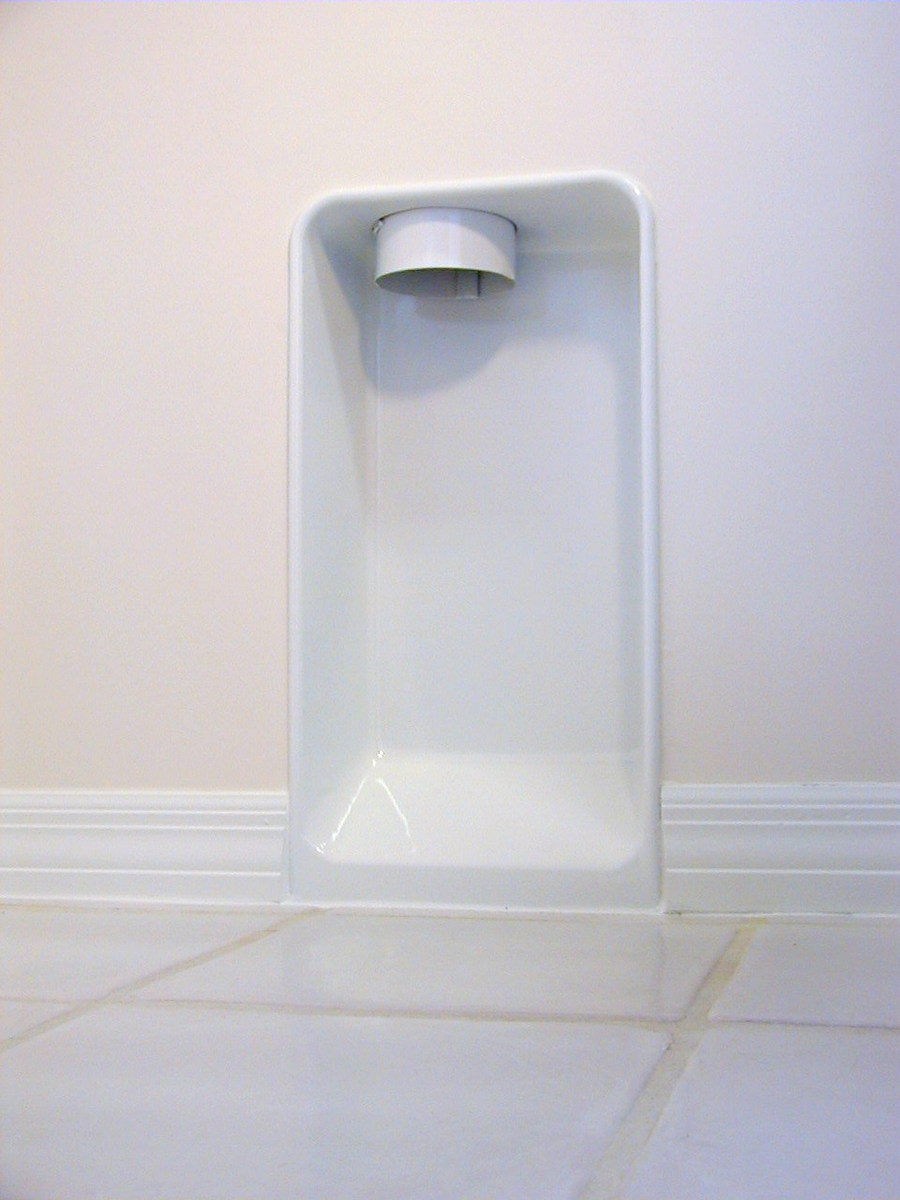
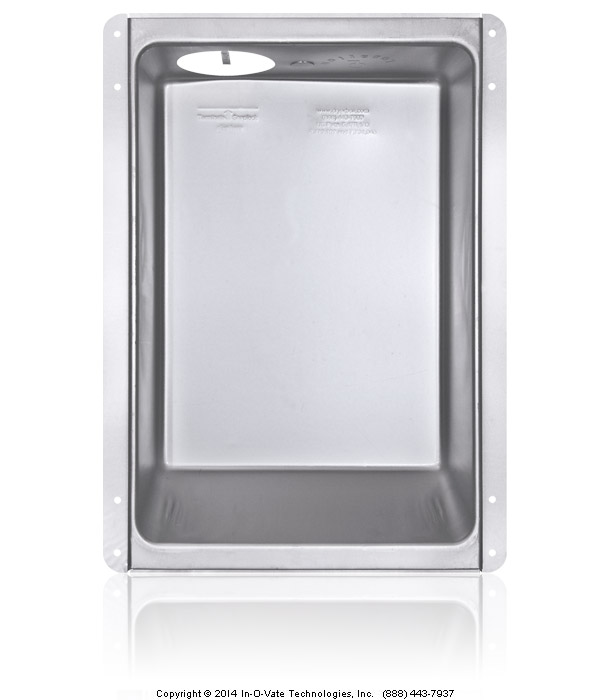
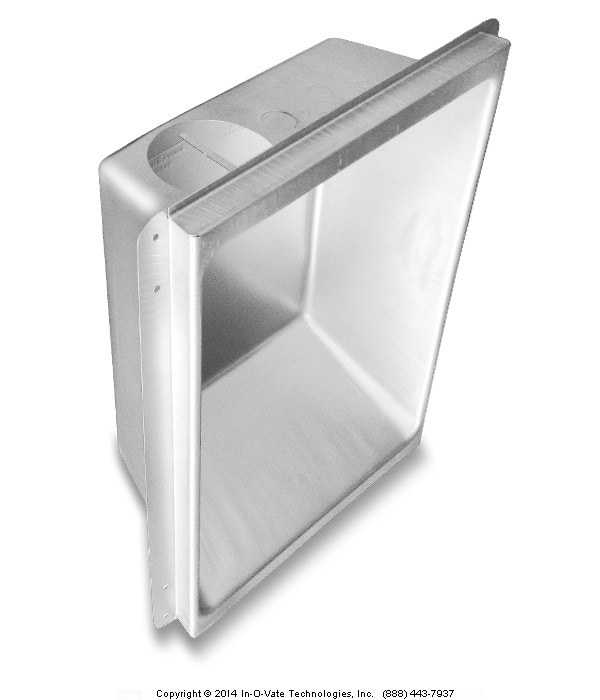
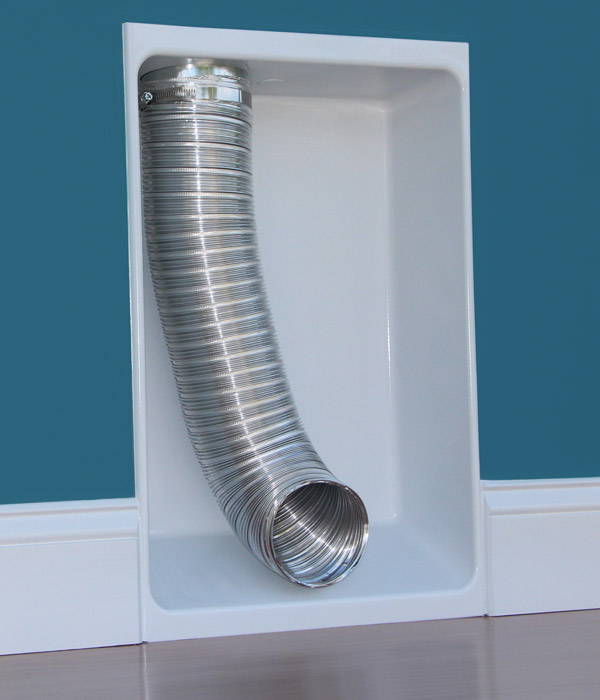
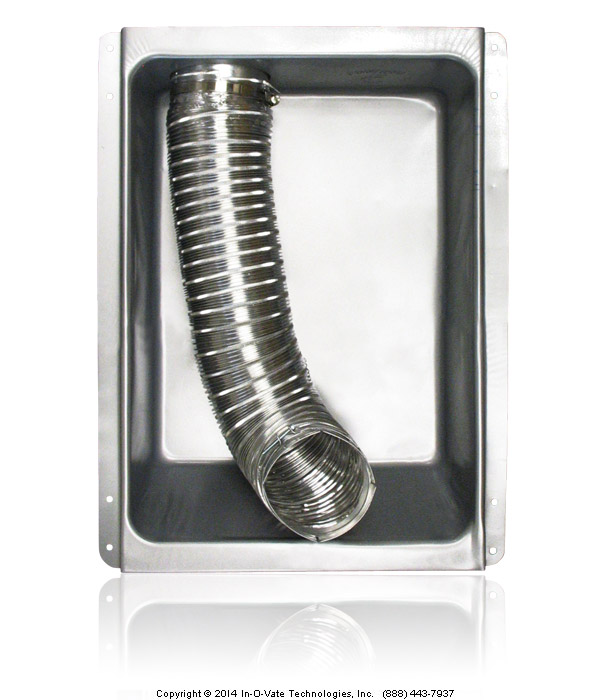
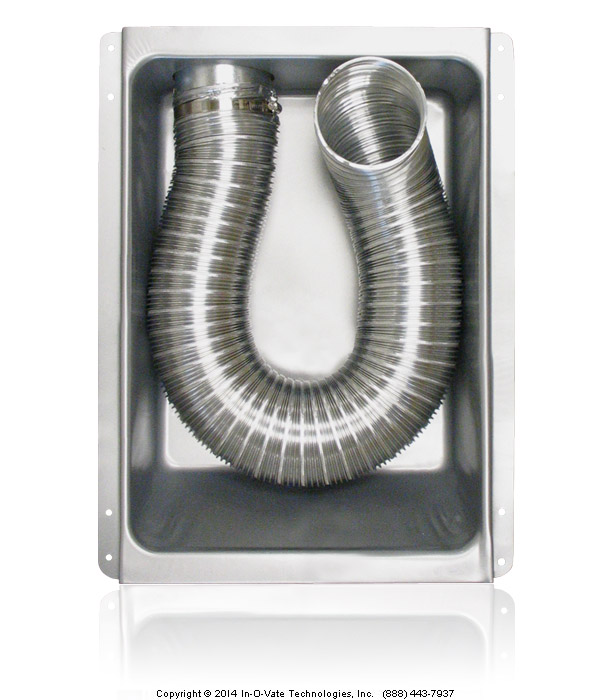
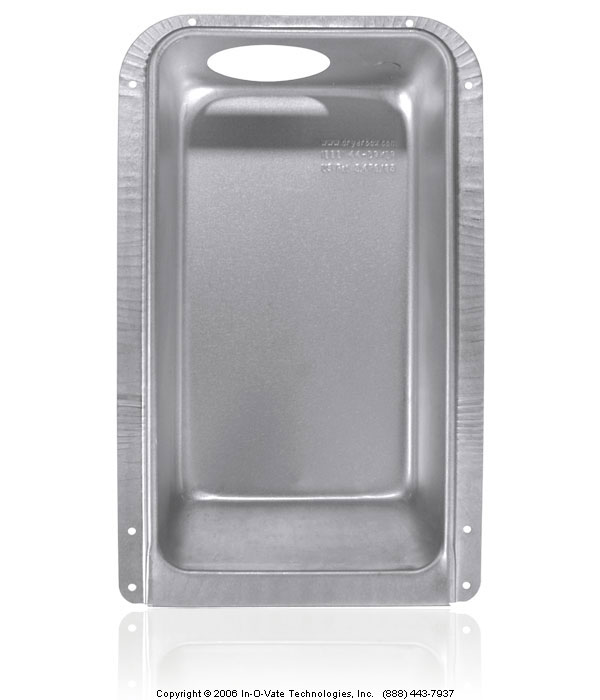
Model 480

Front
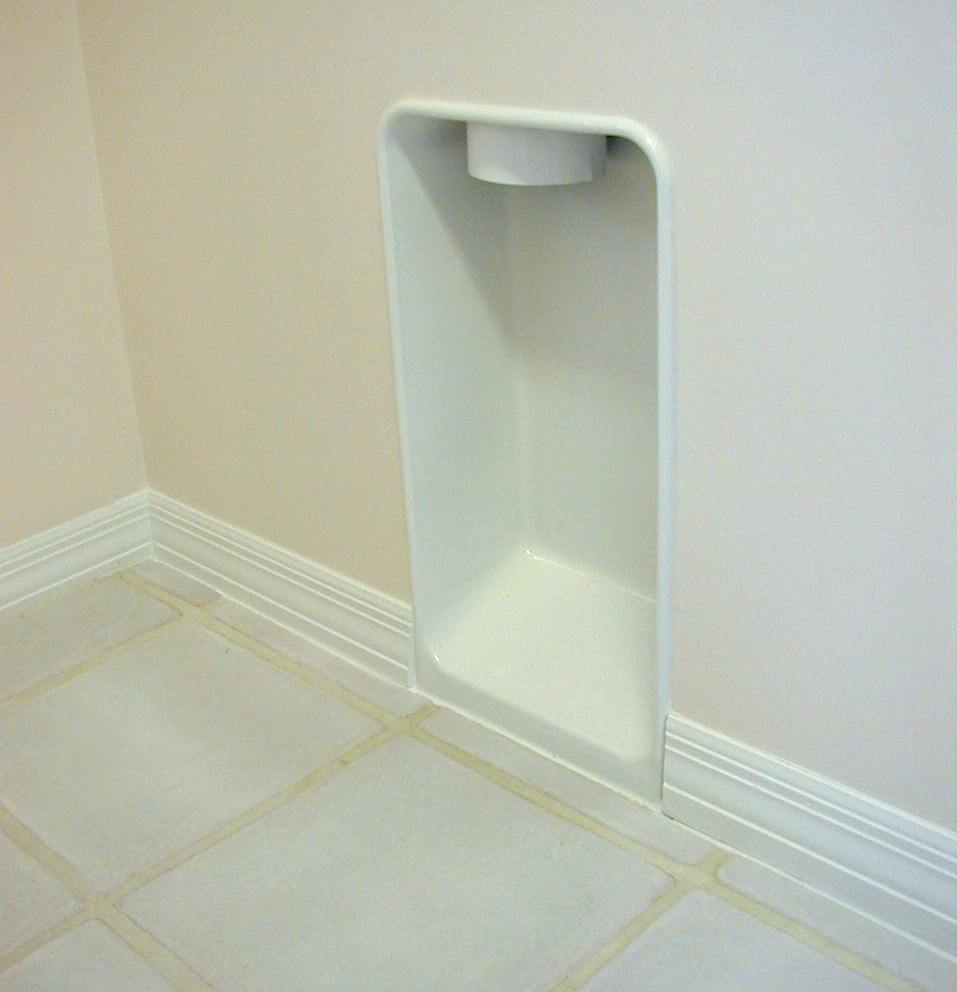
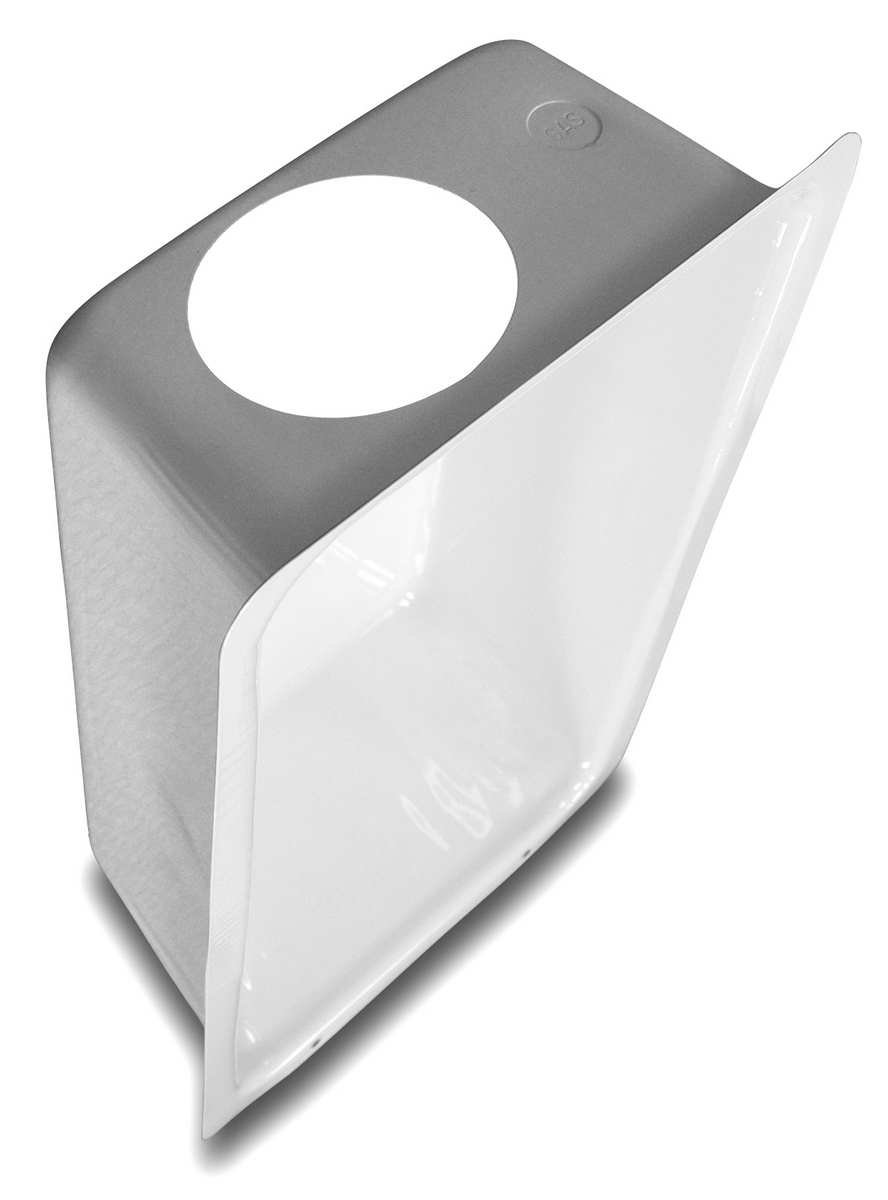
Front Perspective
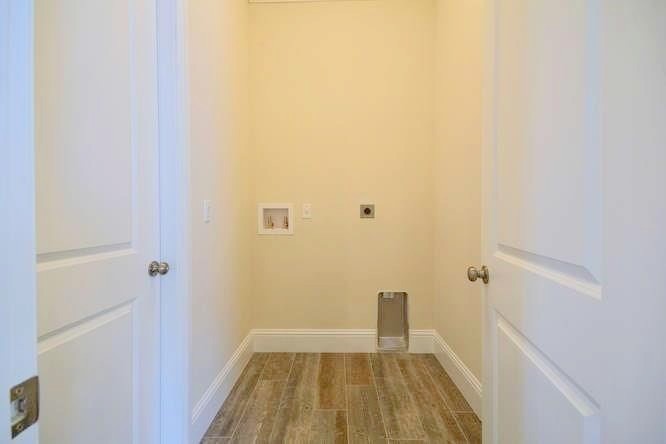
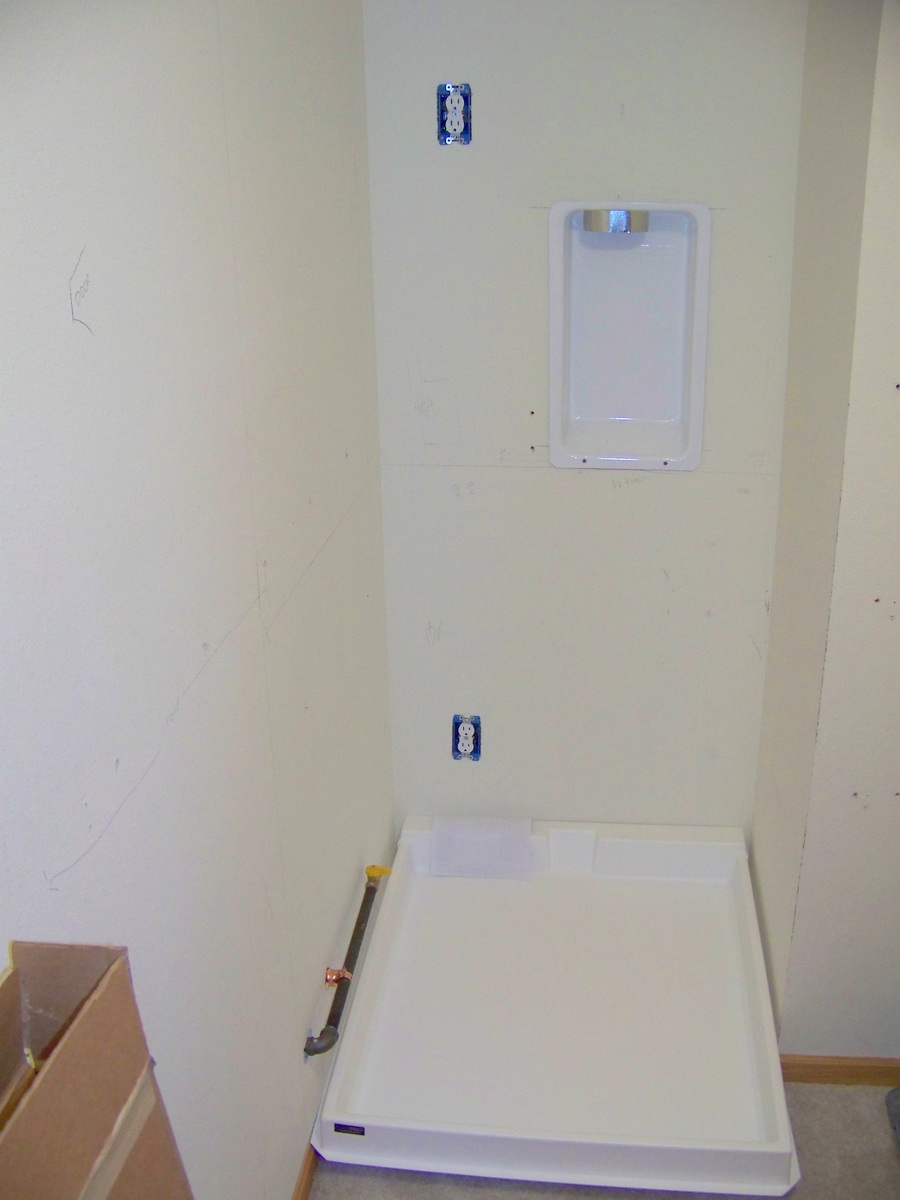
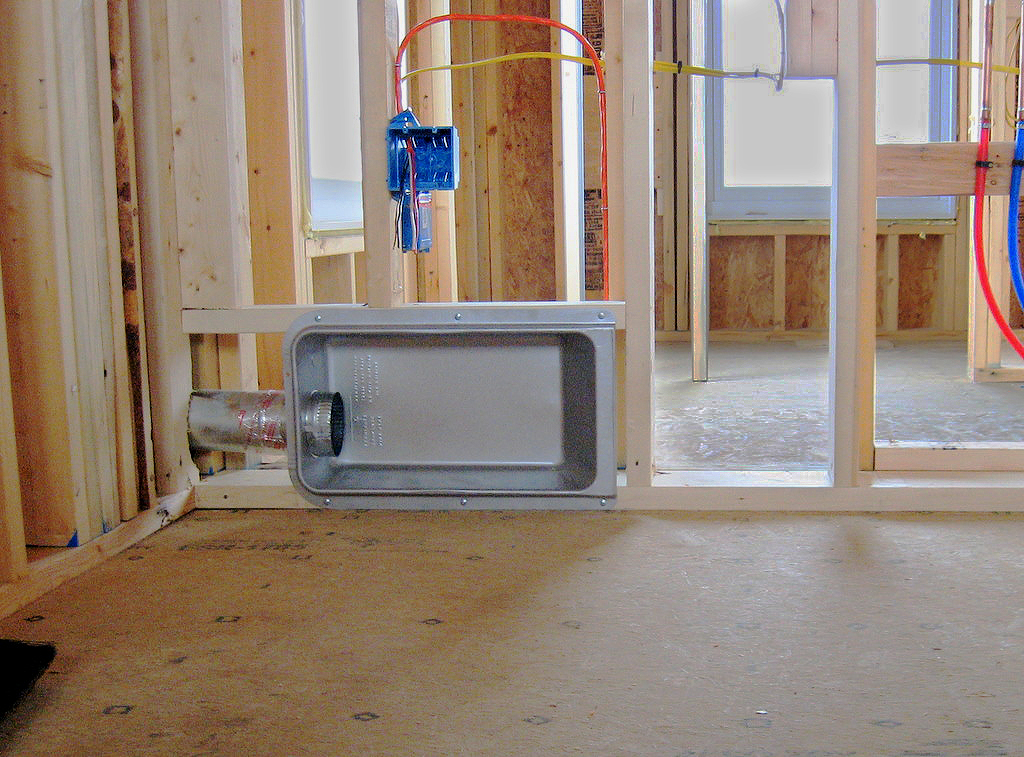
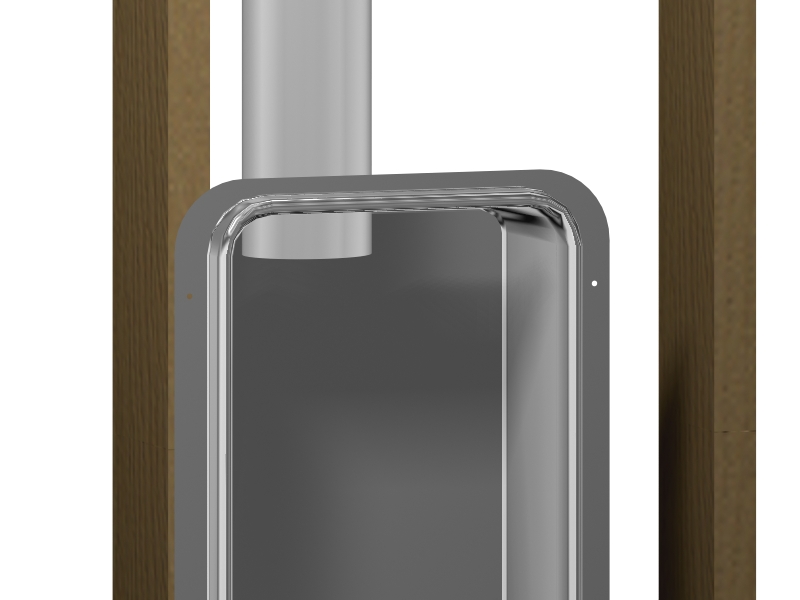
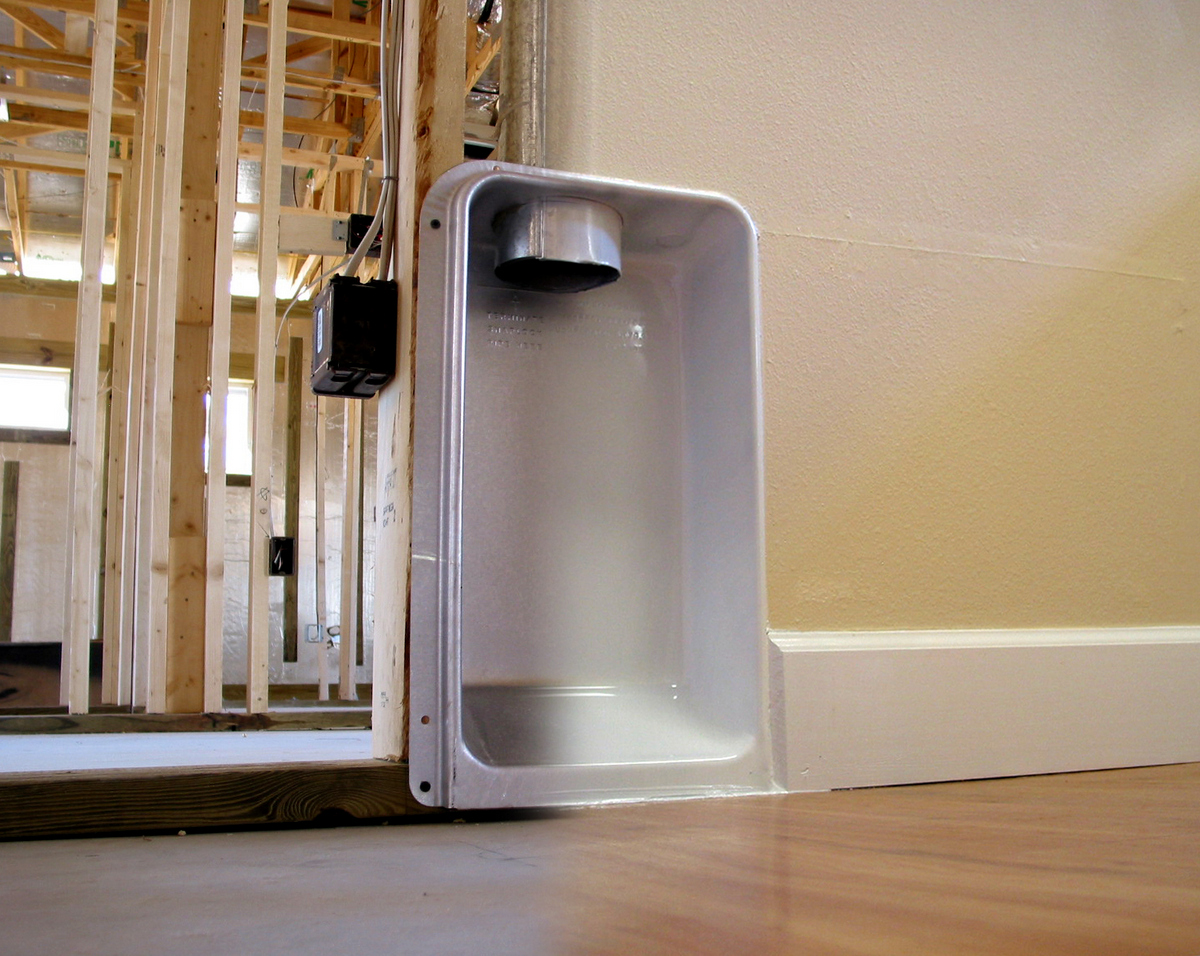
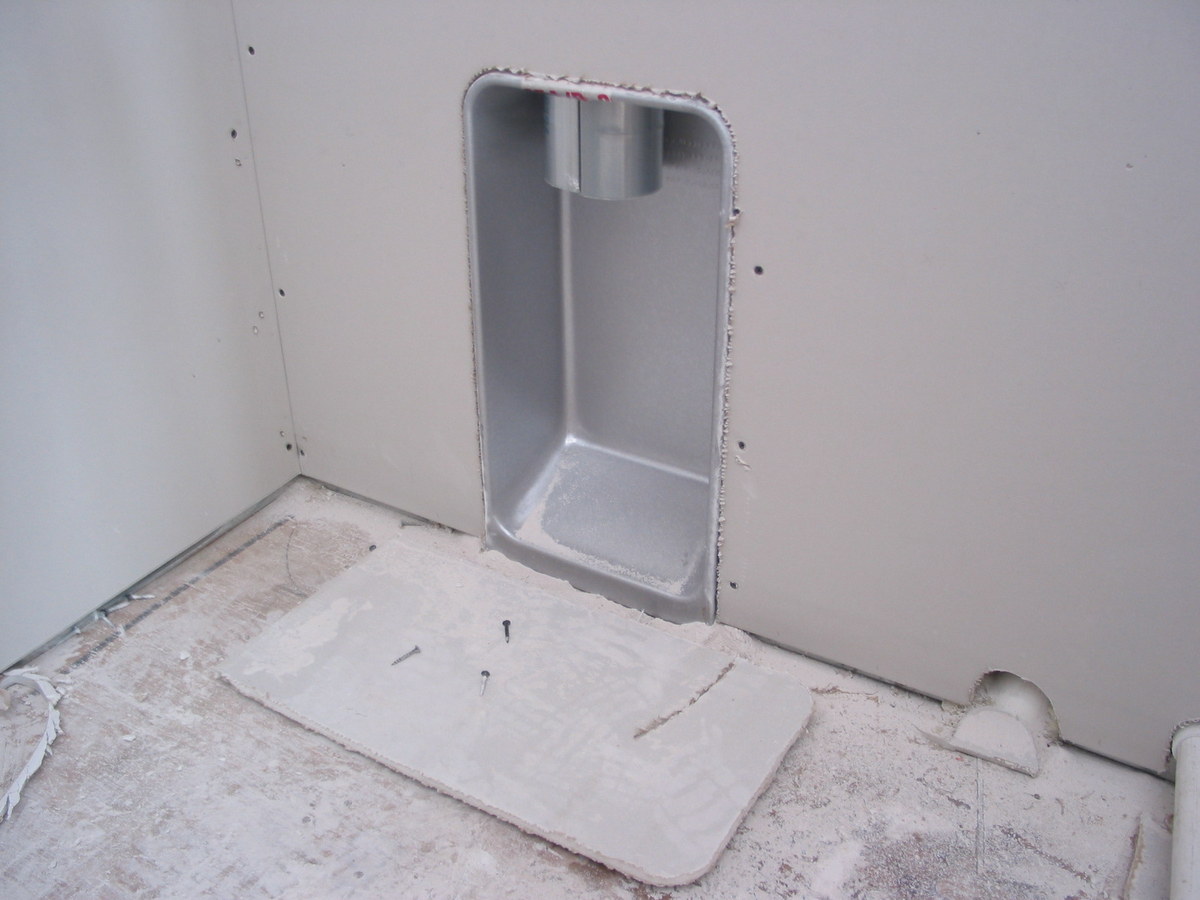
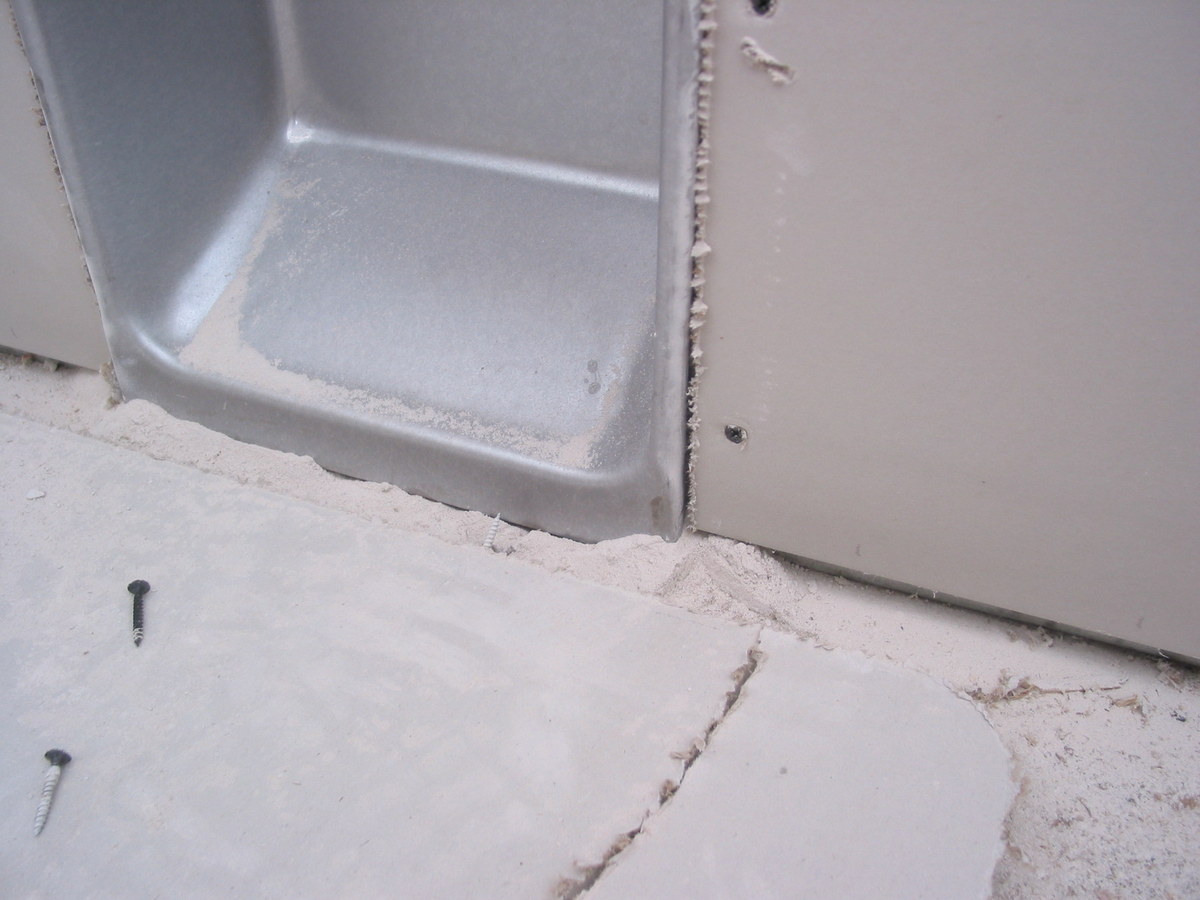
Installed Painted
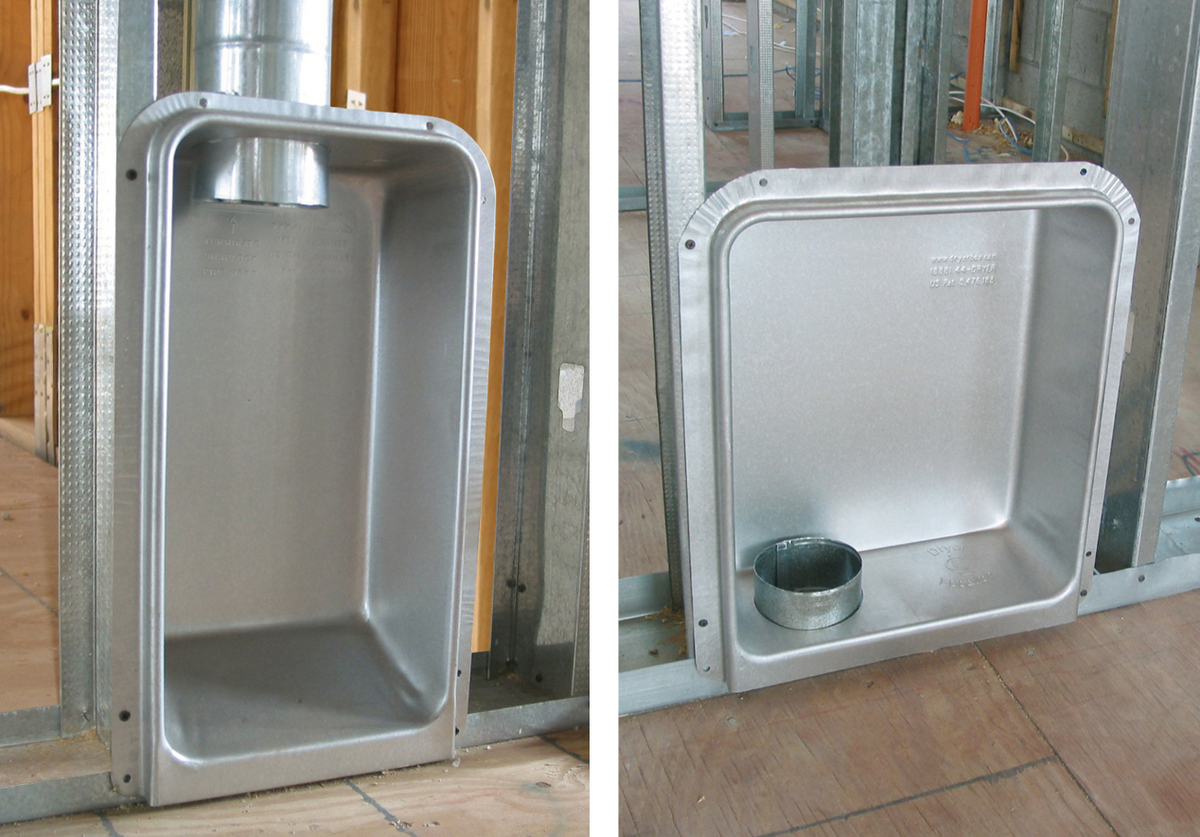
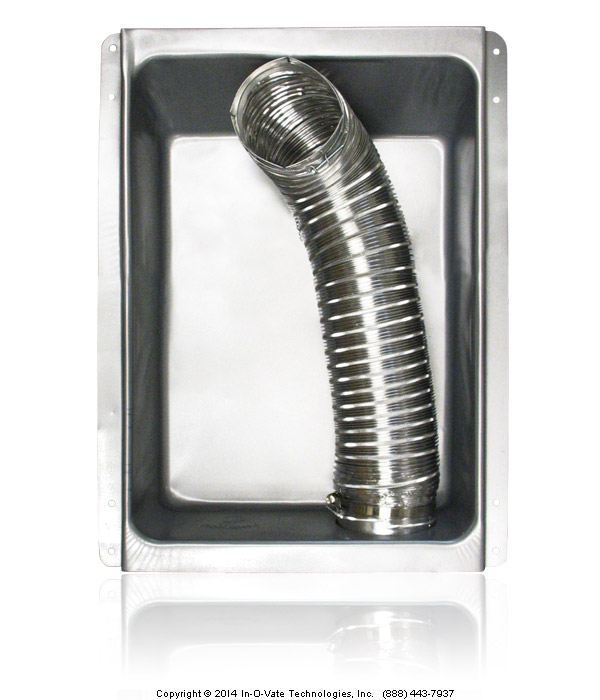
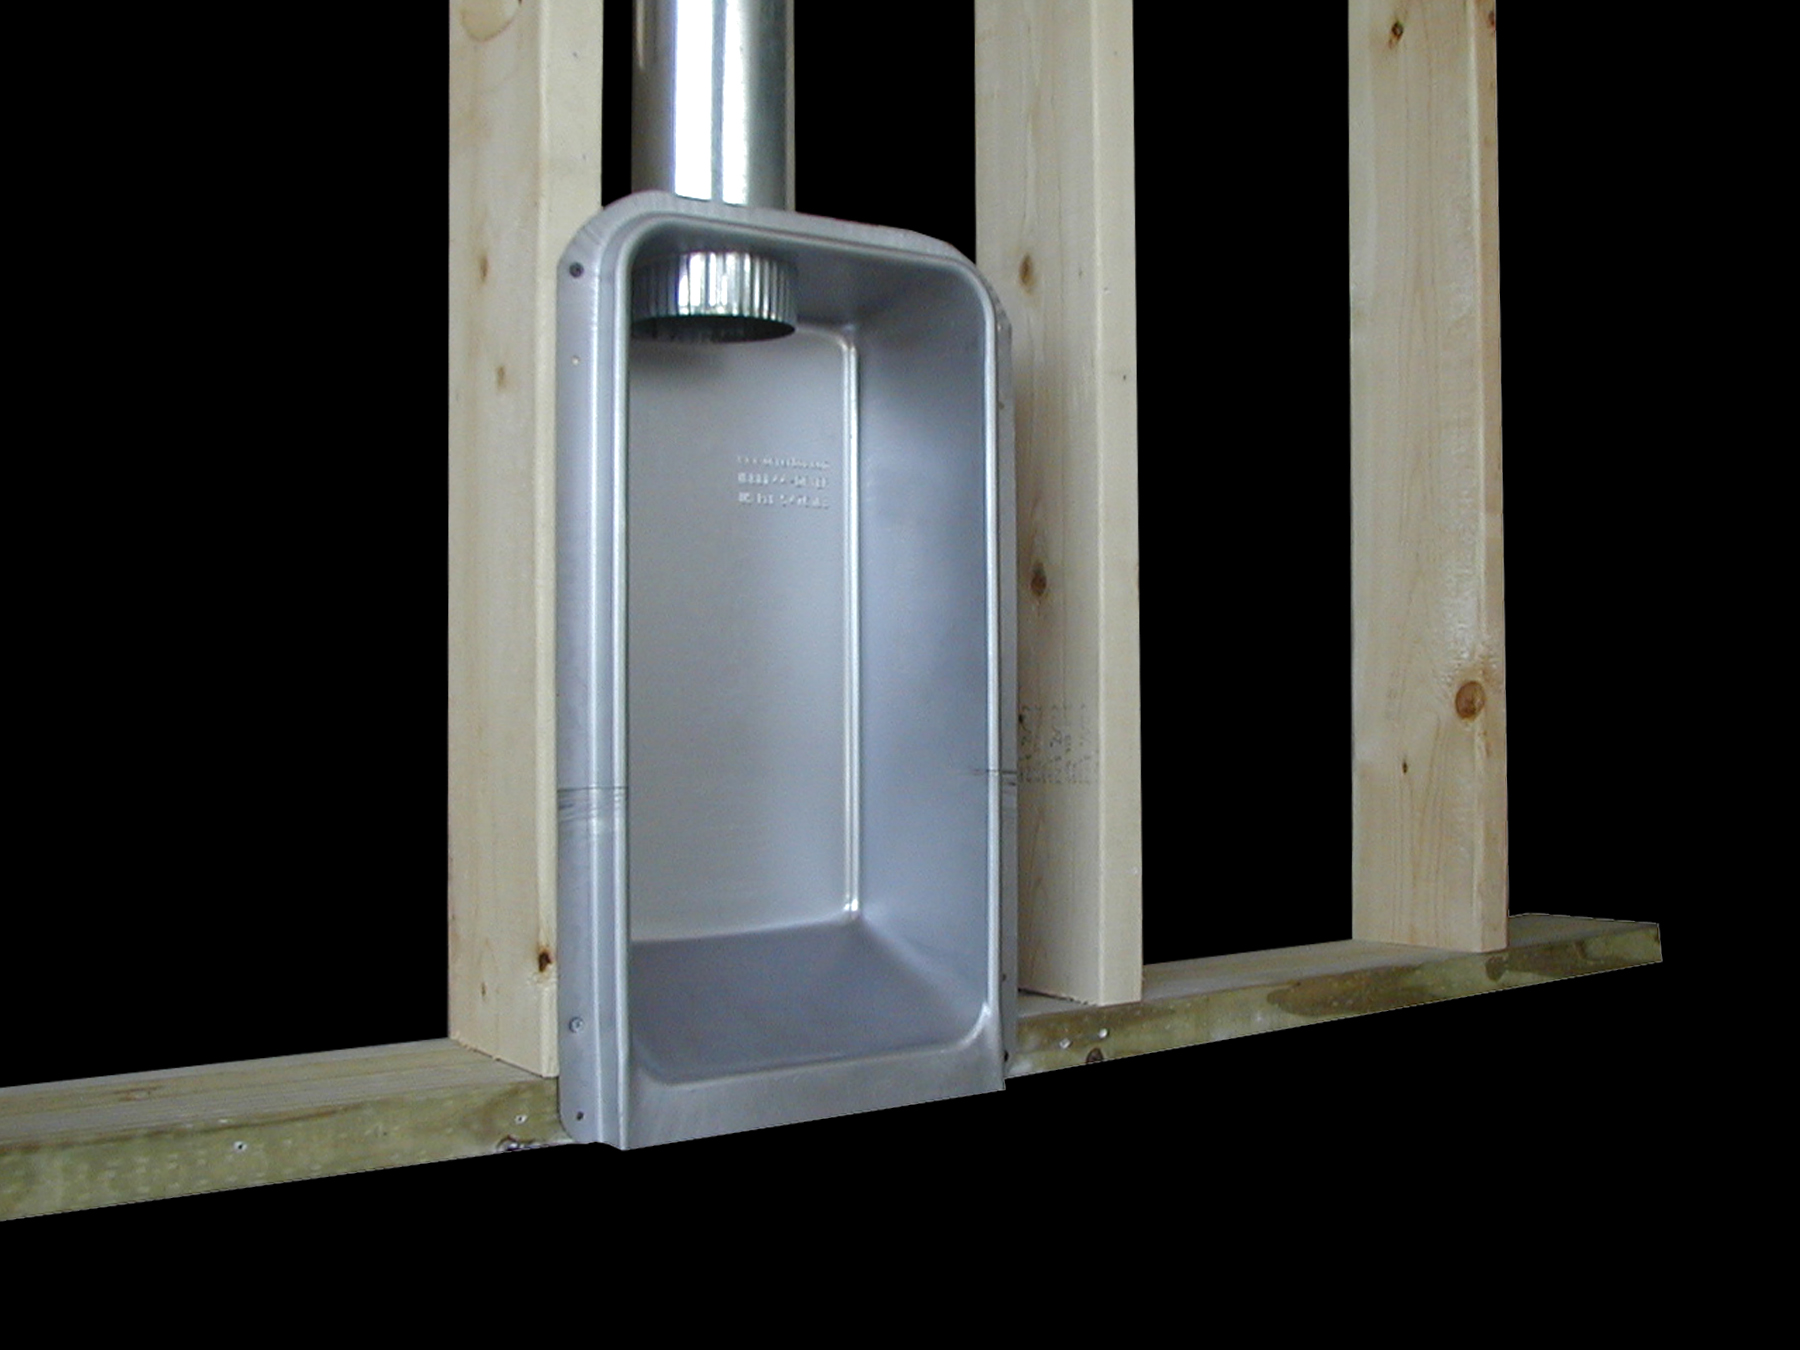
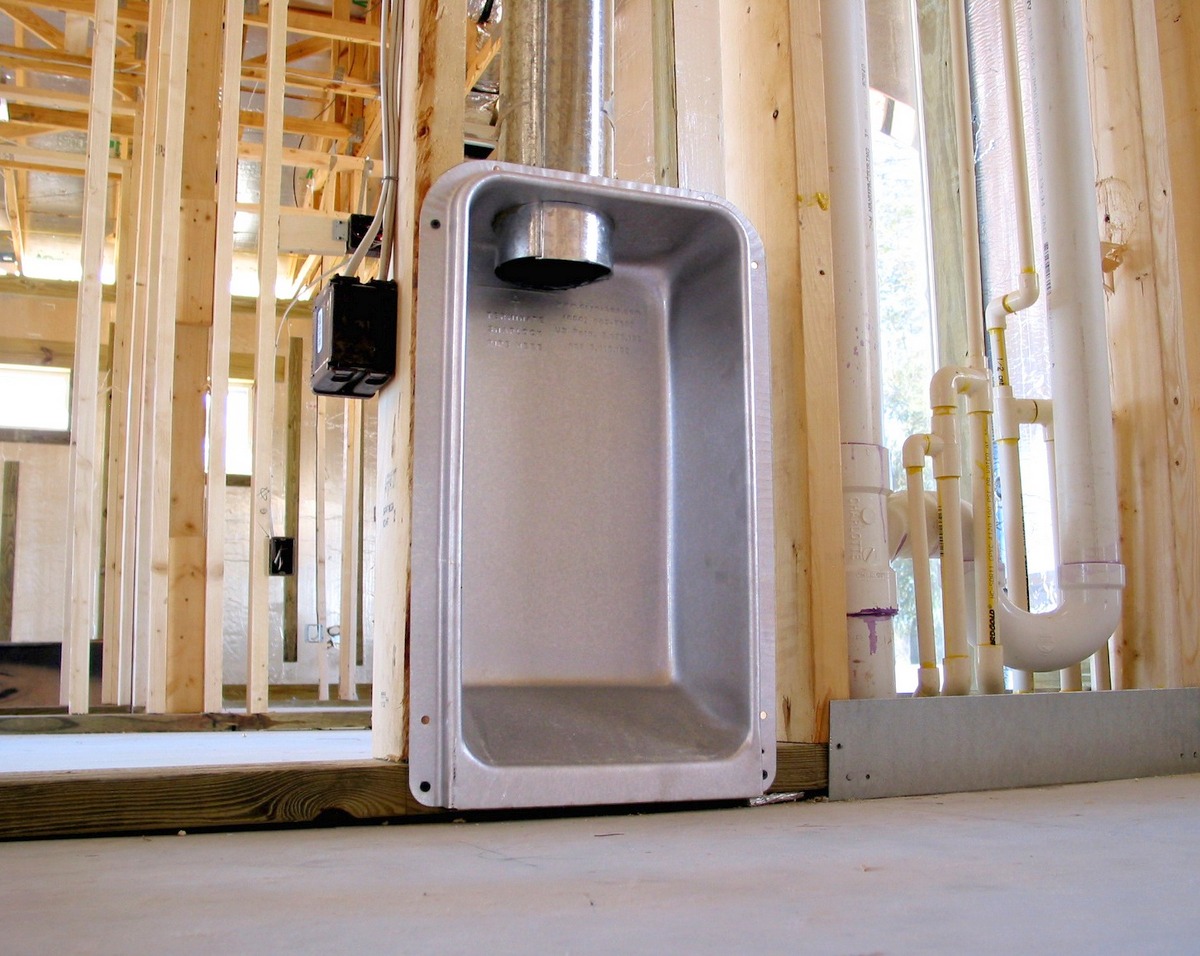
Floor Upward
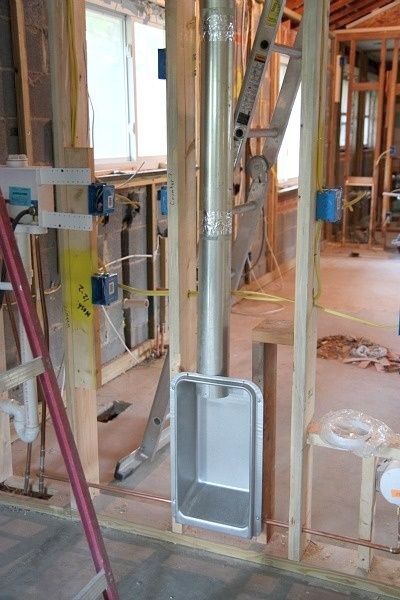
Pedestal Upward
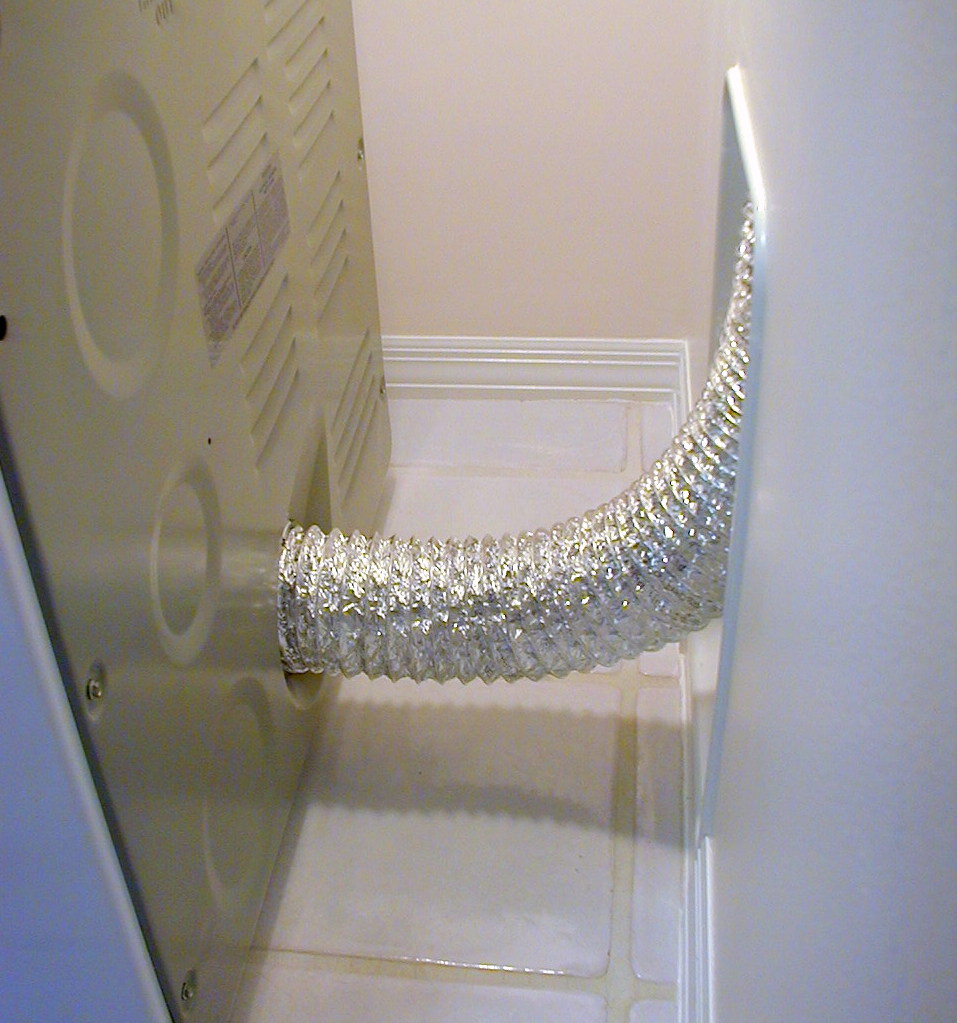
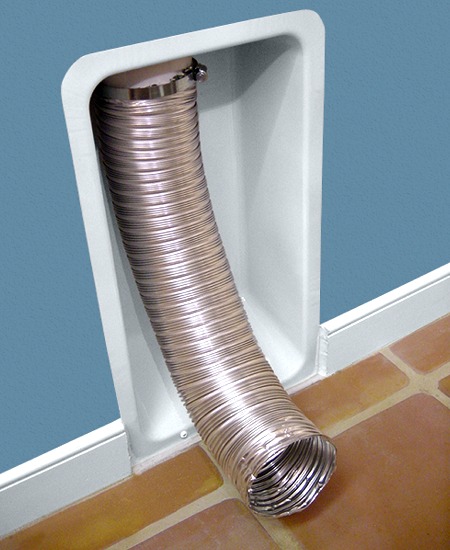
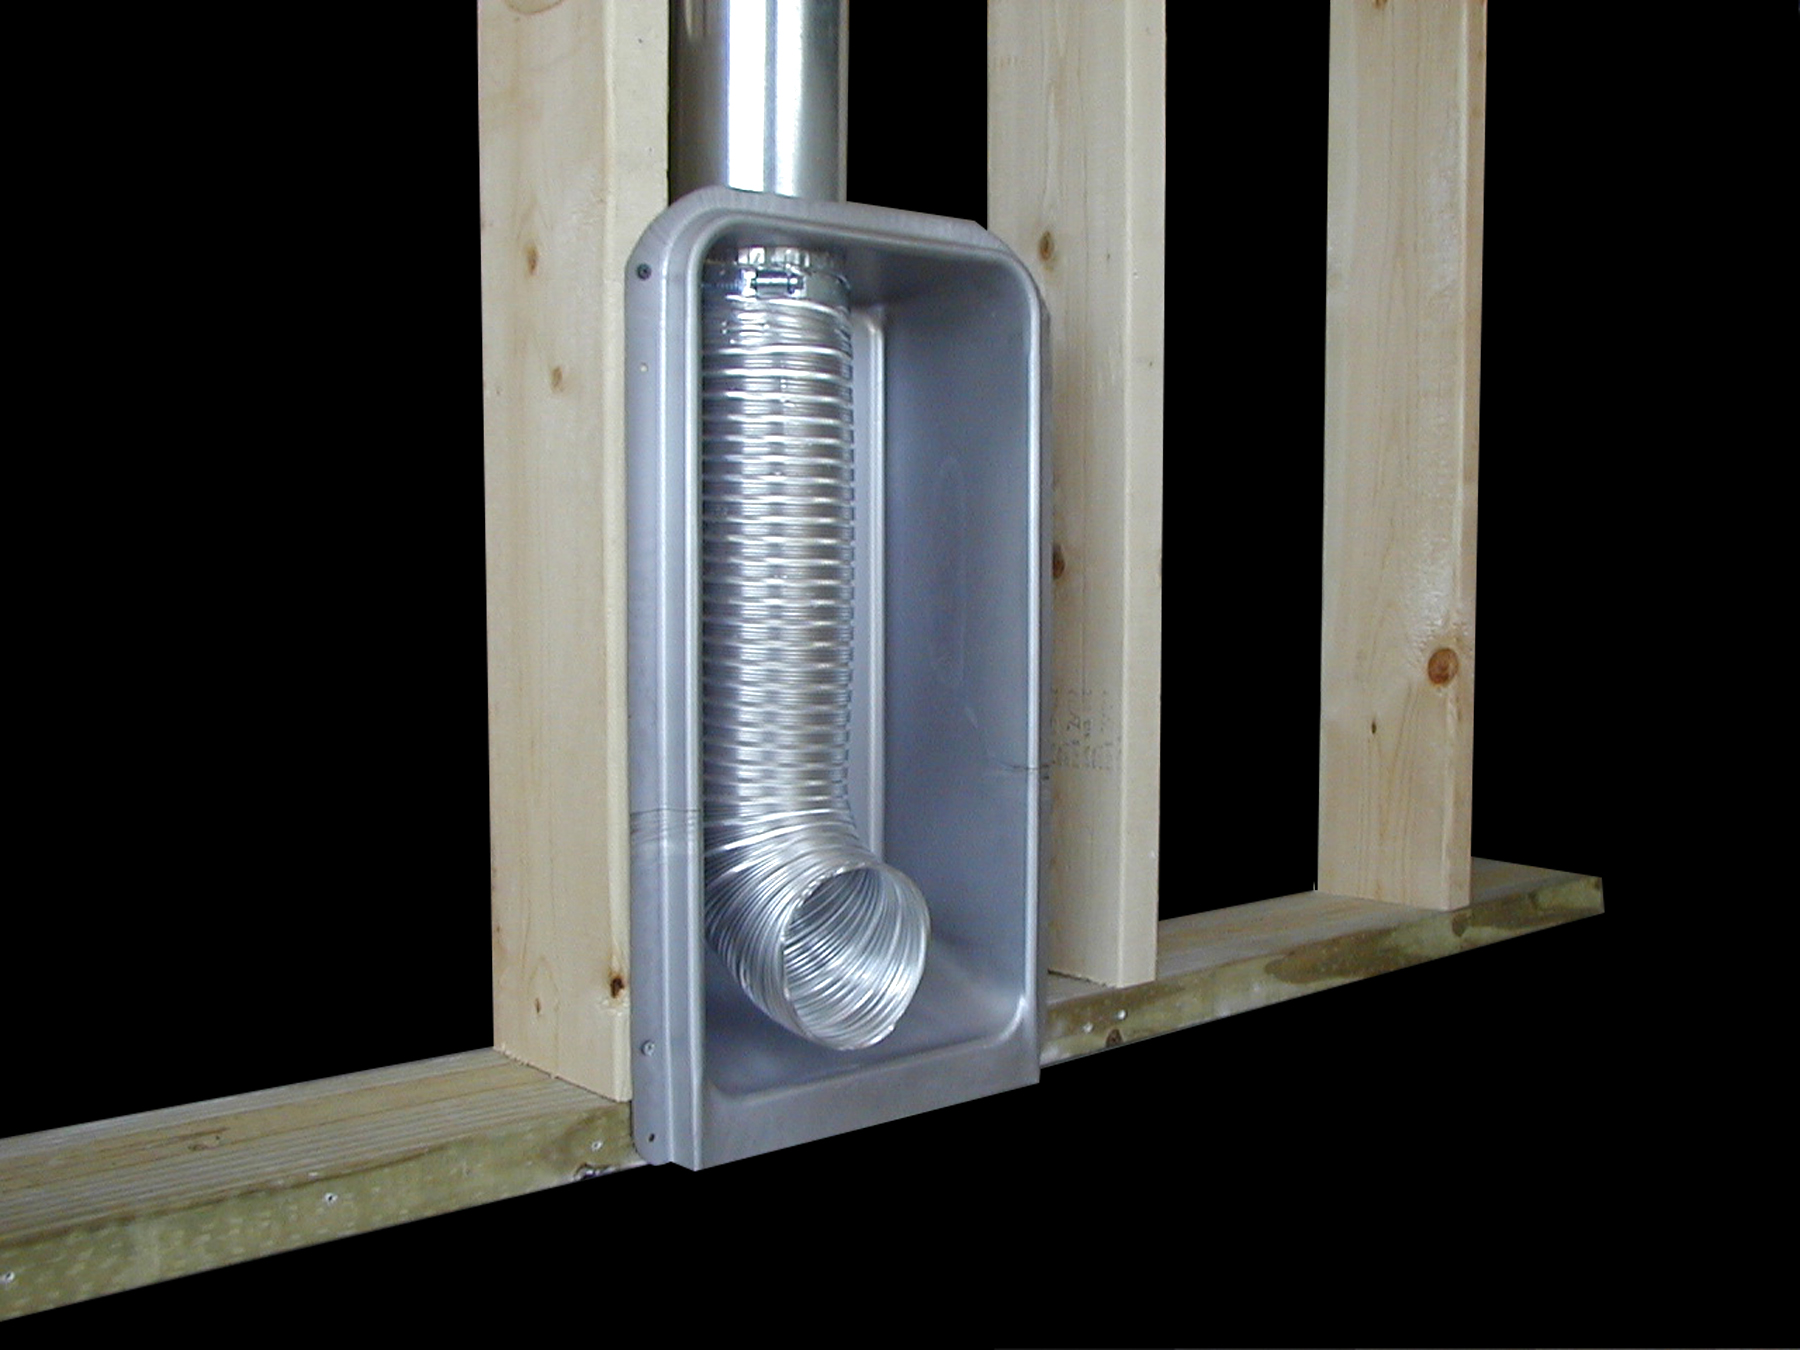
Floor Downward
Pedestal Downward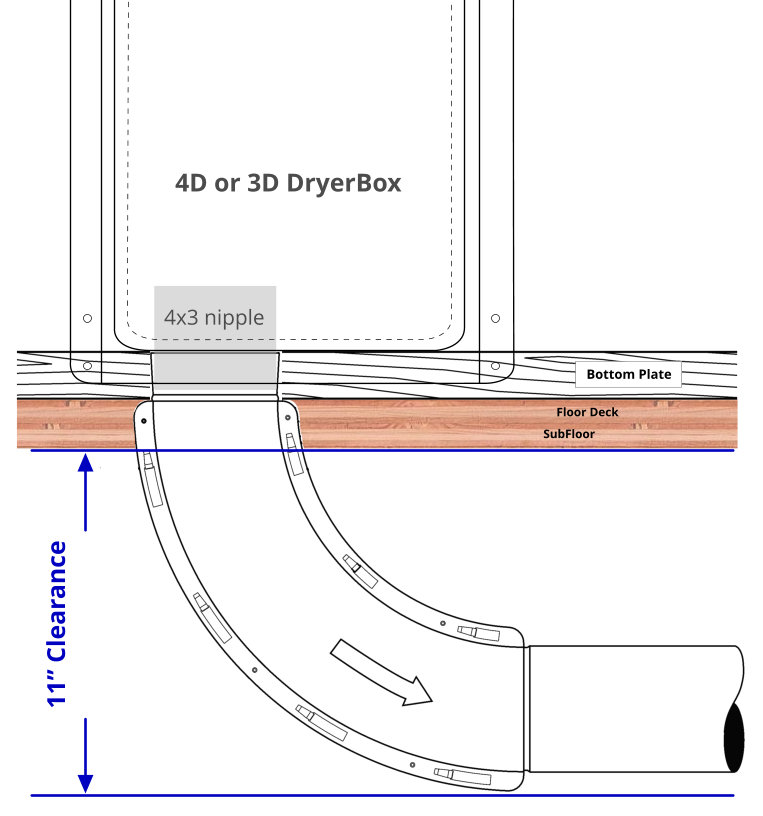
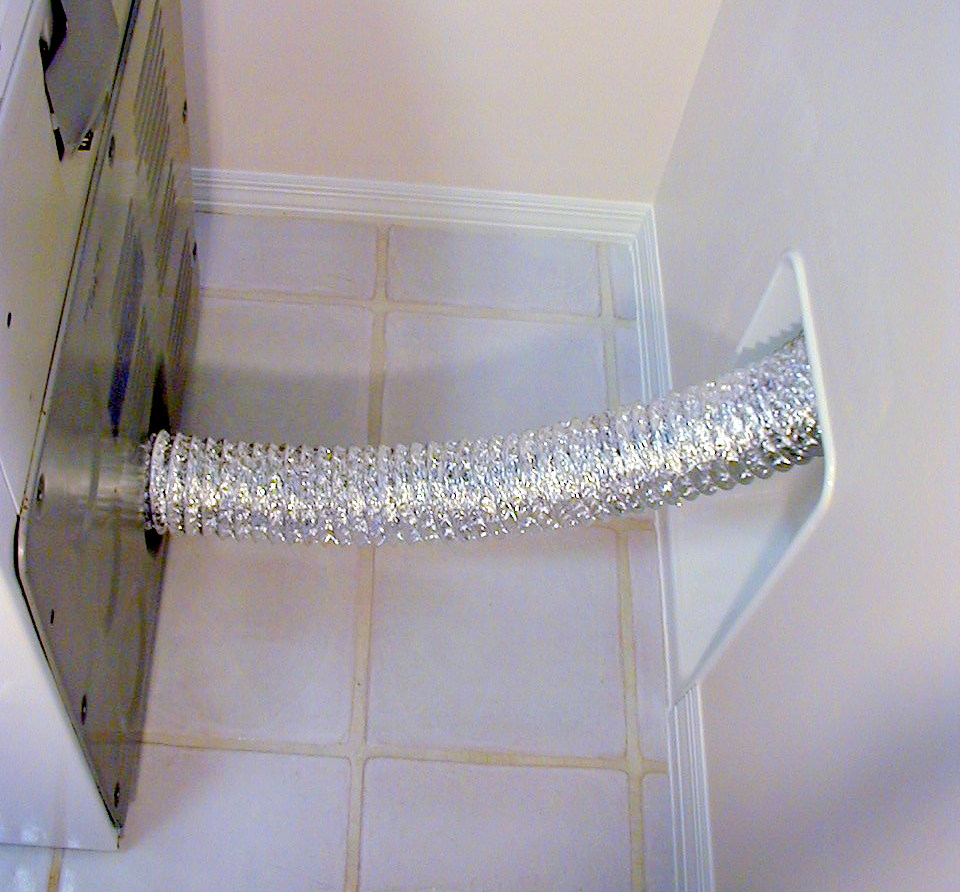
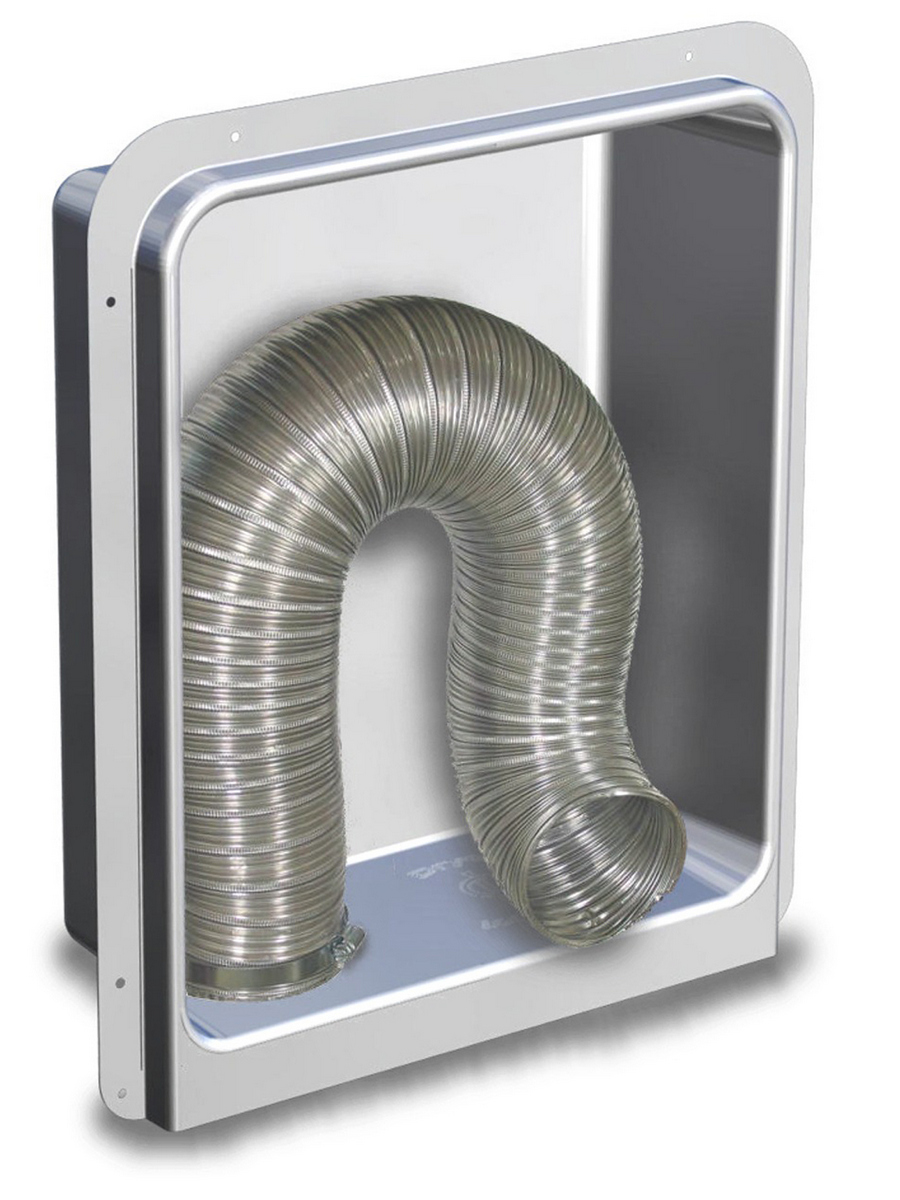
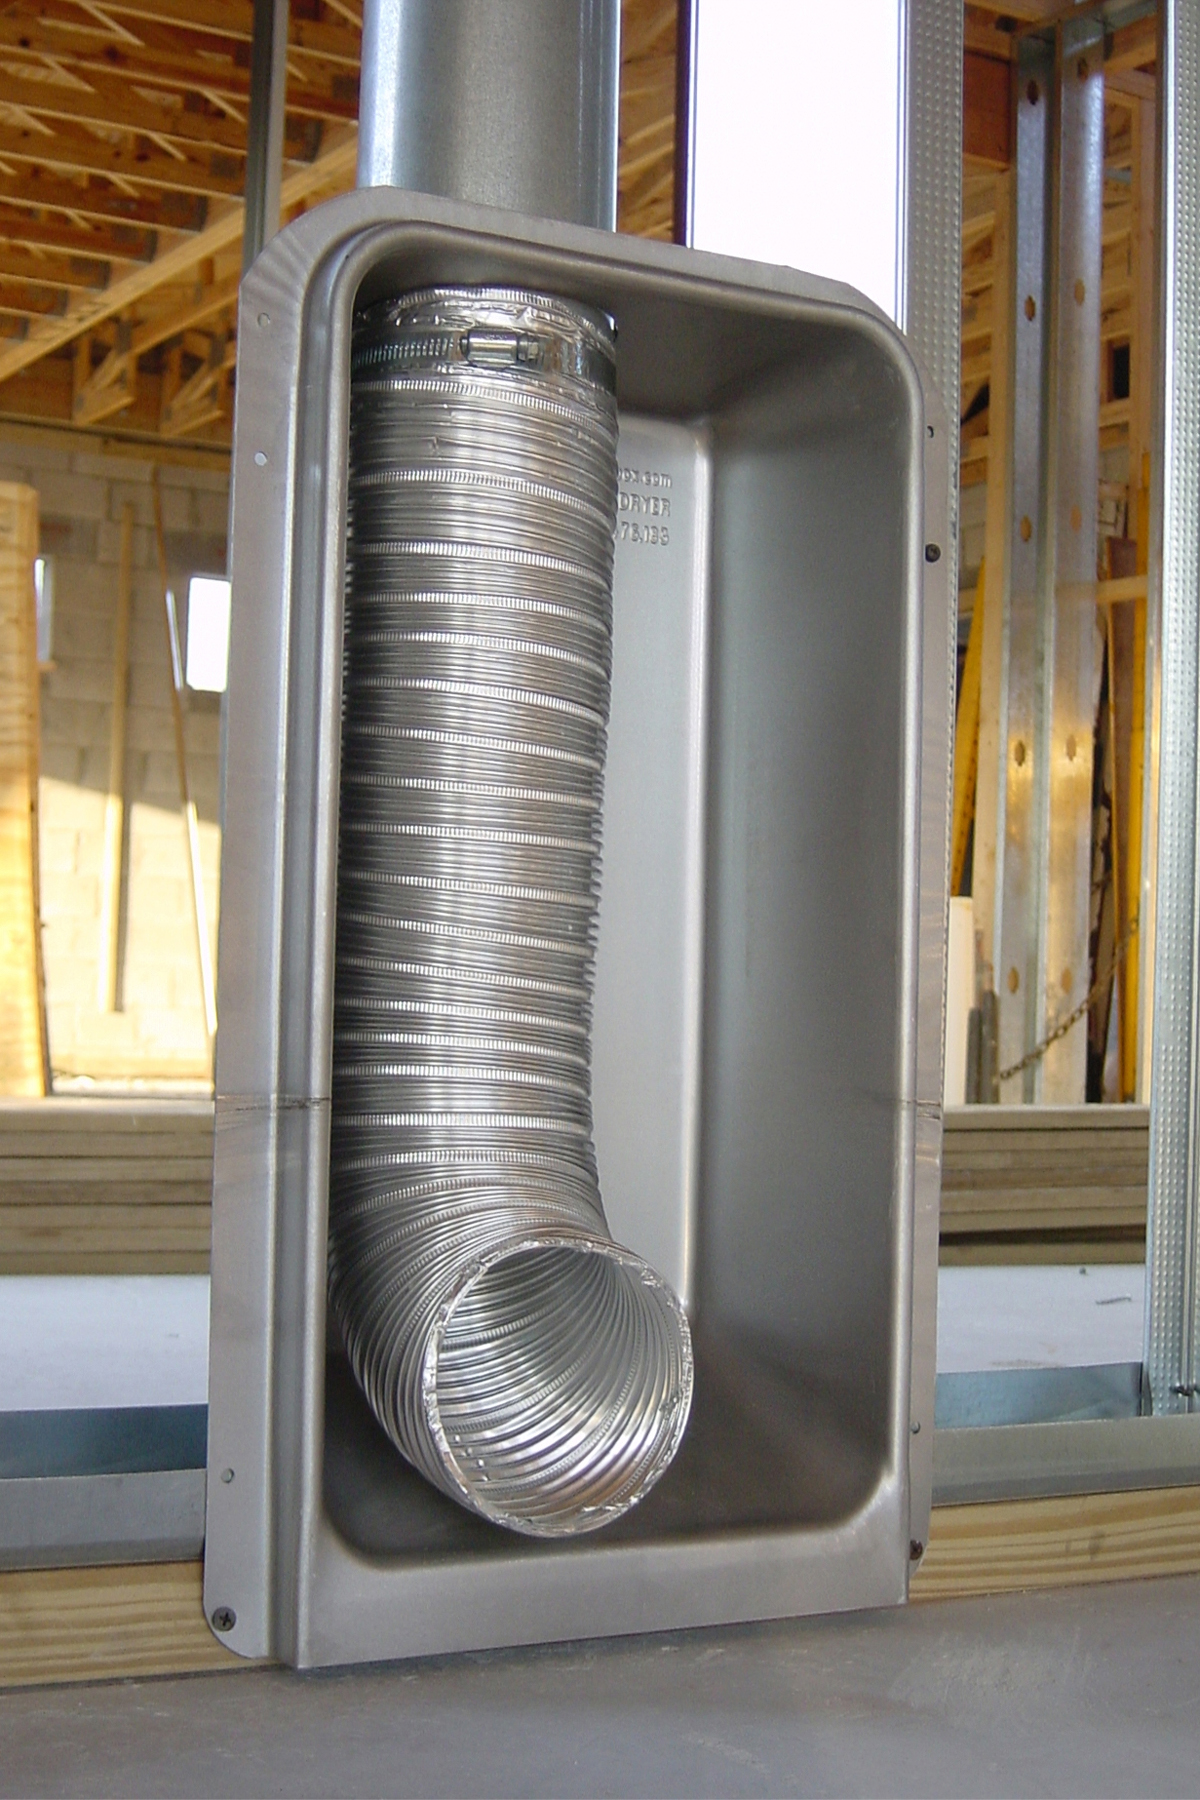
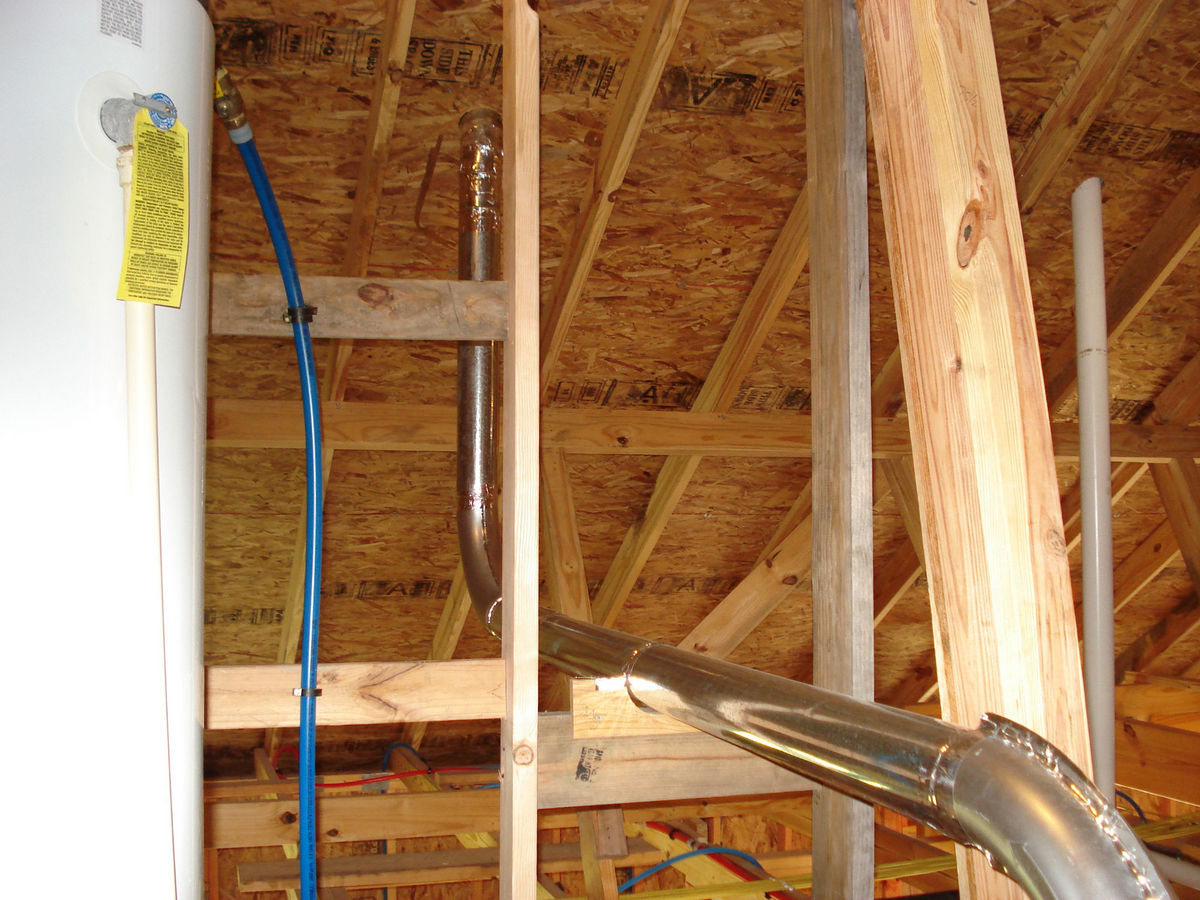
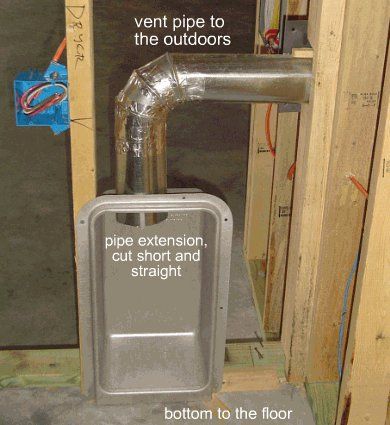
Downward With Dryer-Ell

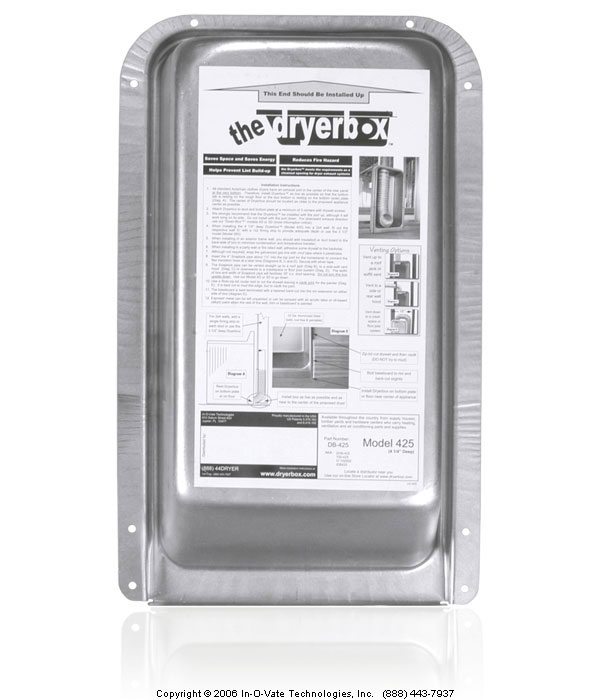
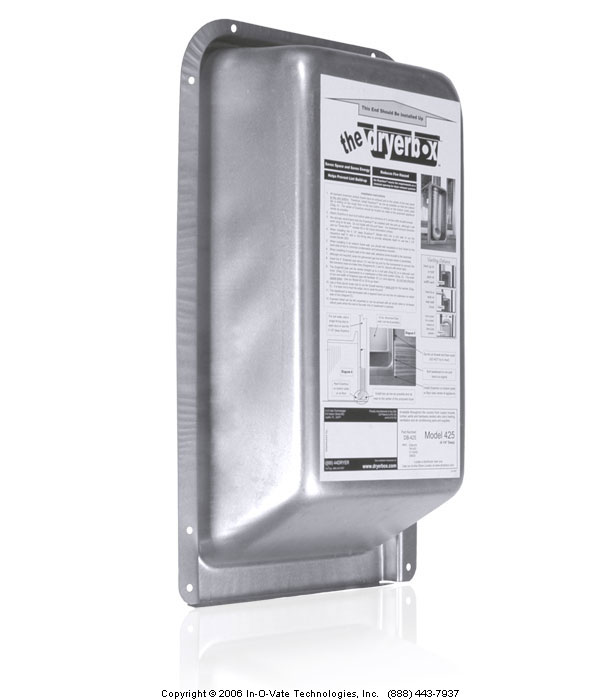
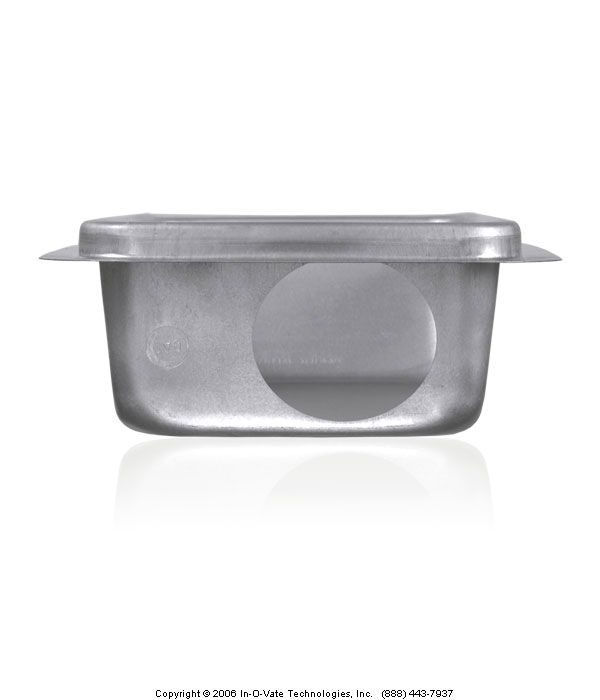
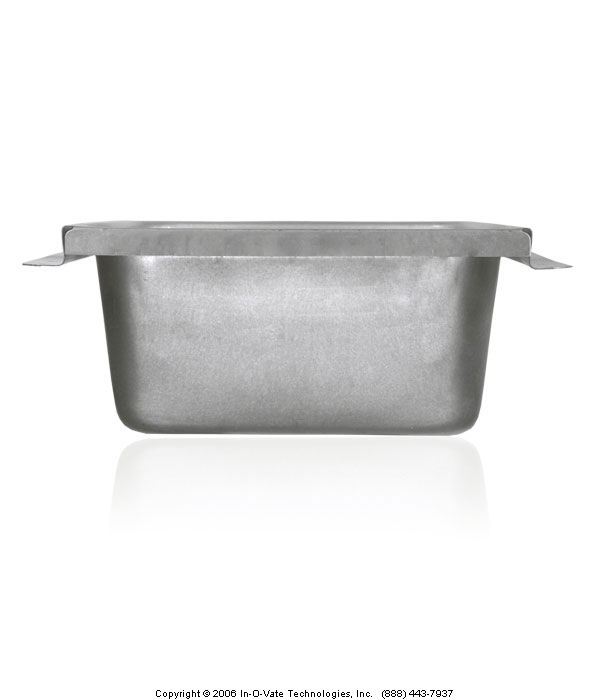
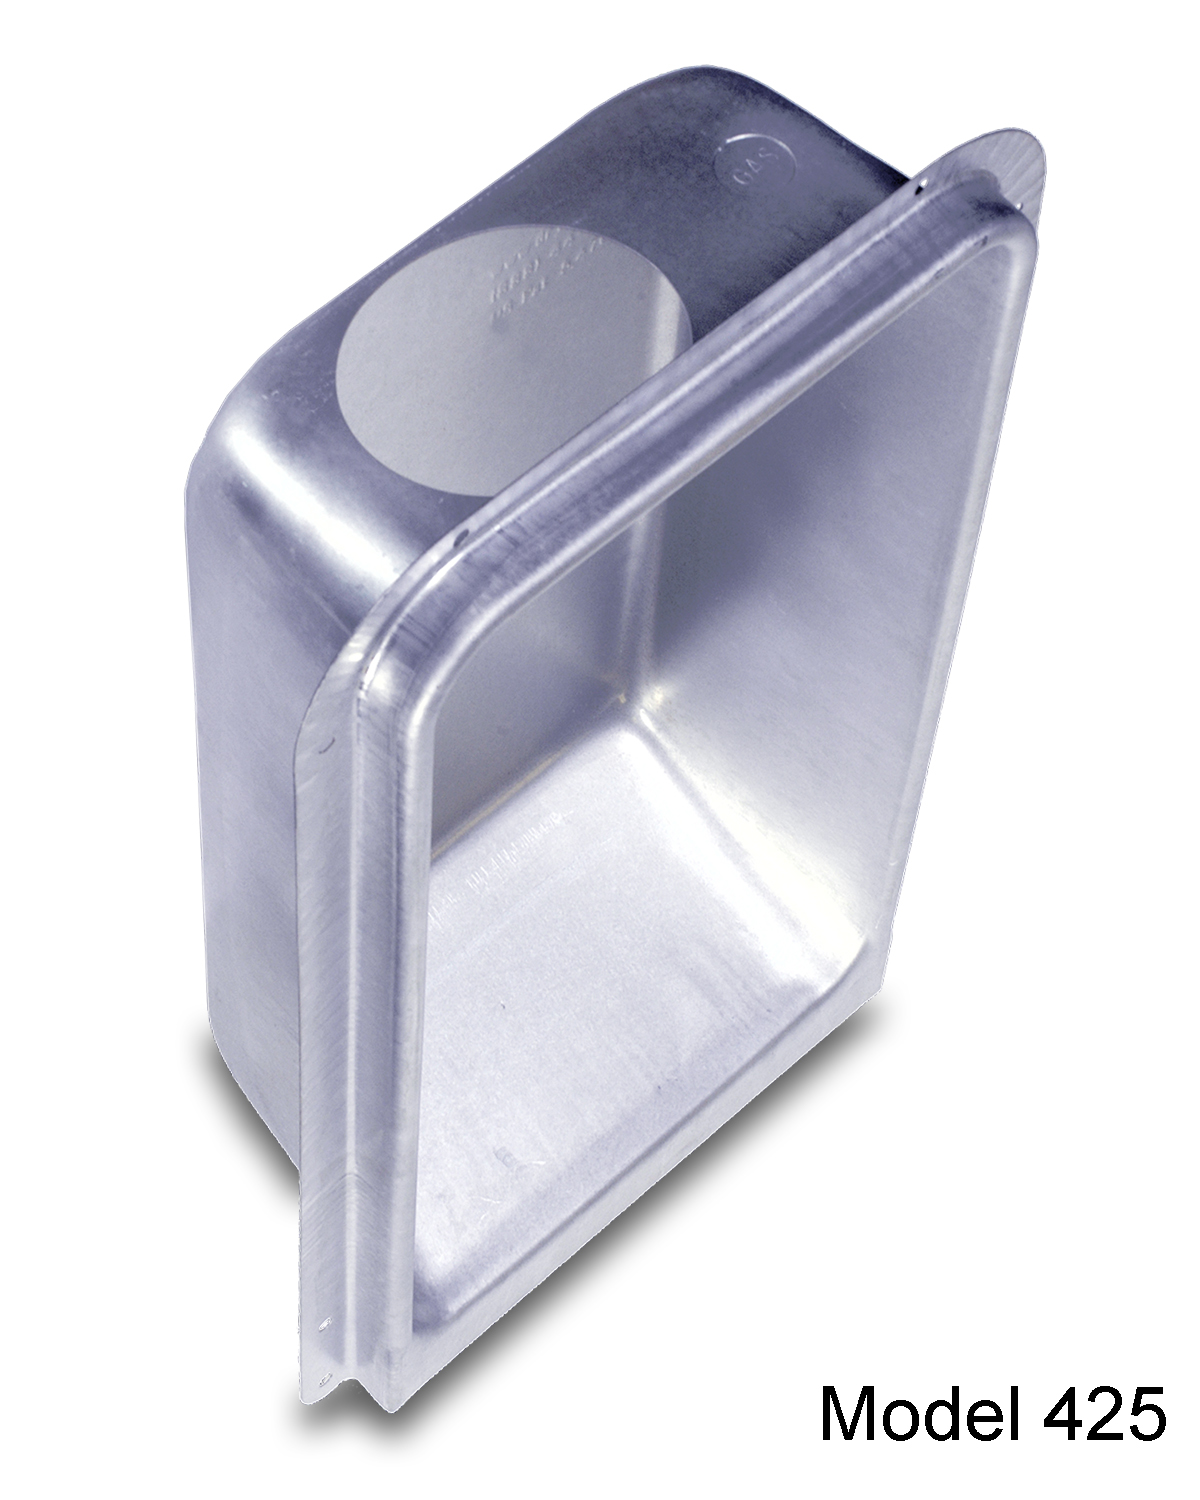
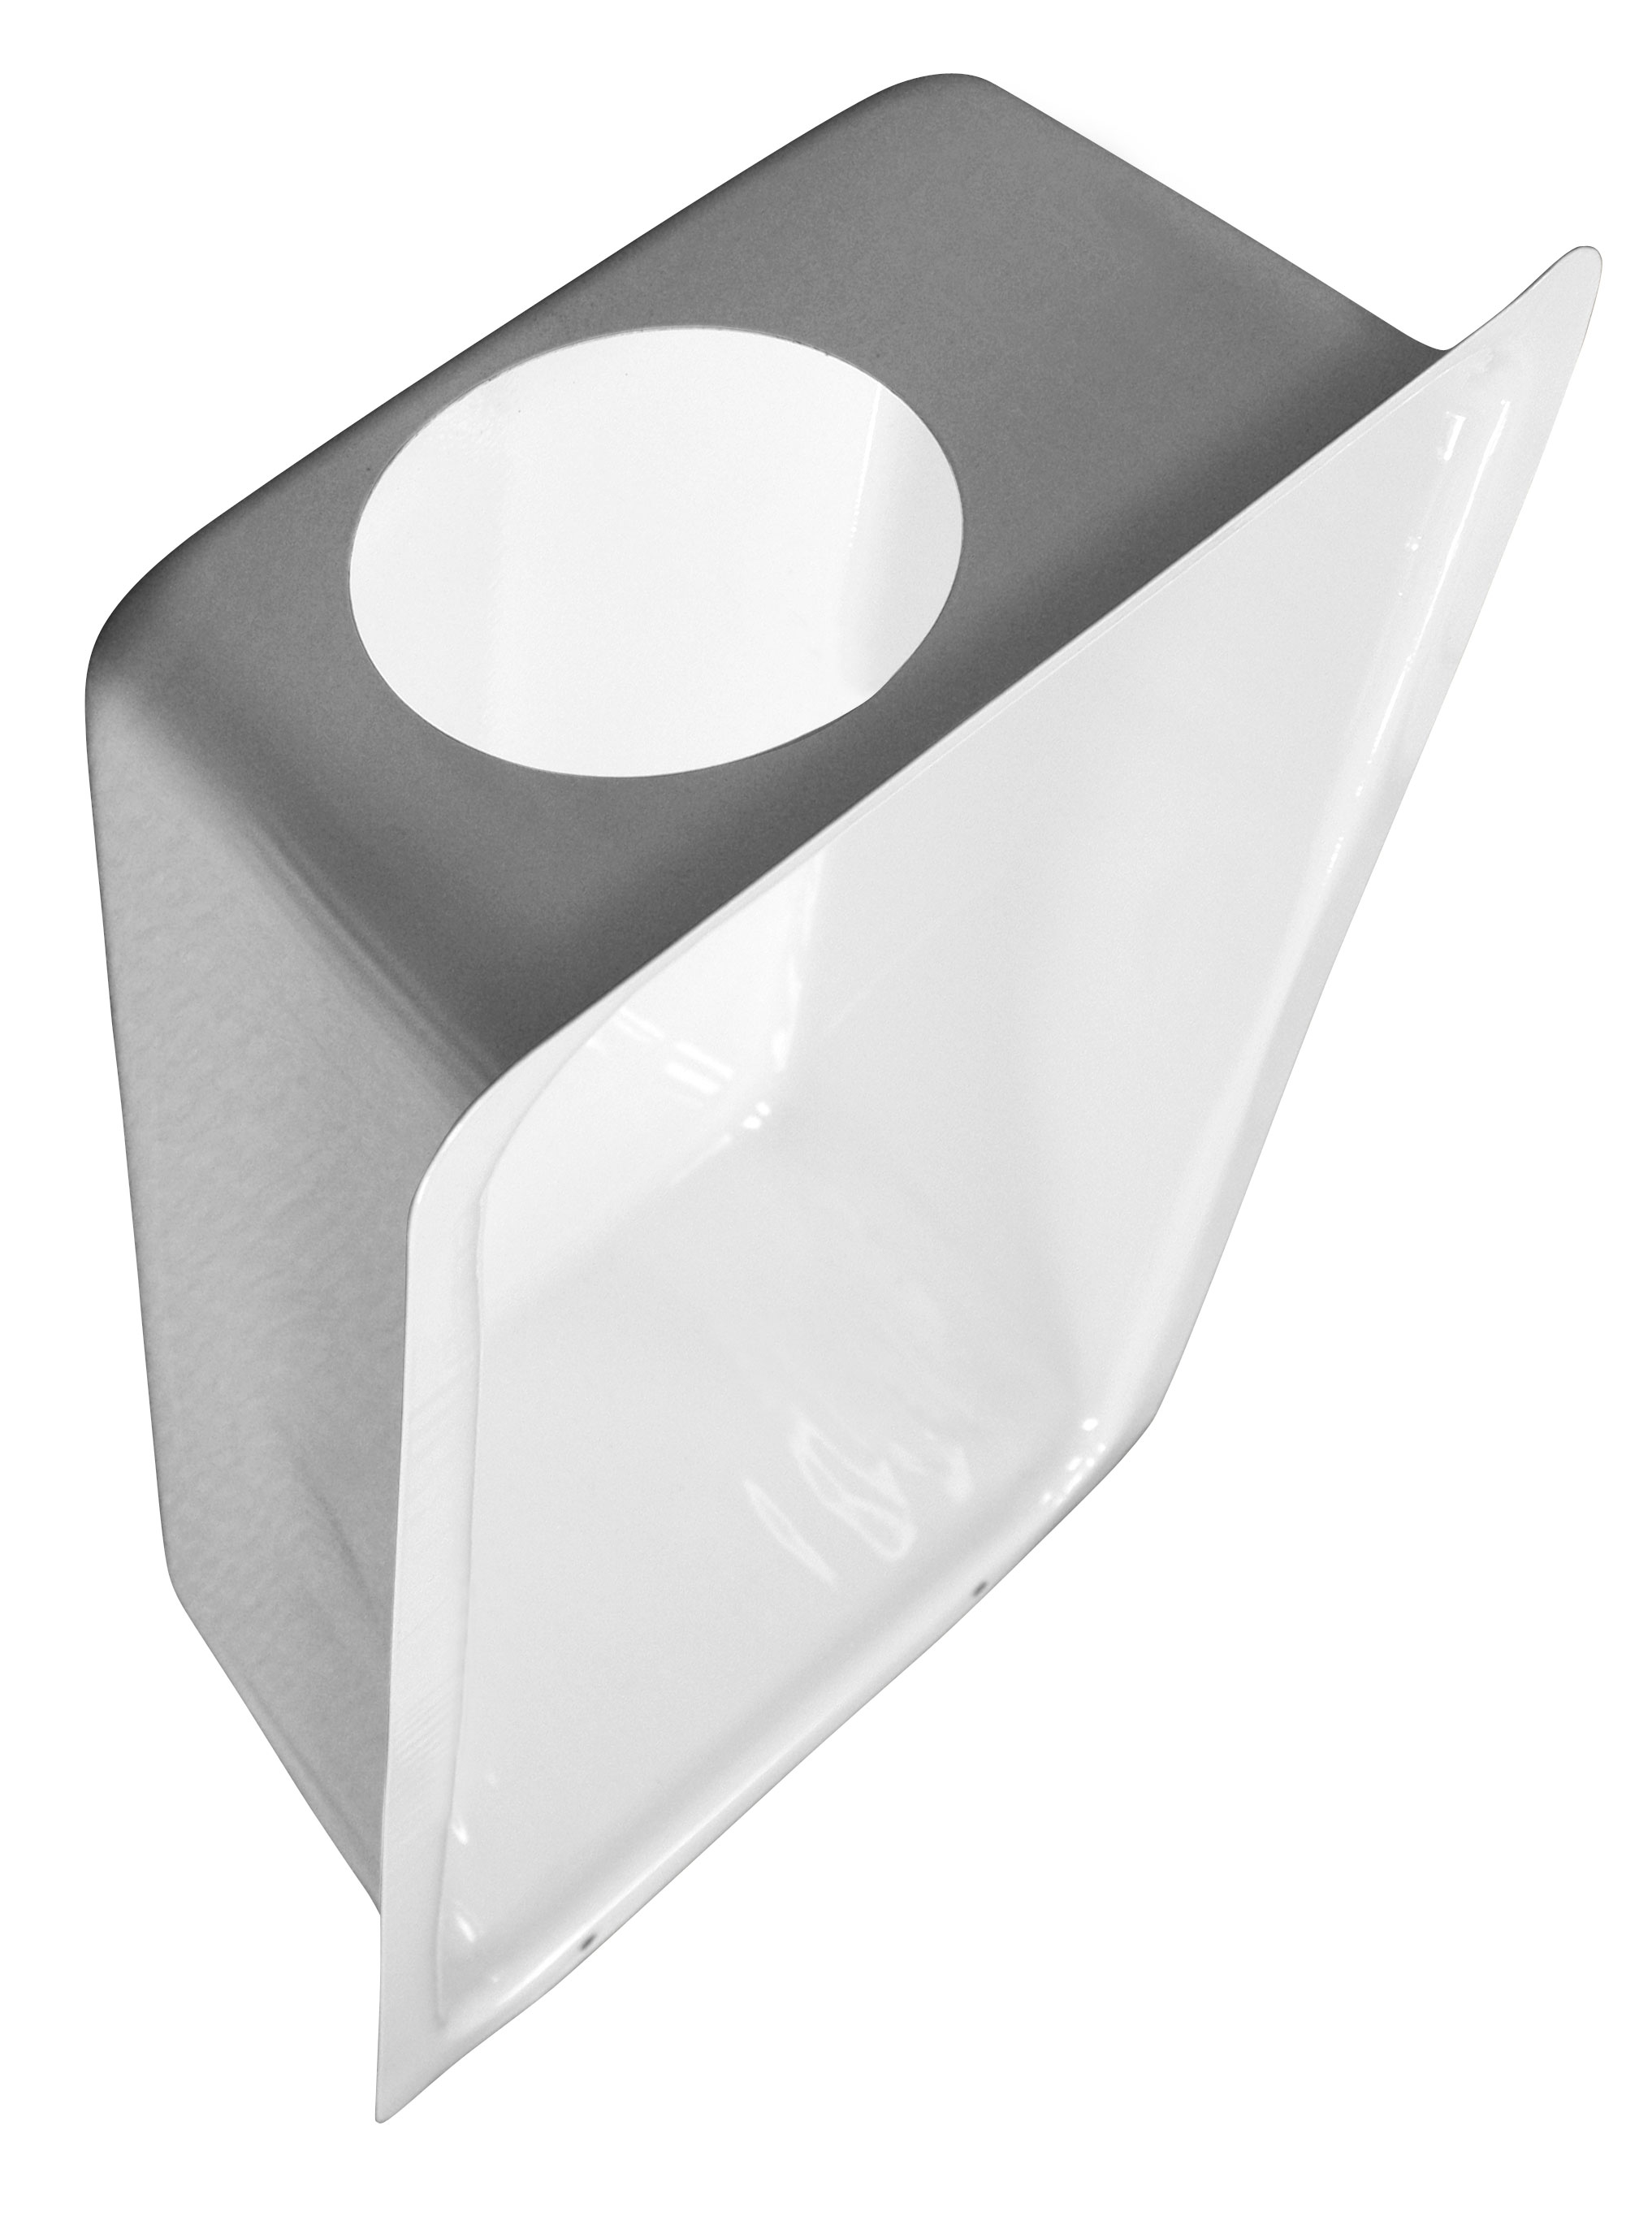
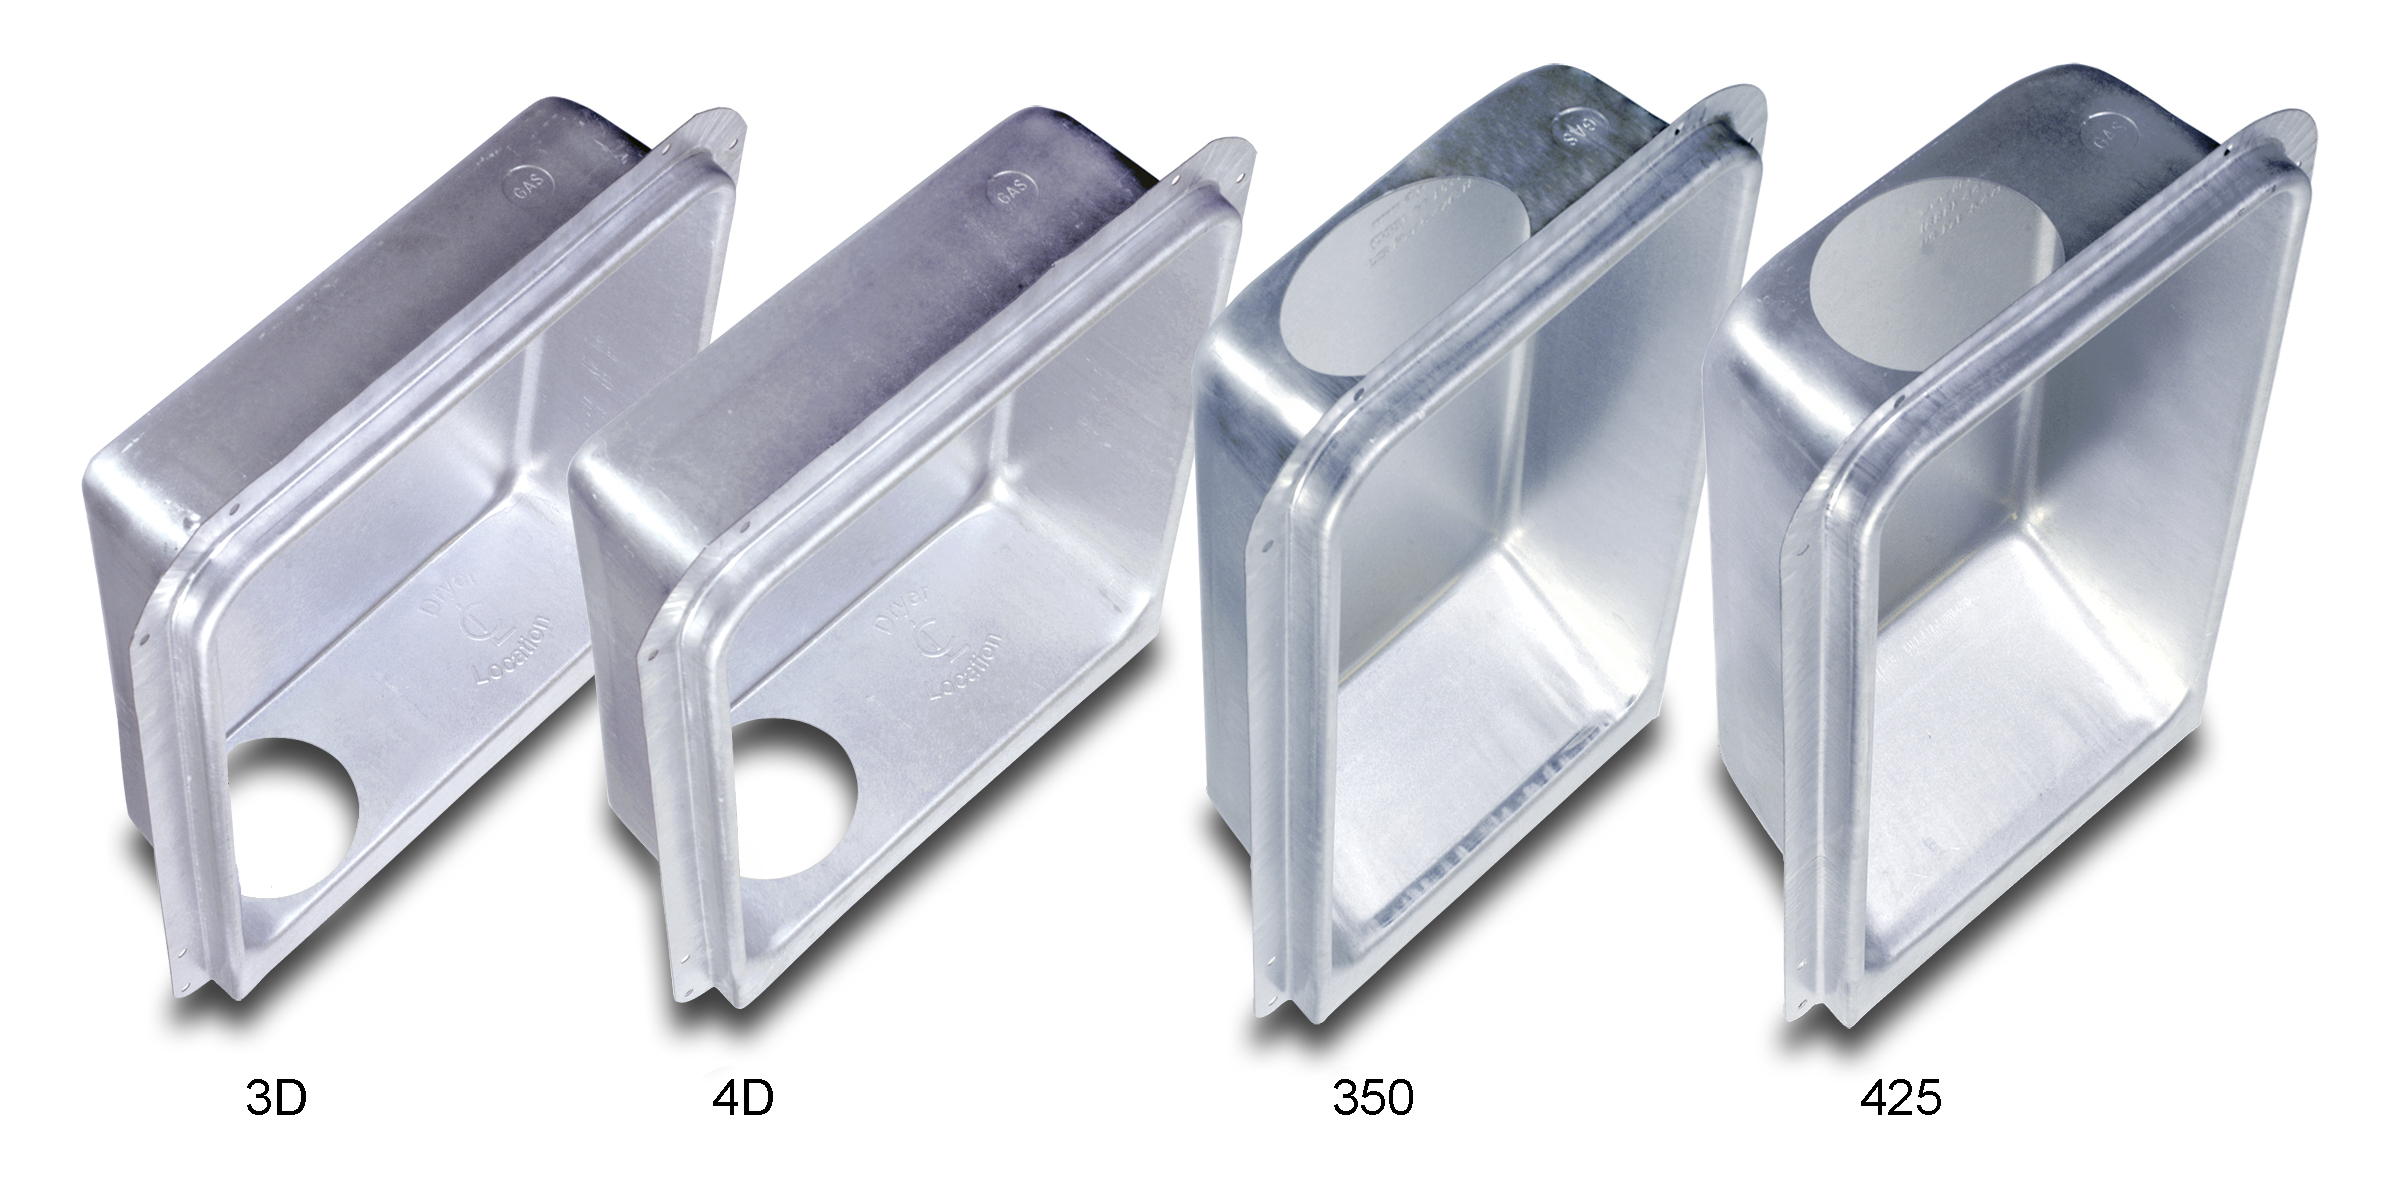
Model 425

Front
Front Perspective
Back
Back Perspective
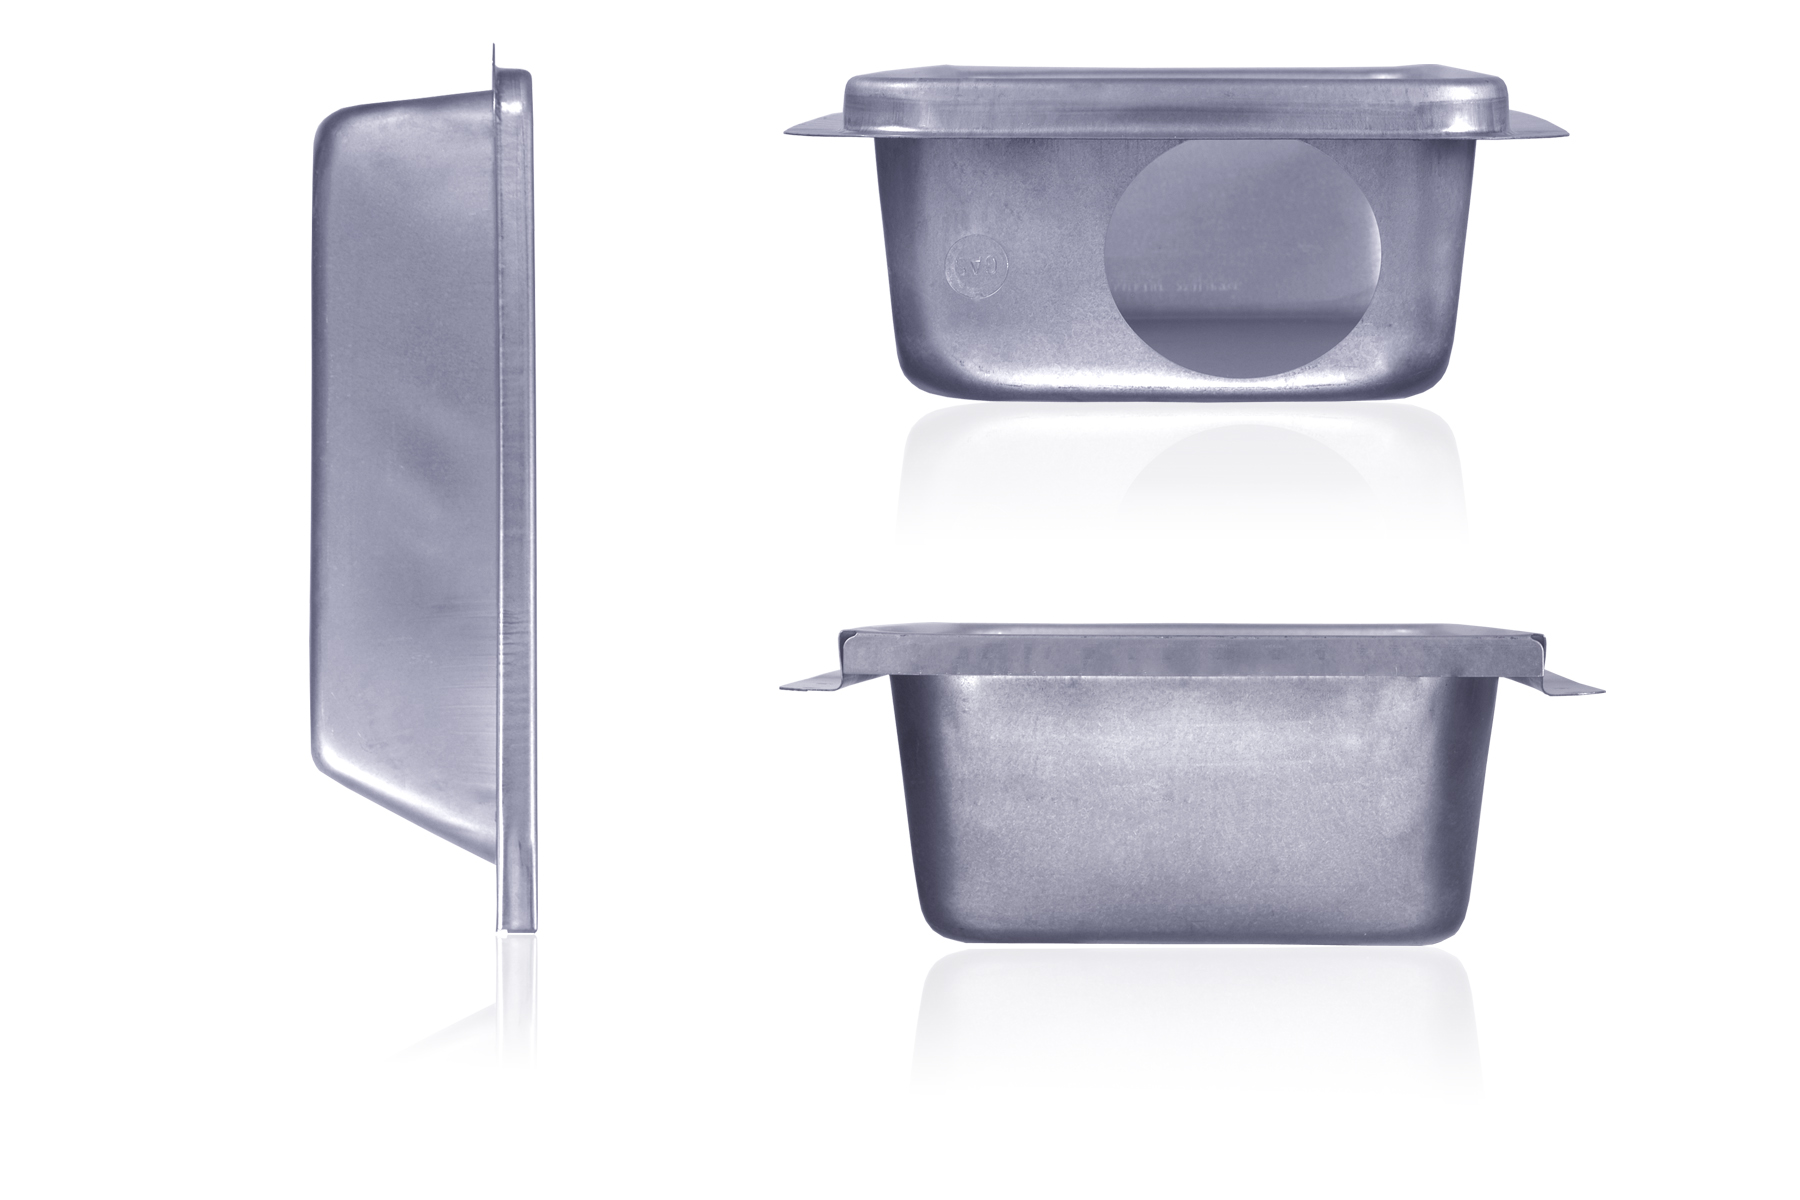
Top
Bottom
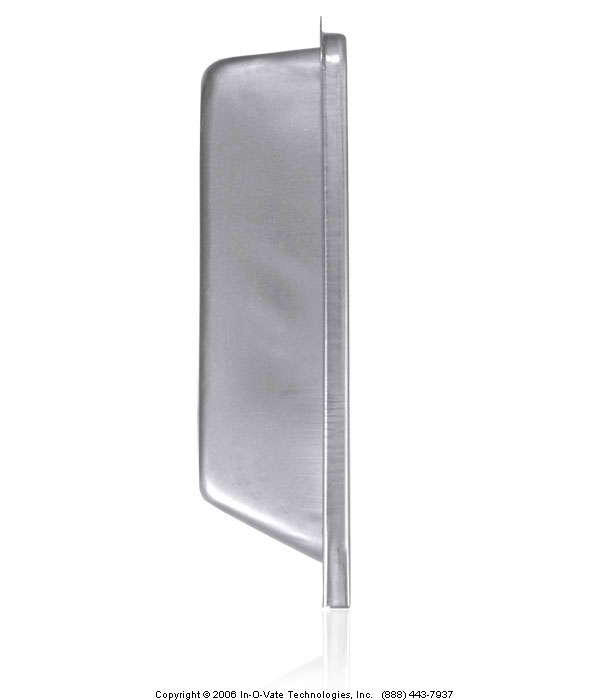
Side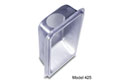
Model 425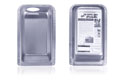
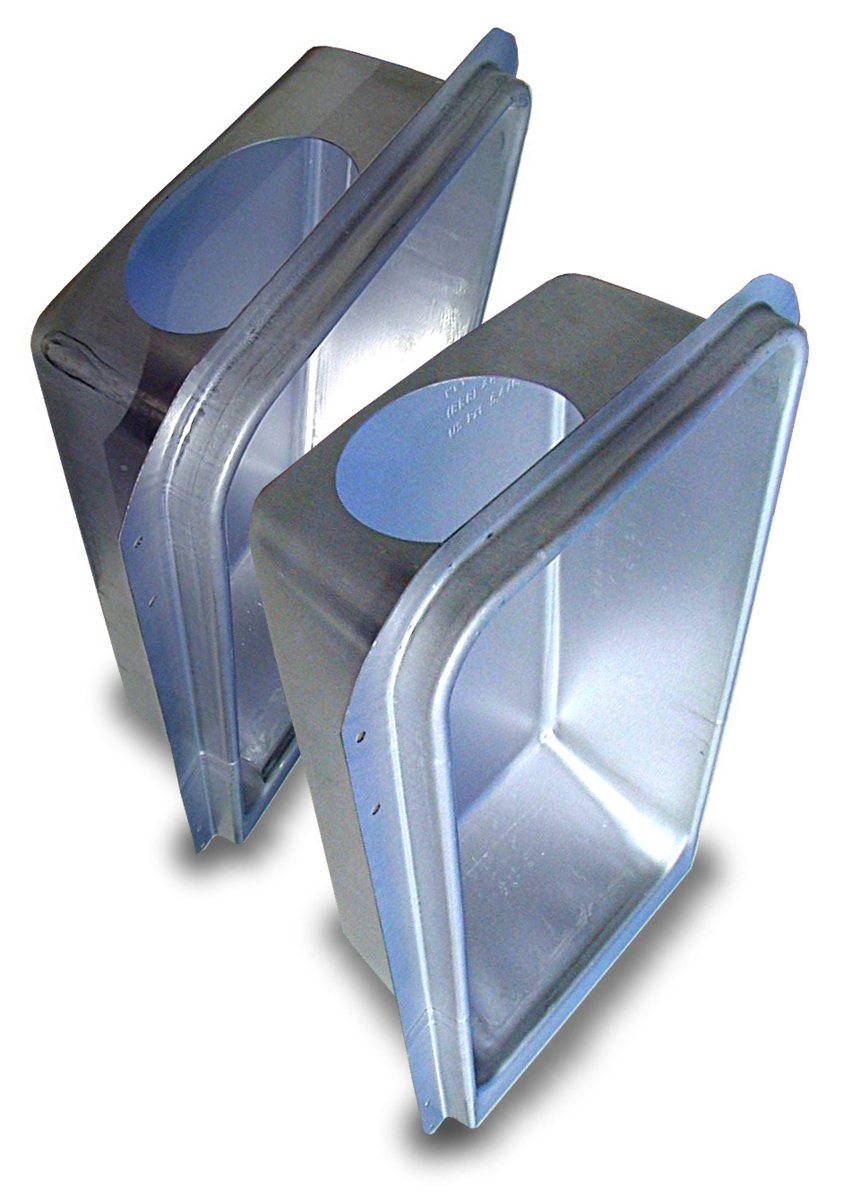
425 - Front & Back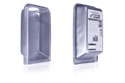
425 - Side Perspective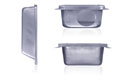
425 - Top, Bottom, Side


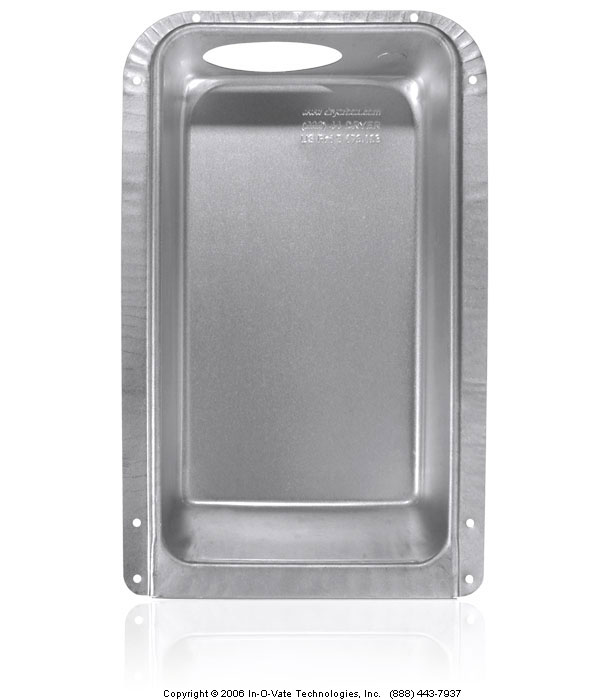
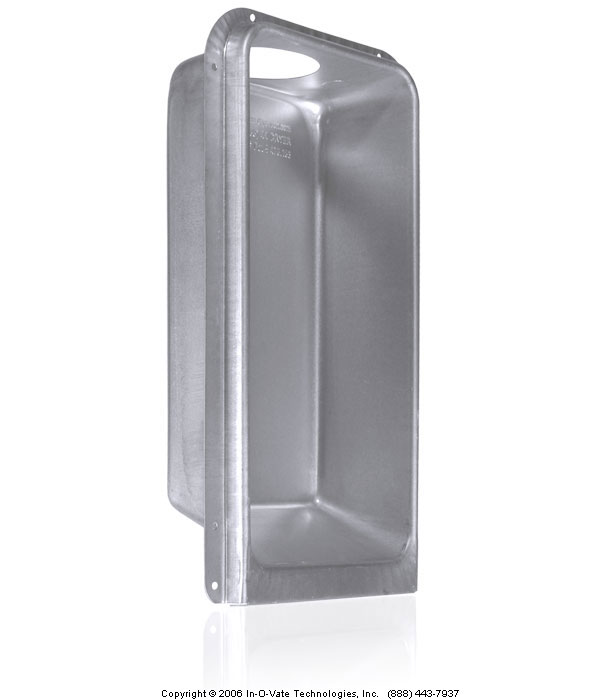
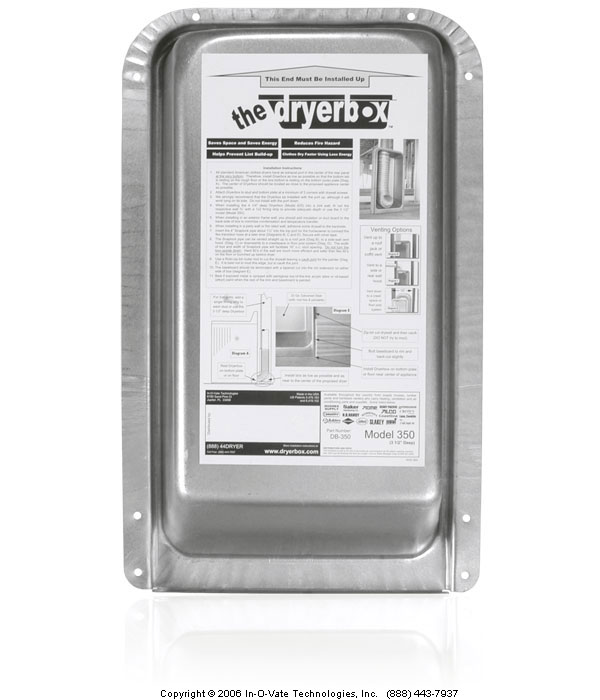
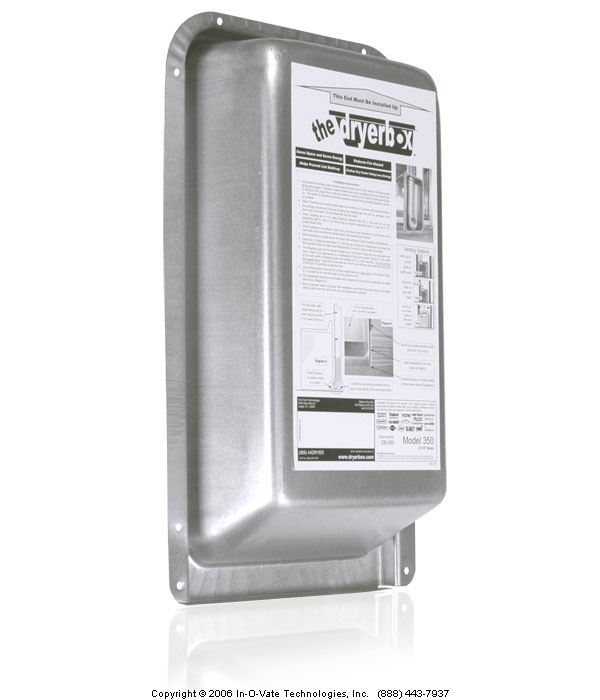
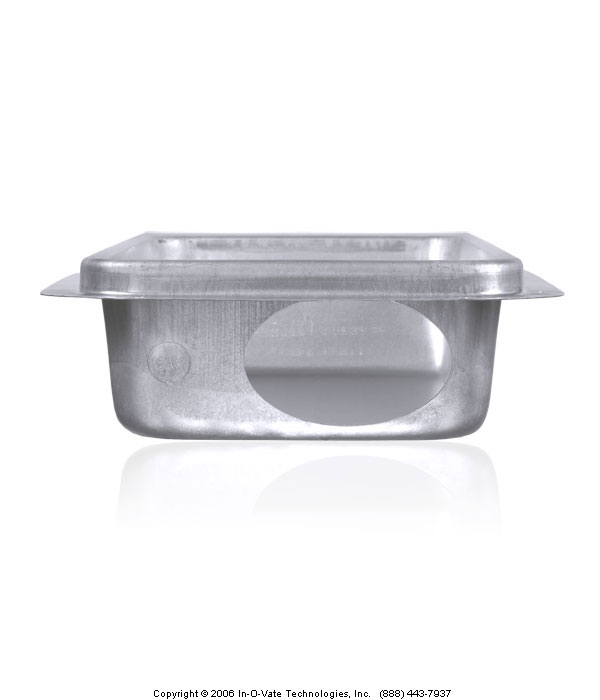
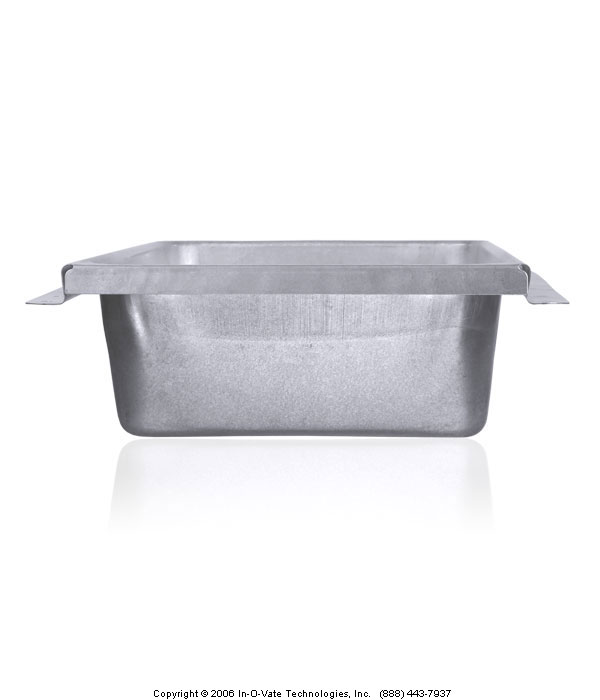
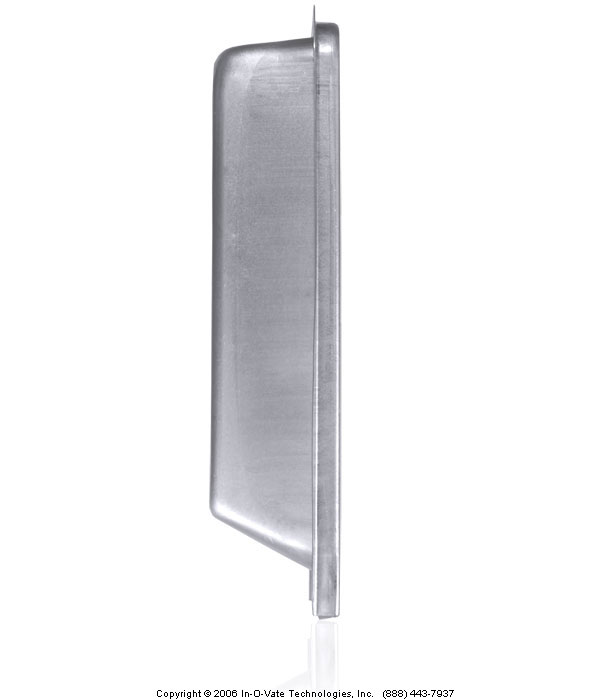
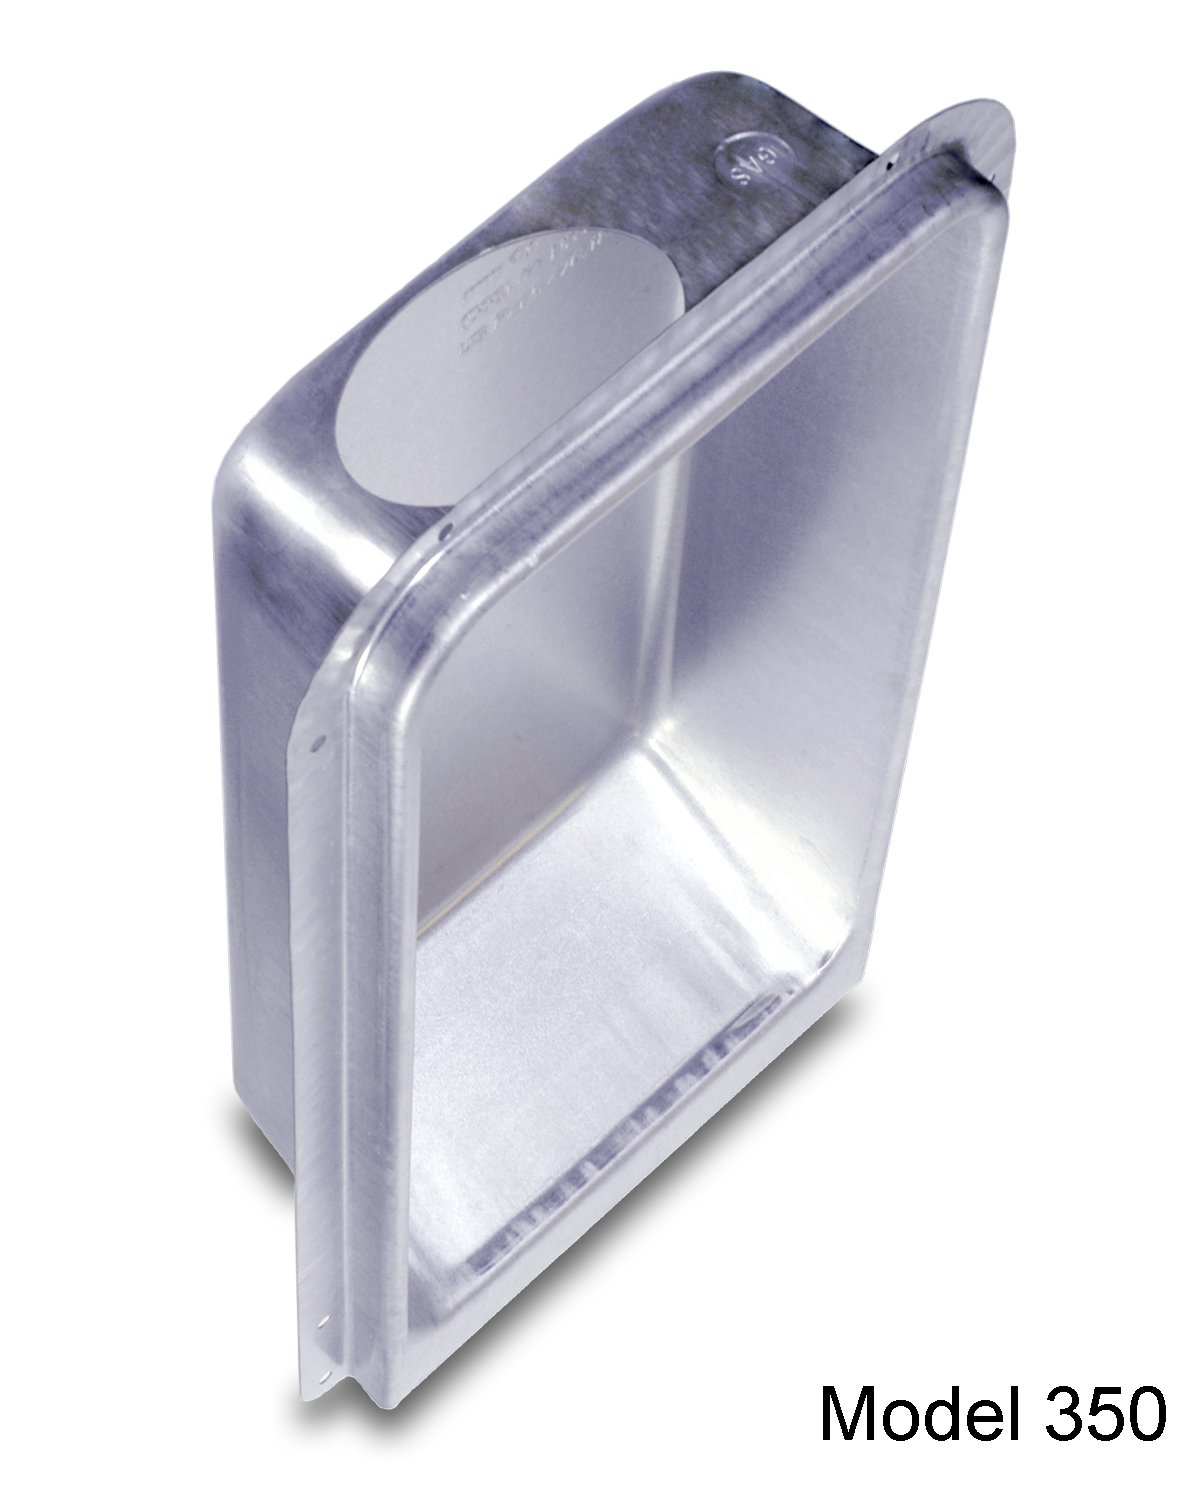
Model 350

Front
Front Perspective
Back
Back Perspective
Top
Bottom
Side
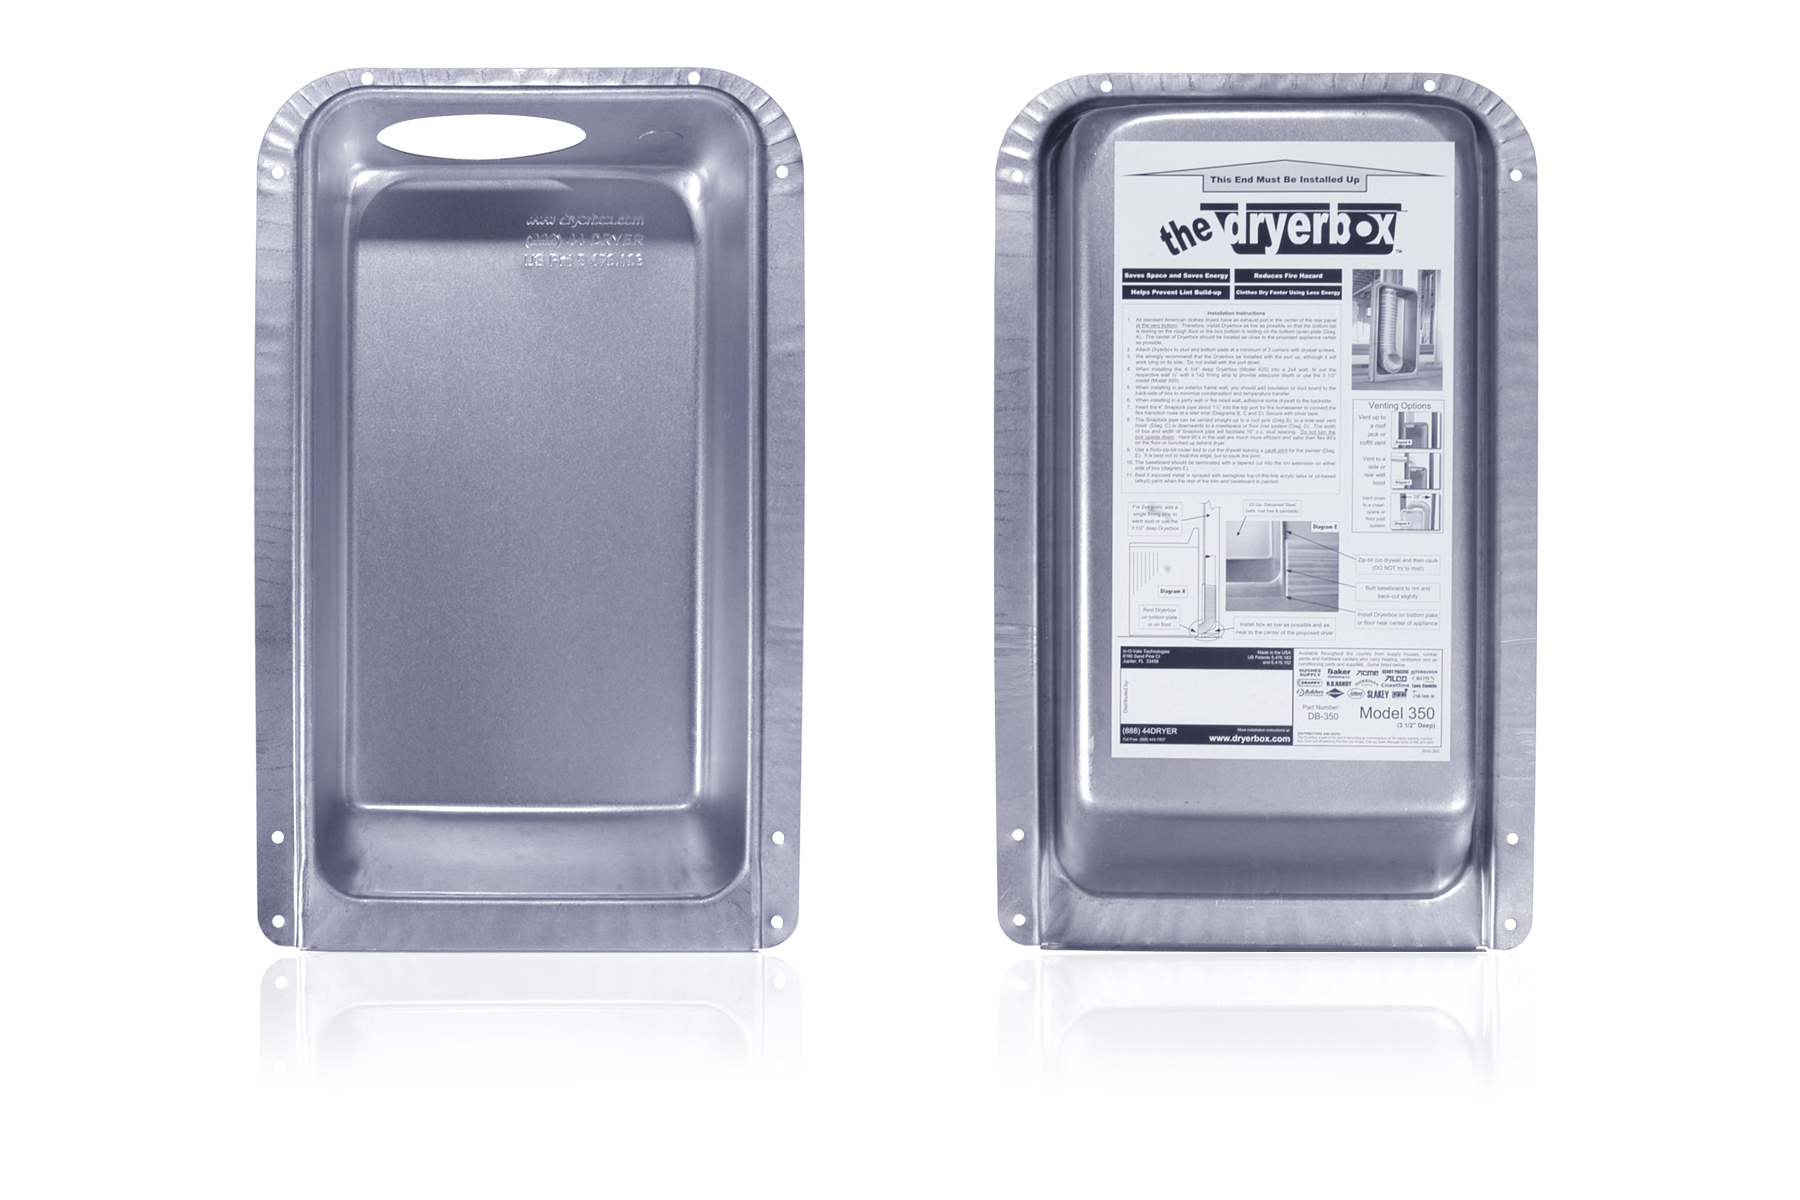
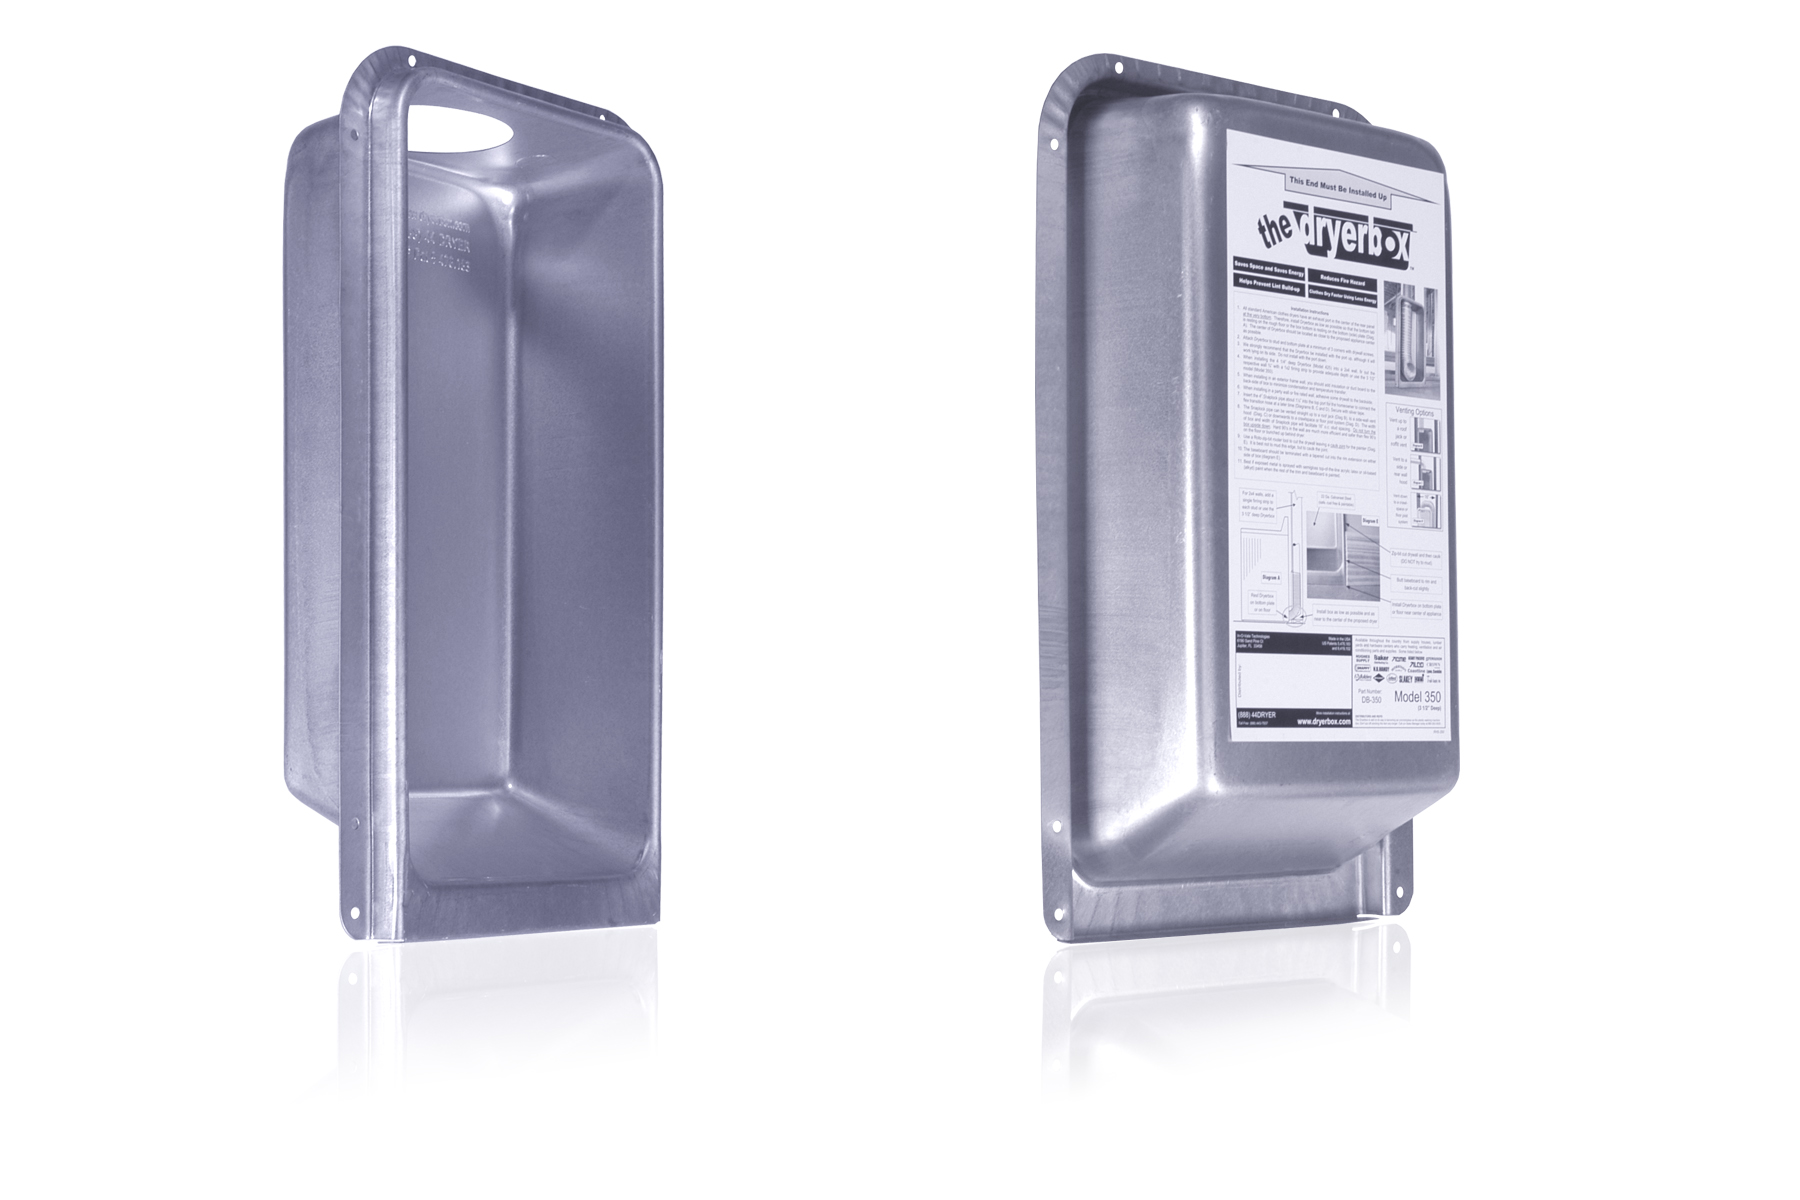
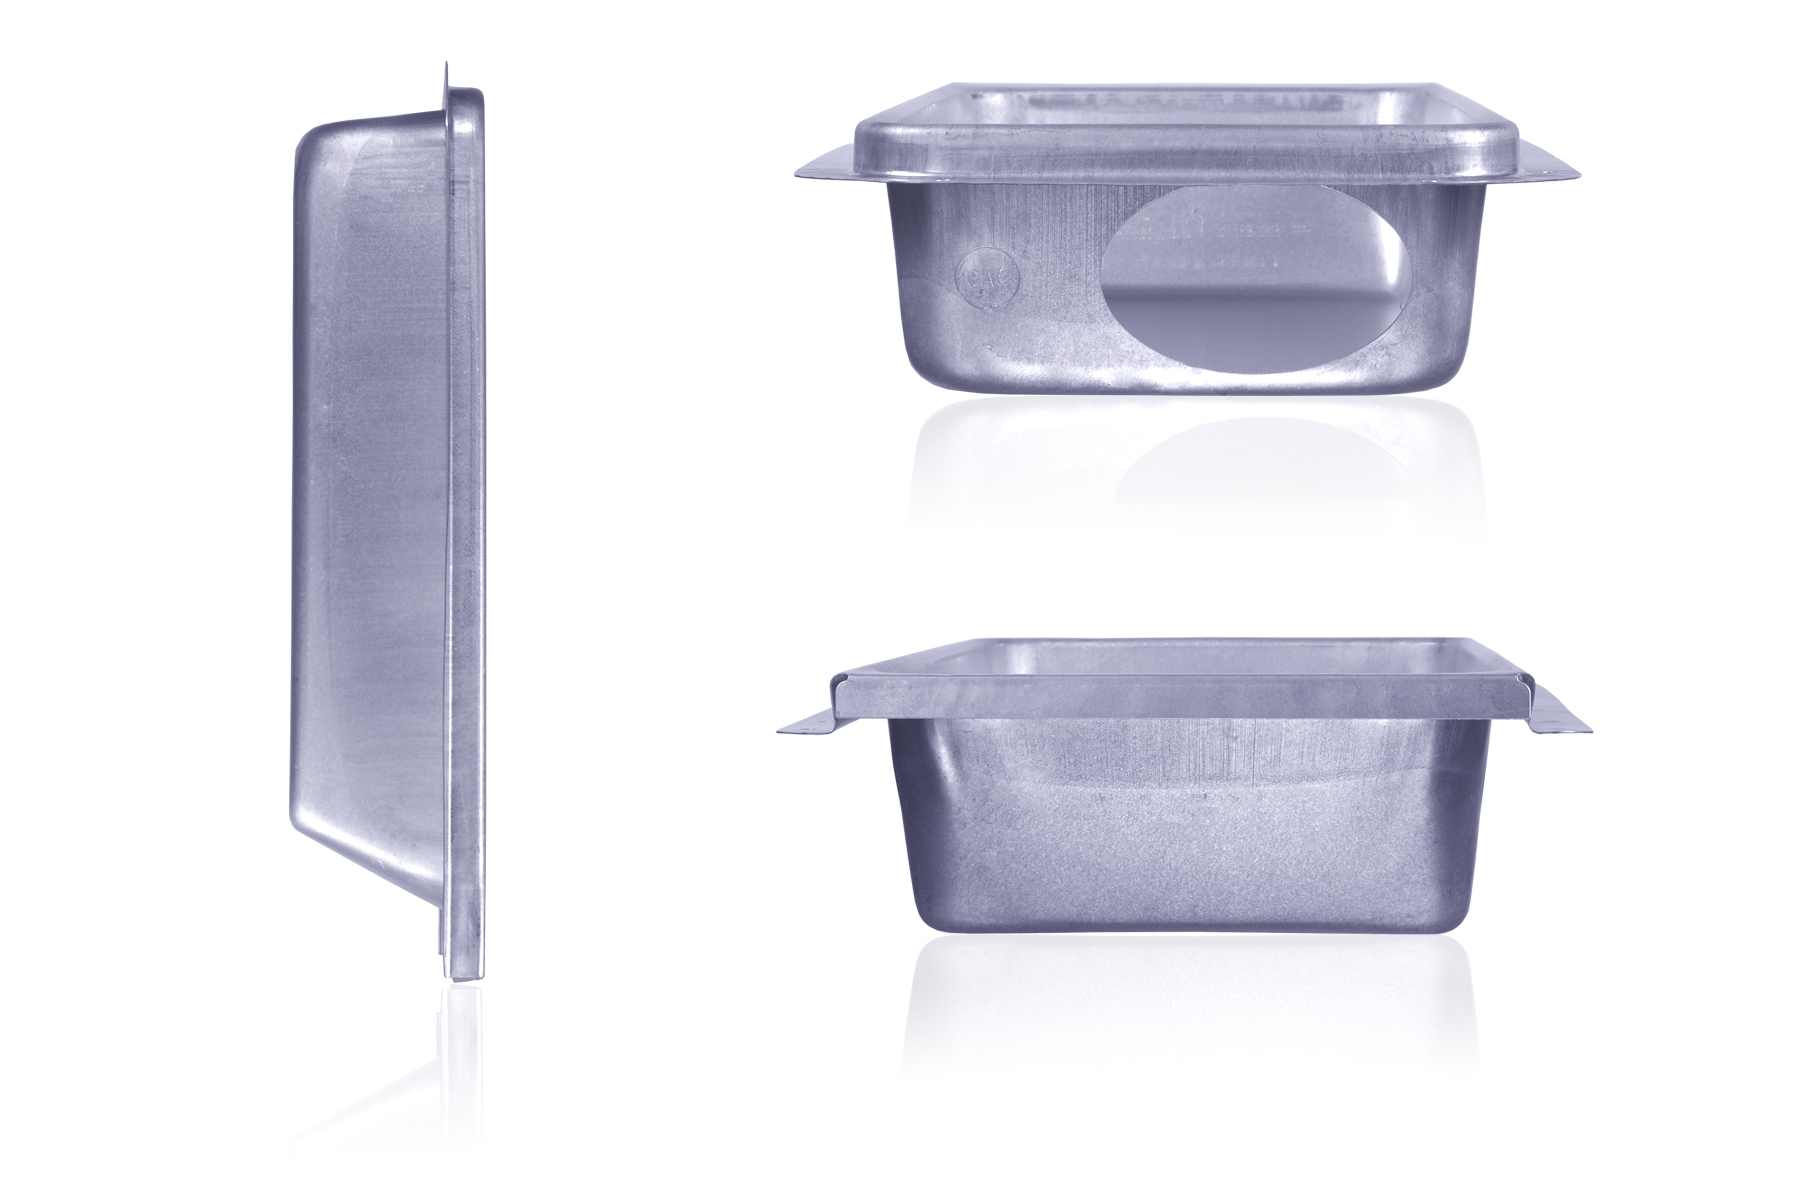
Model 350
350 - Front & Back
350 - Side Perspective
350 - Top, Bottom, Side
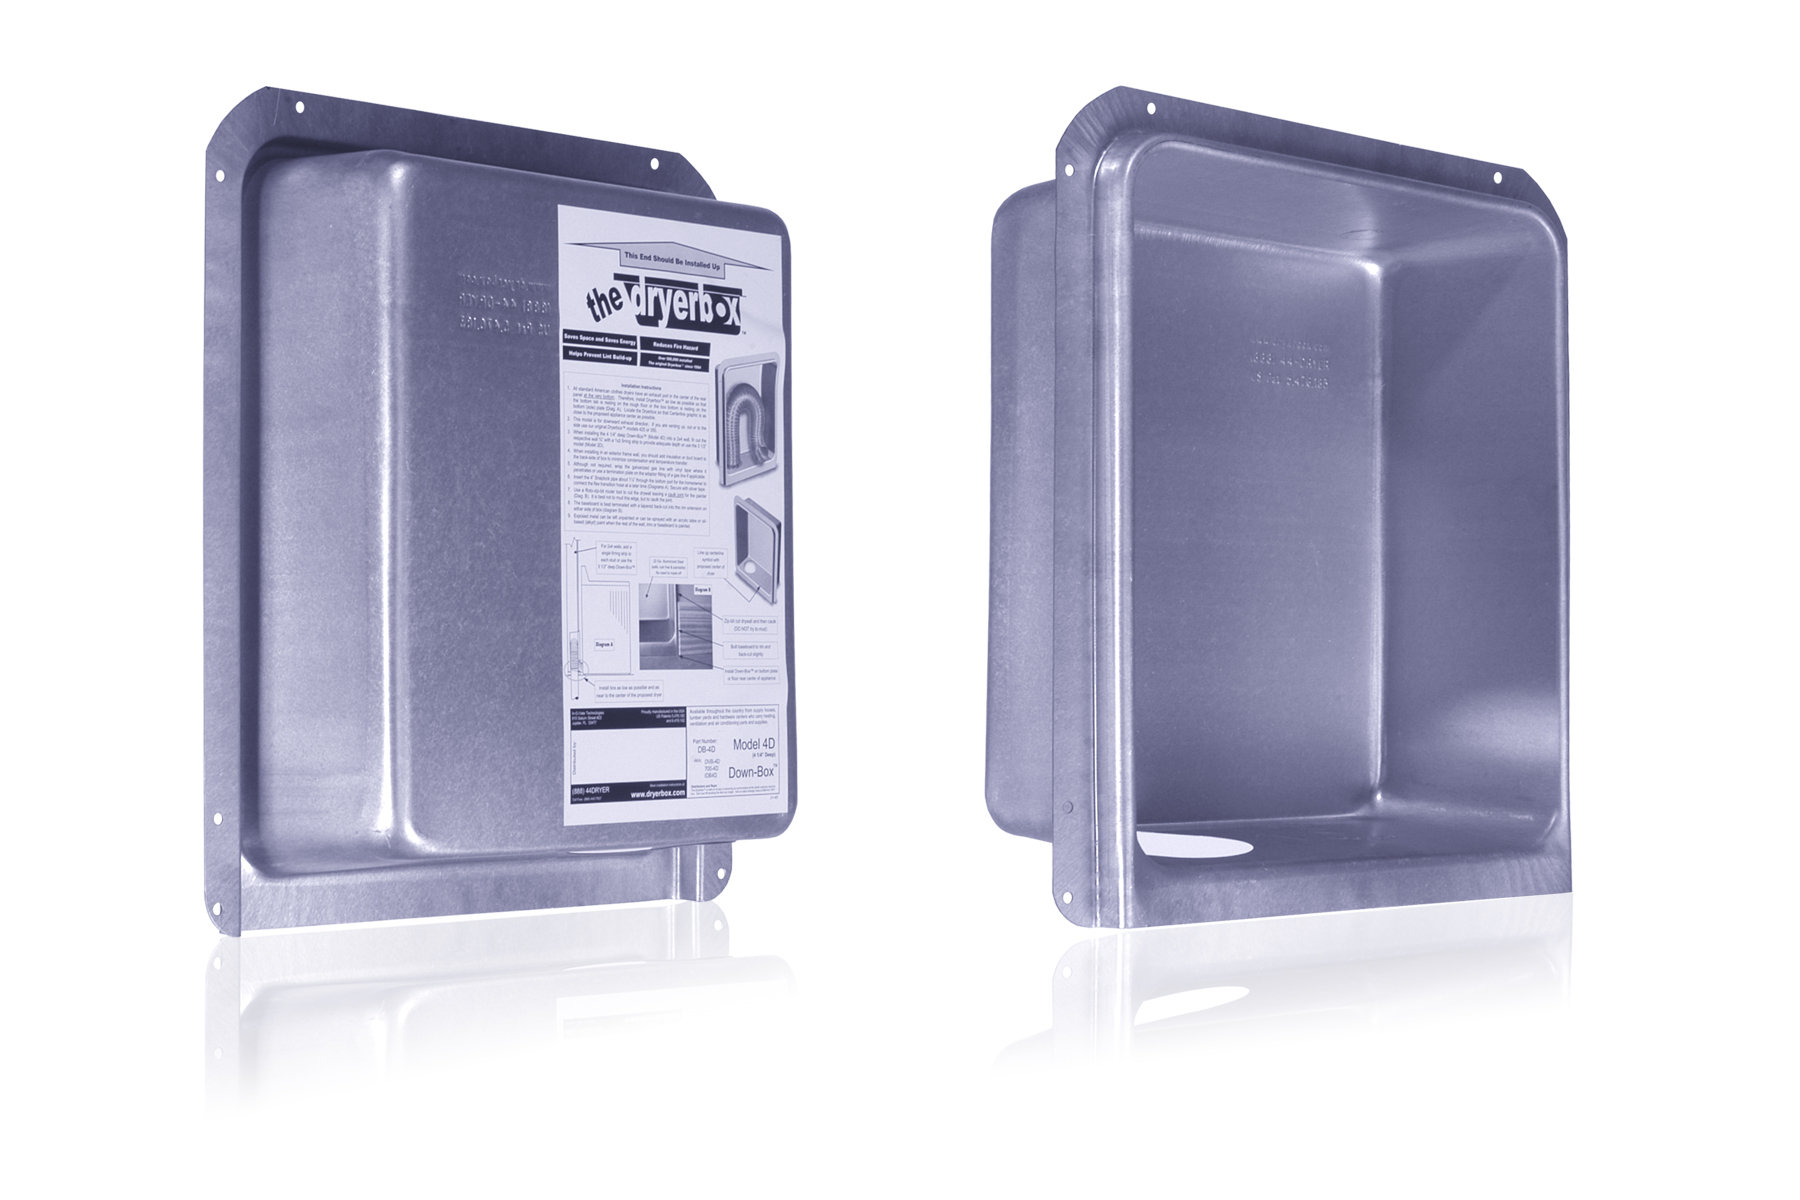
Model 4D
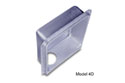
Model 4D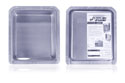
4D - Front & Back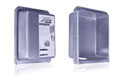
4D - Side Perspective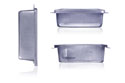
4D - Top, Bottom, Side
Downward With Dryer-Ell


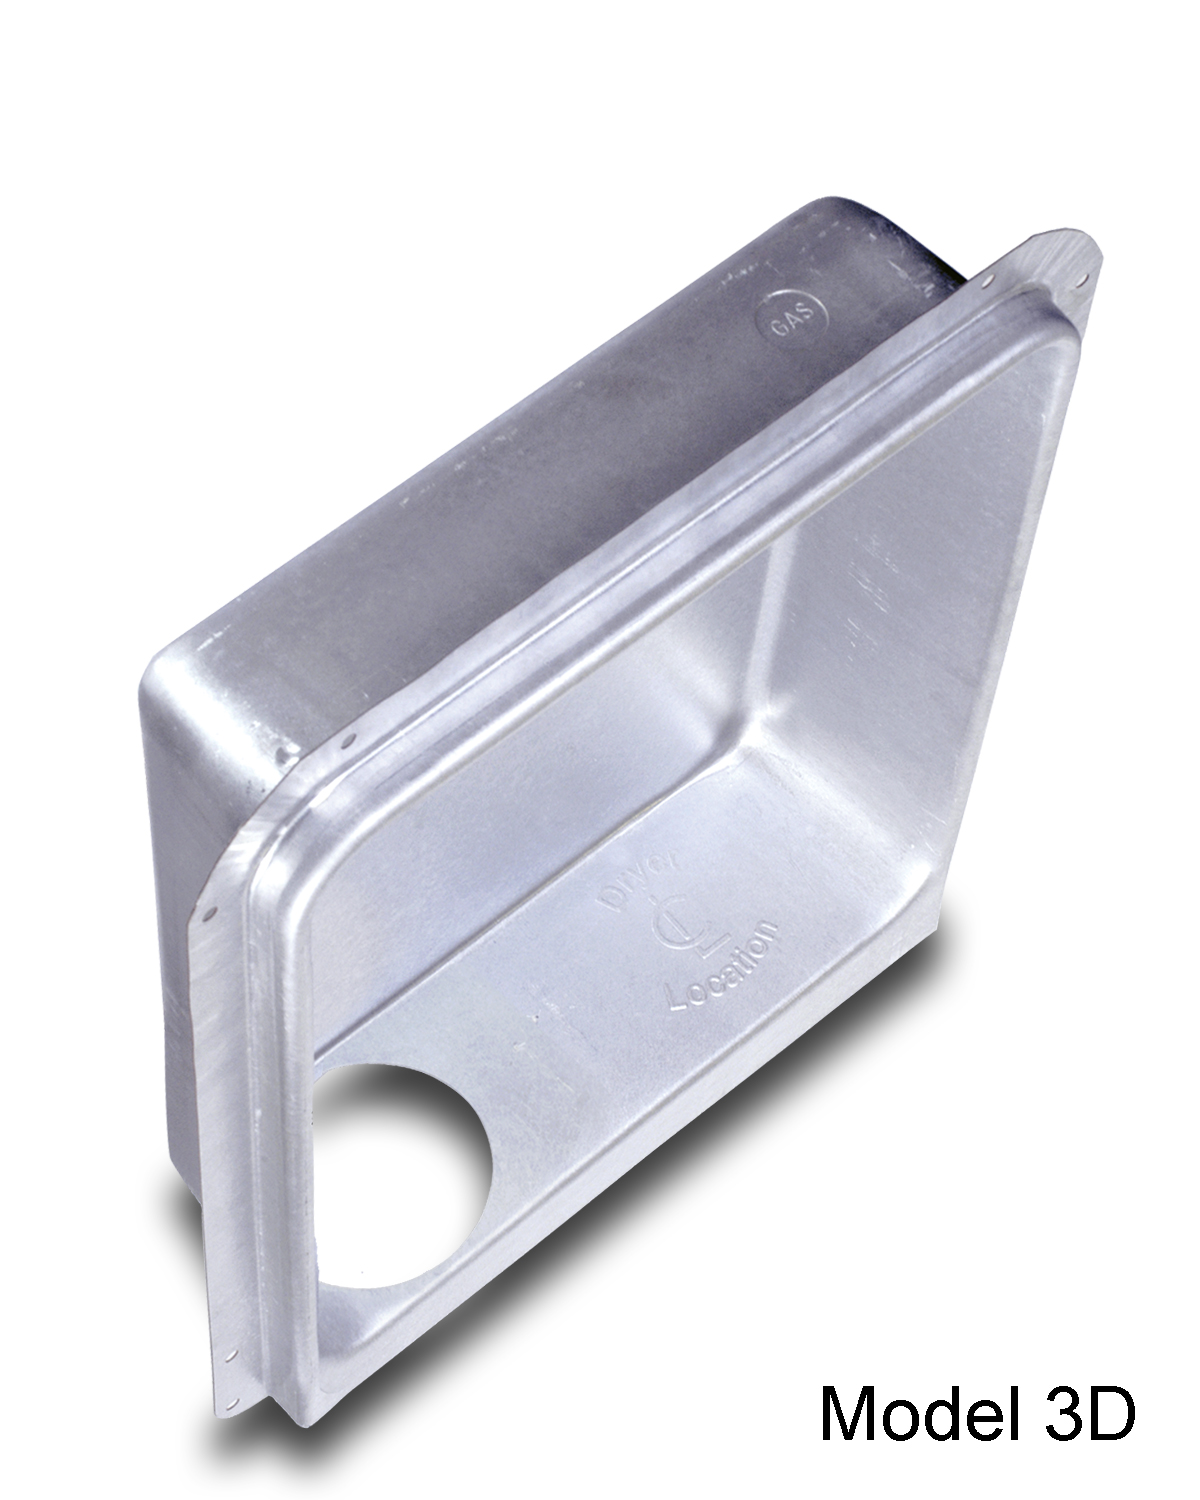
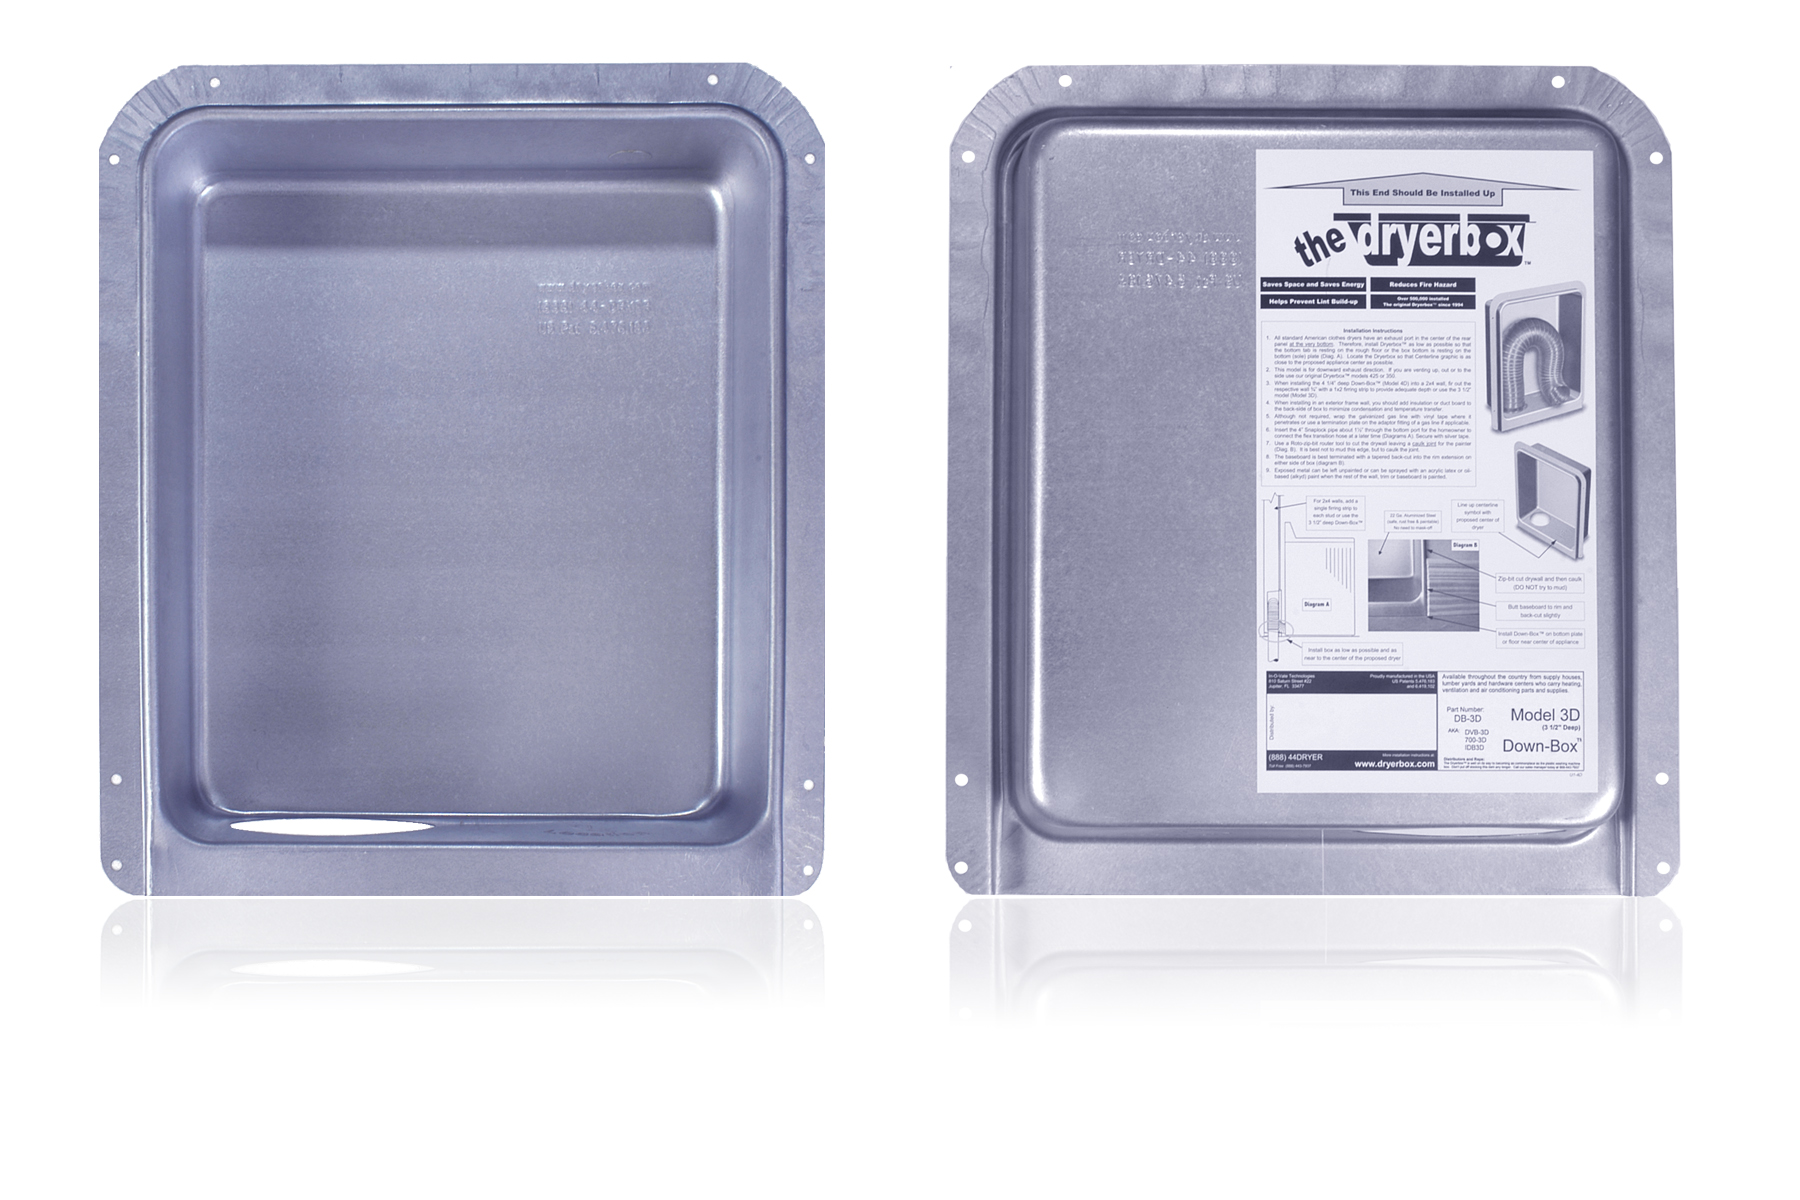
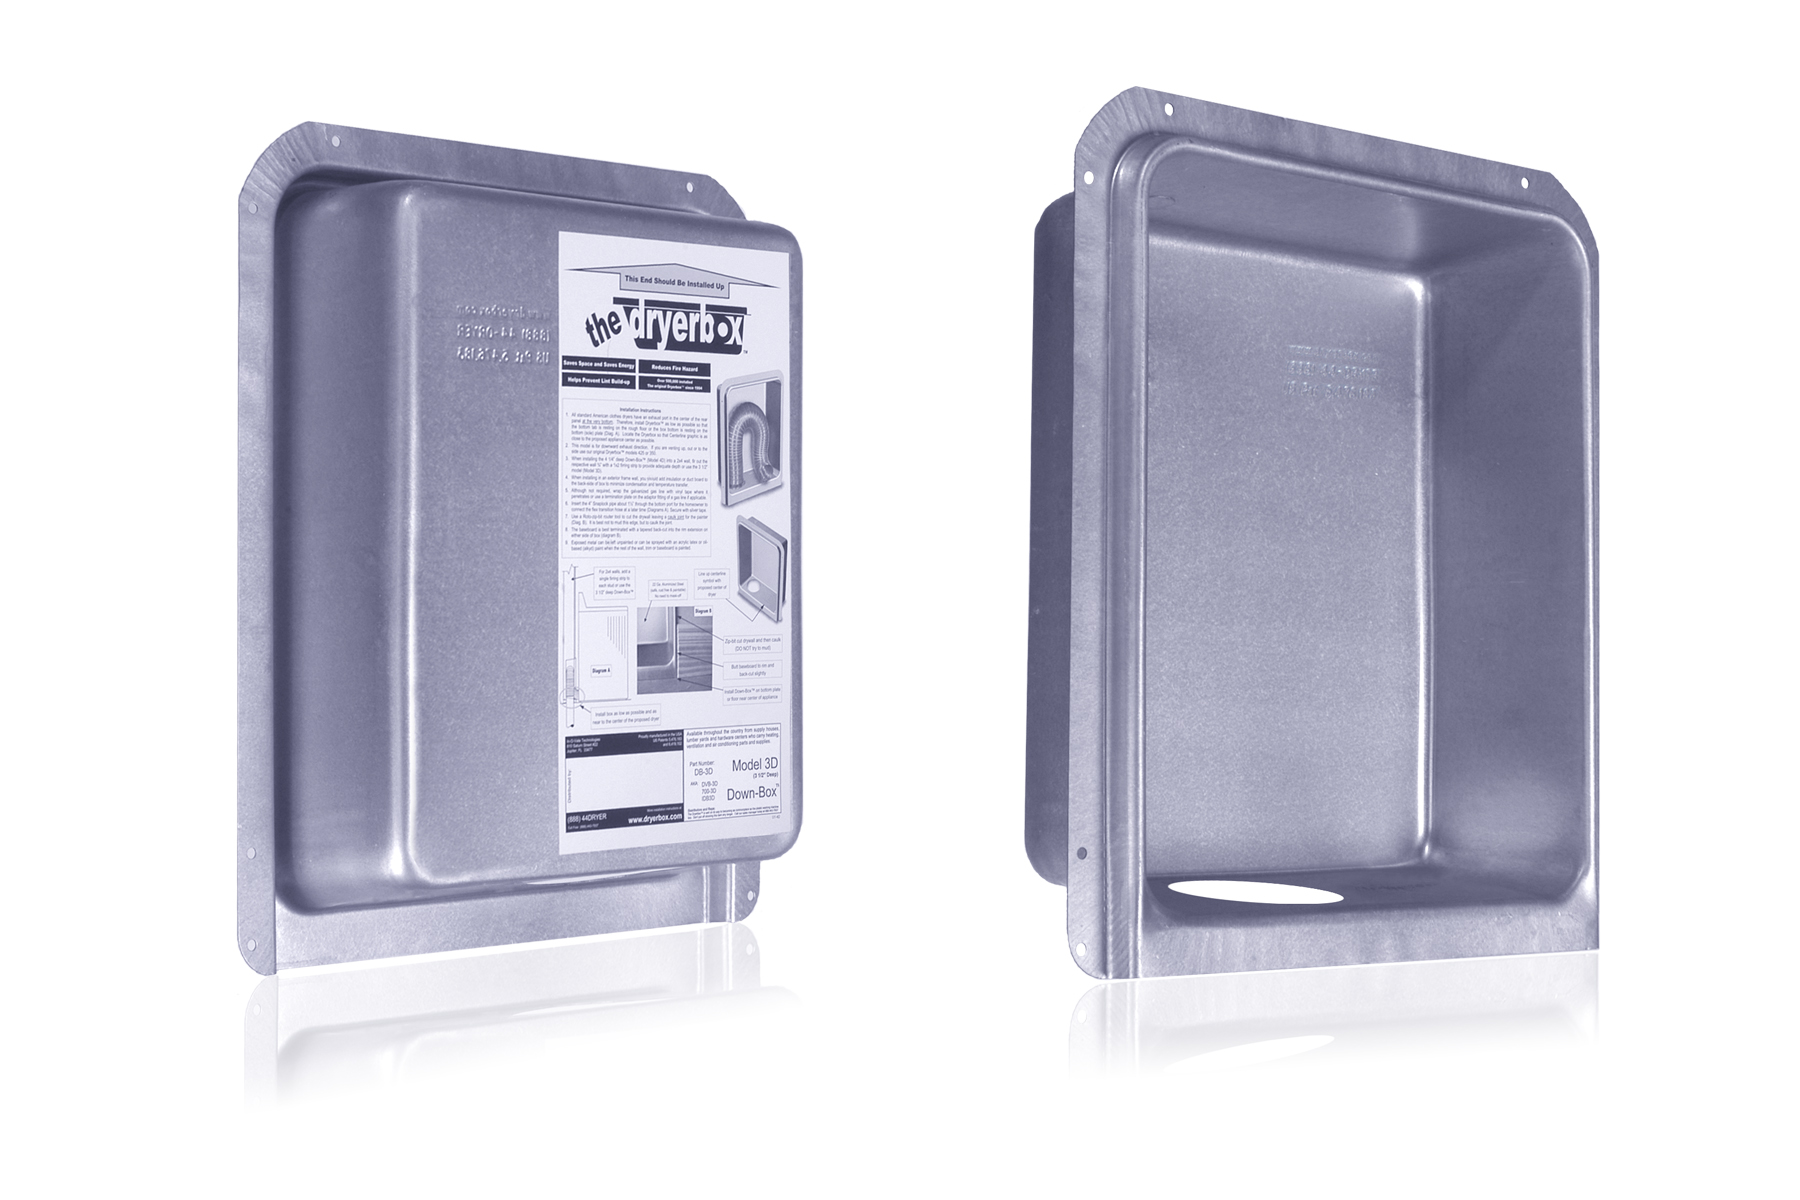
Model 3D
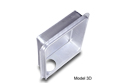
Model 3D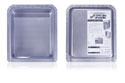
3D - Front & Back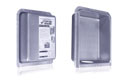
3D - Side Perspective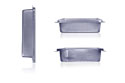
3D - Top, Bottom, Side
Downward With Dryer-Ell

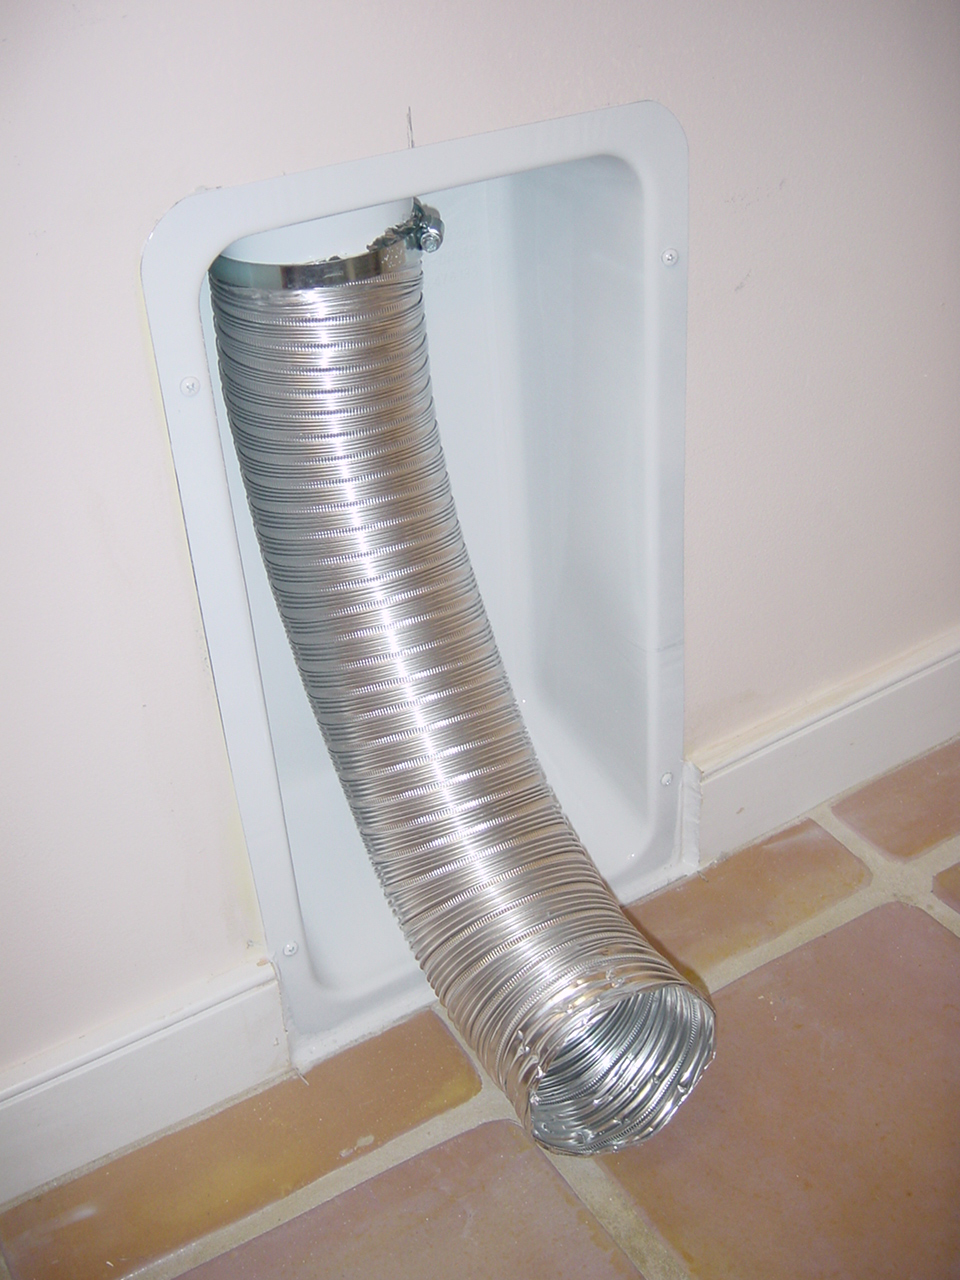
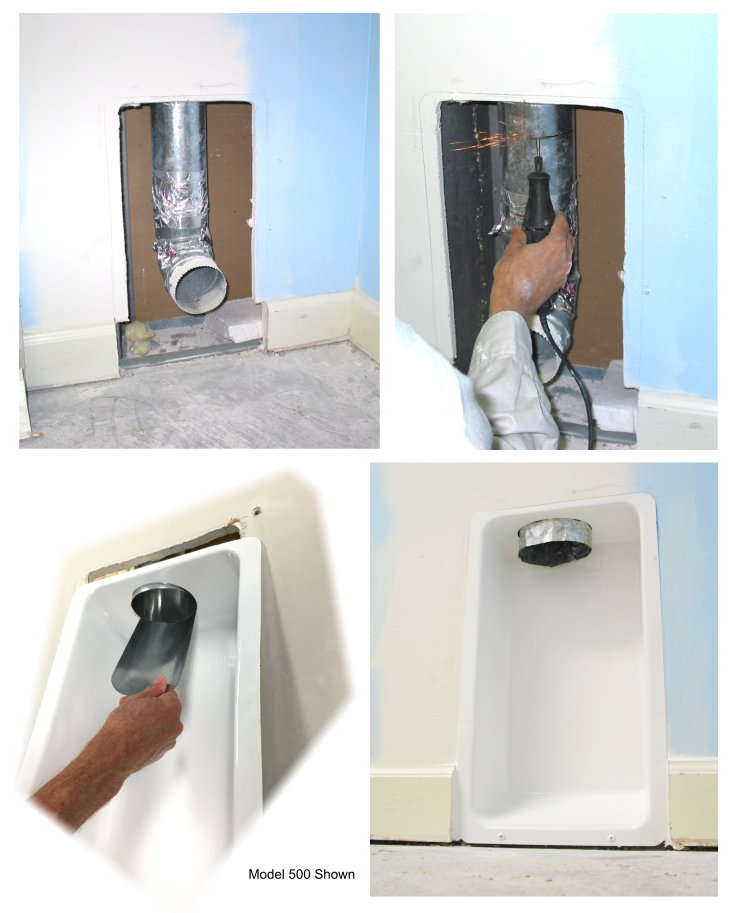
Retro Options
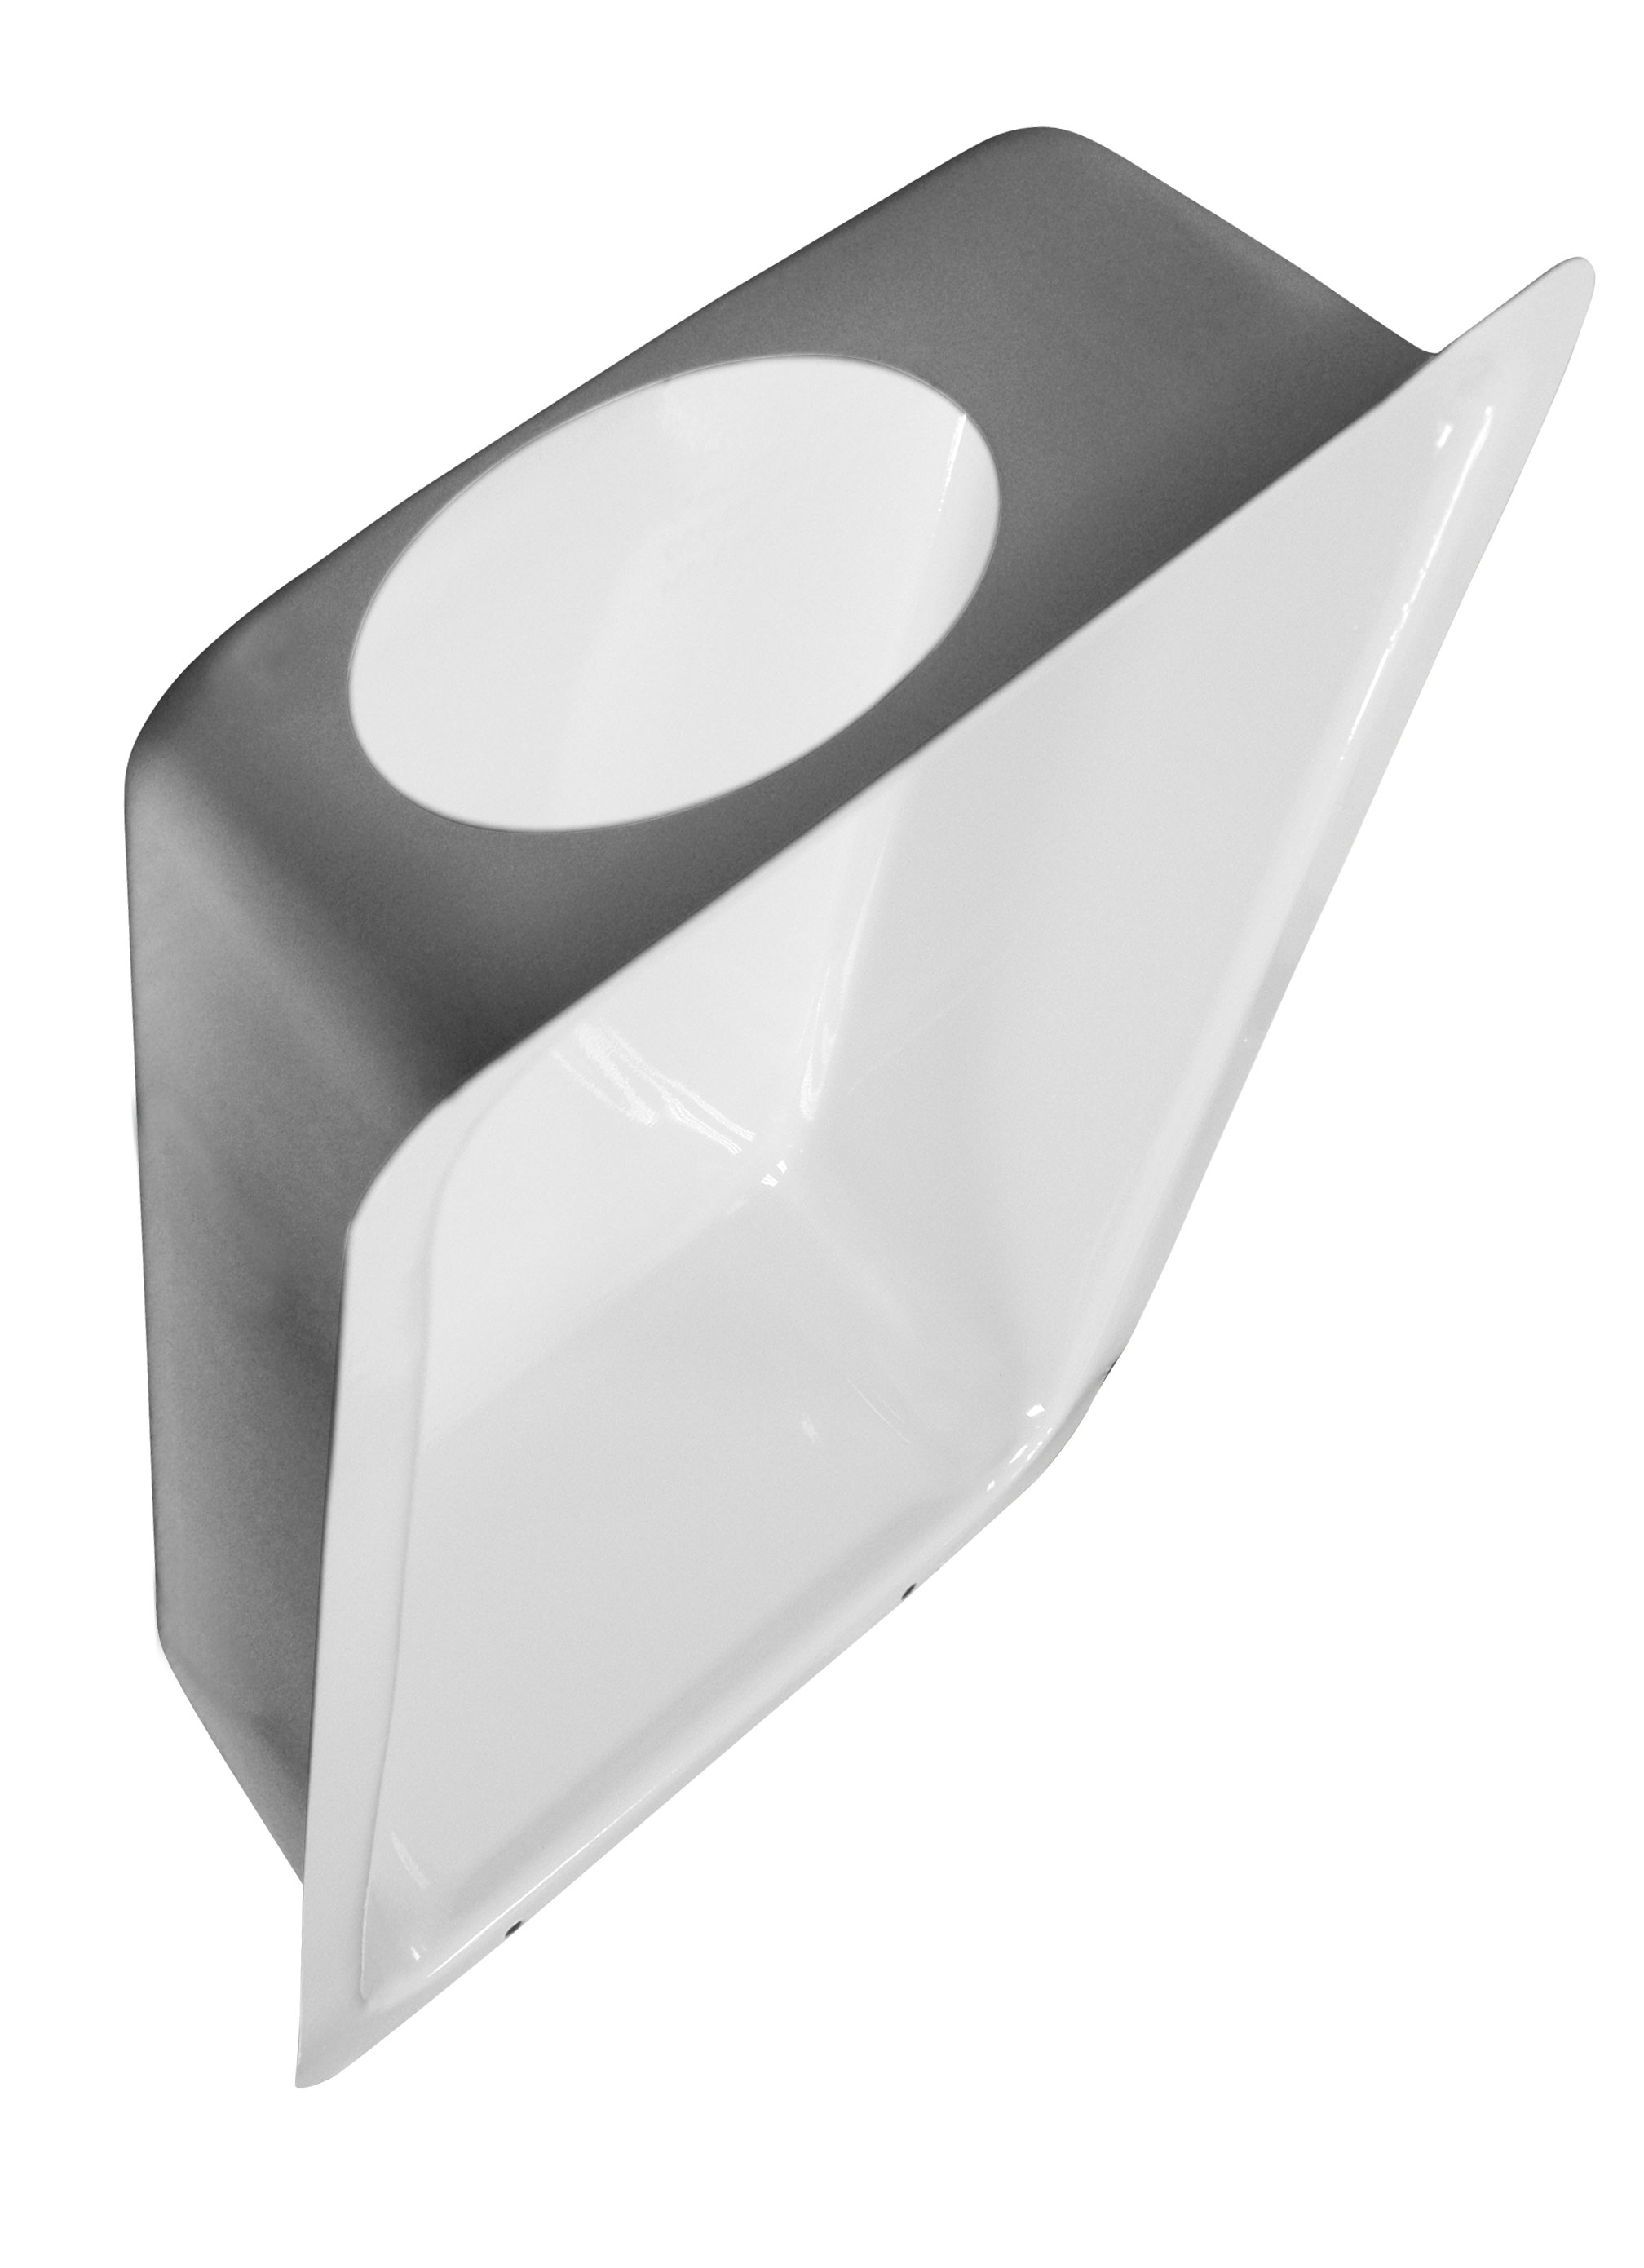
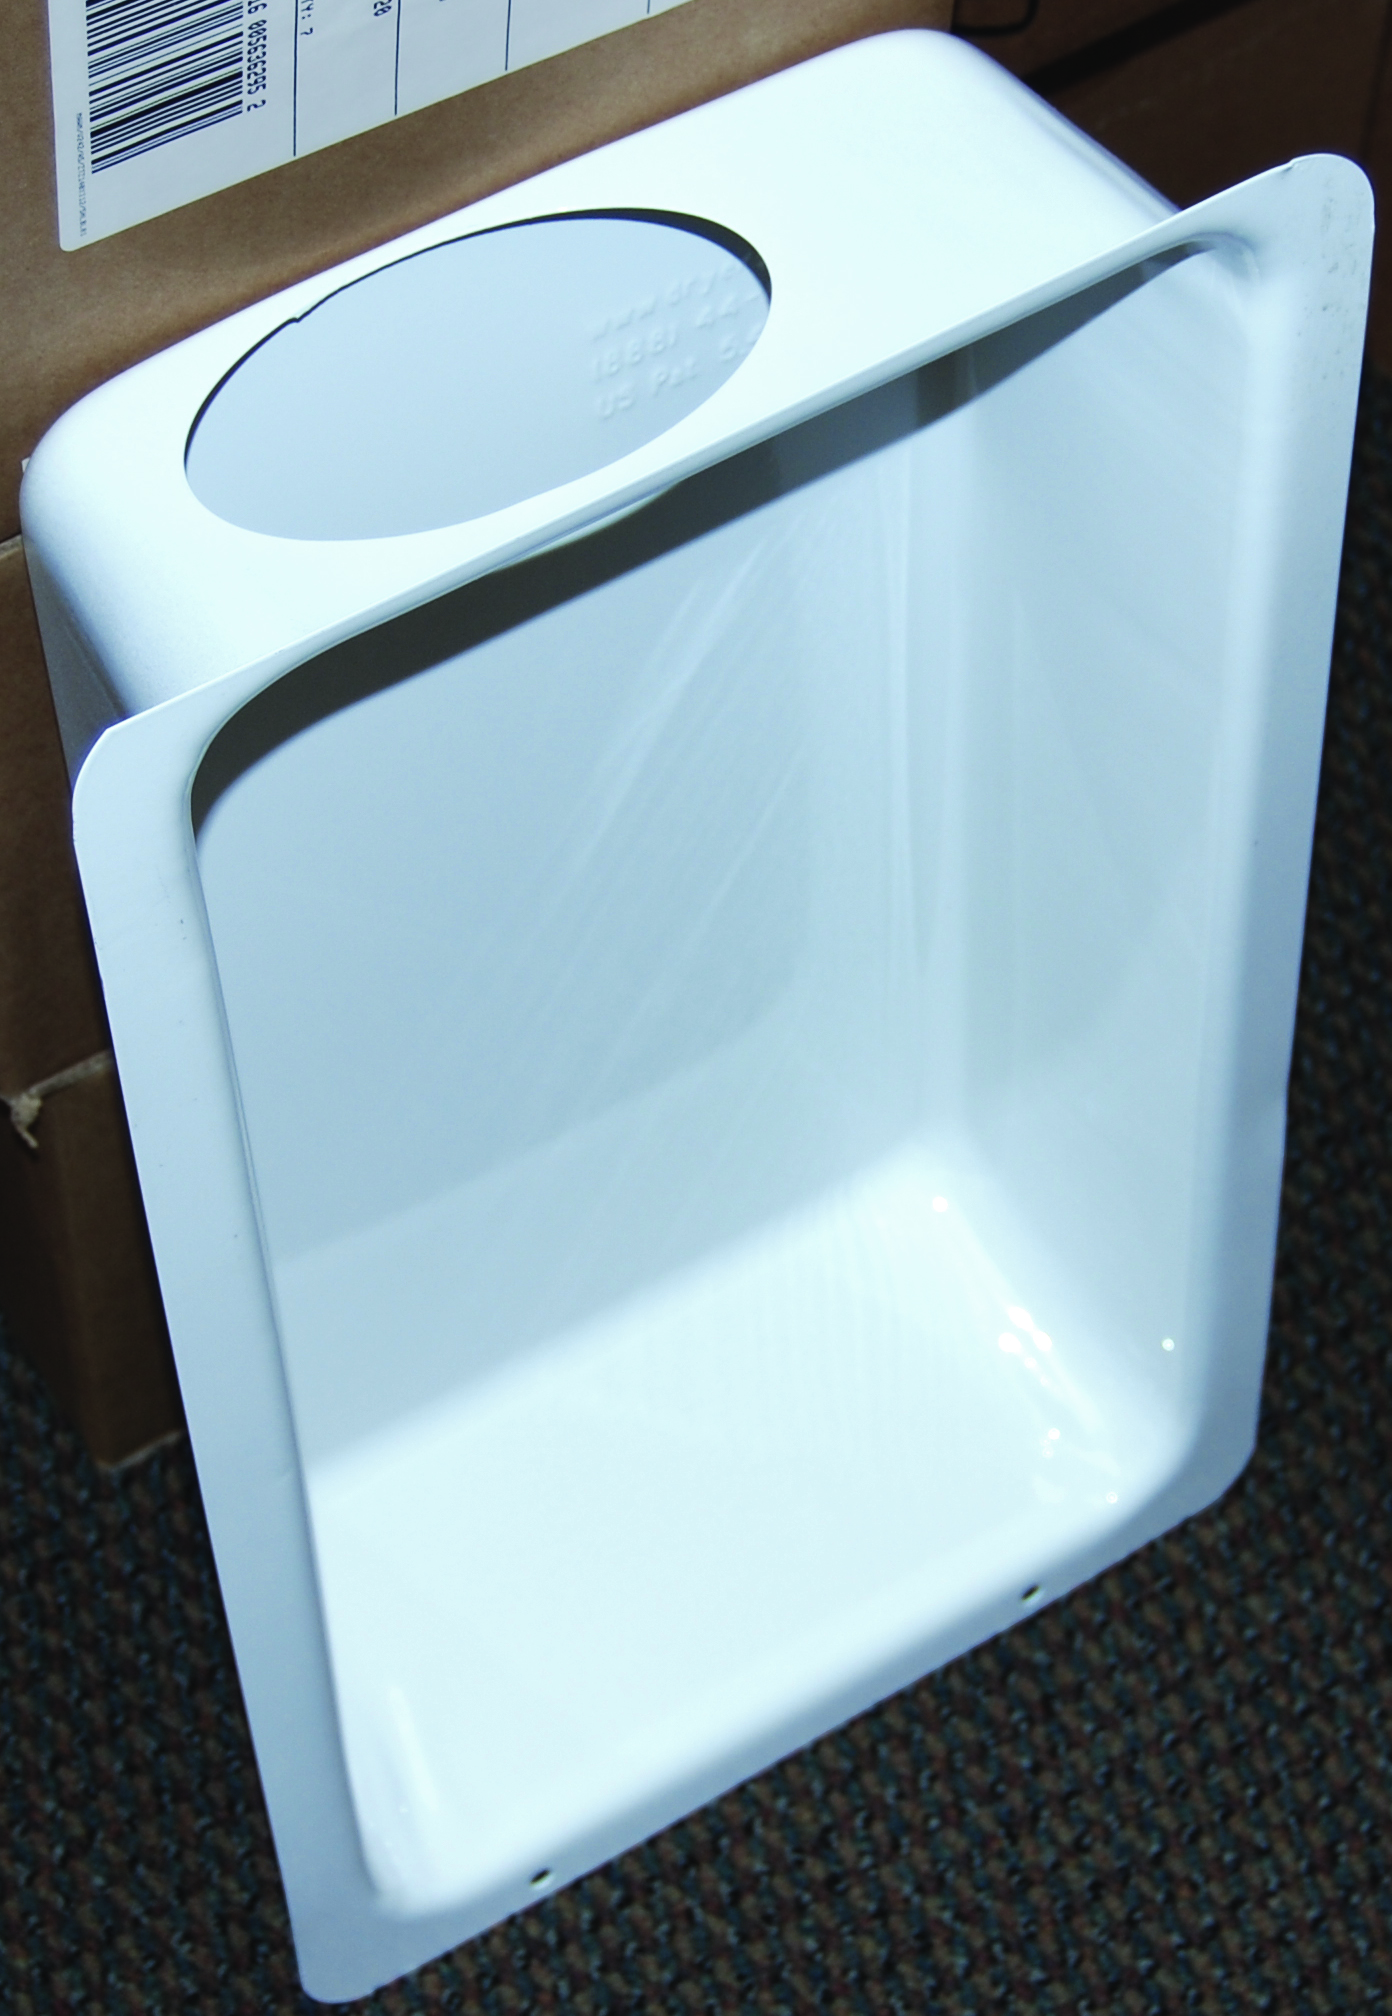
RB-500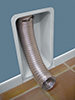
RB-500 installed
RB-500 installed
RB-500 Install Collage
RB-400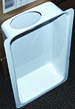
RB-400

All Models

All Models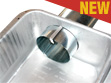
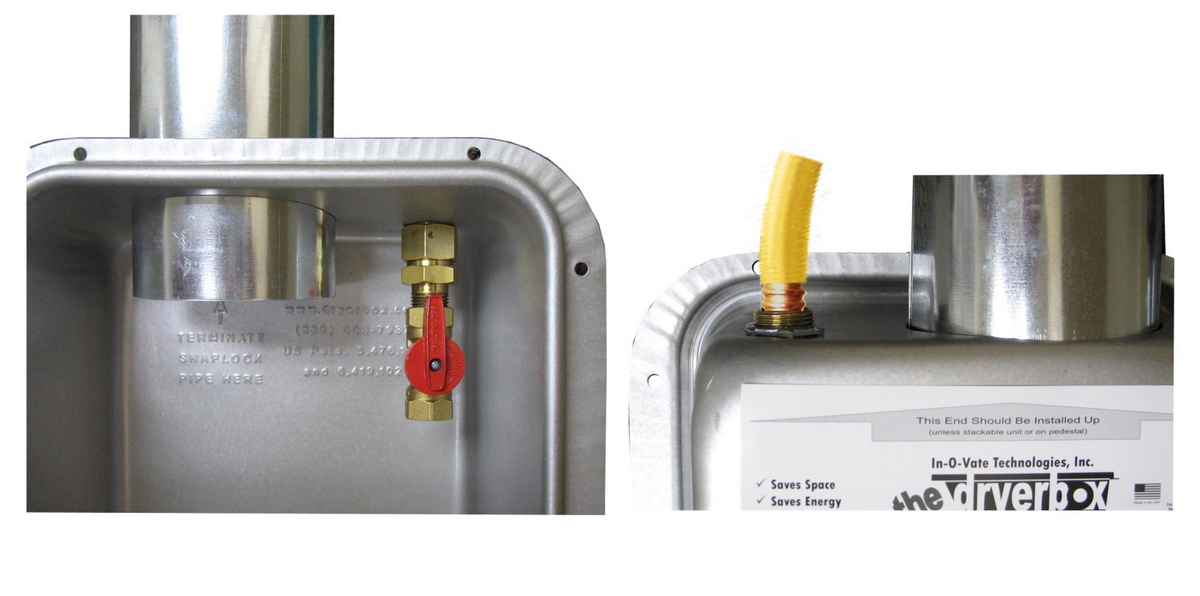
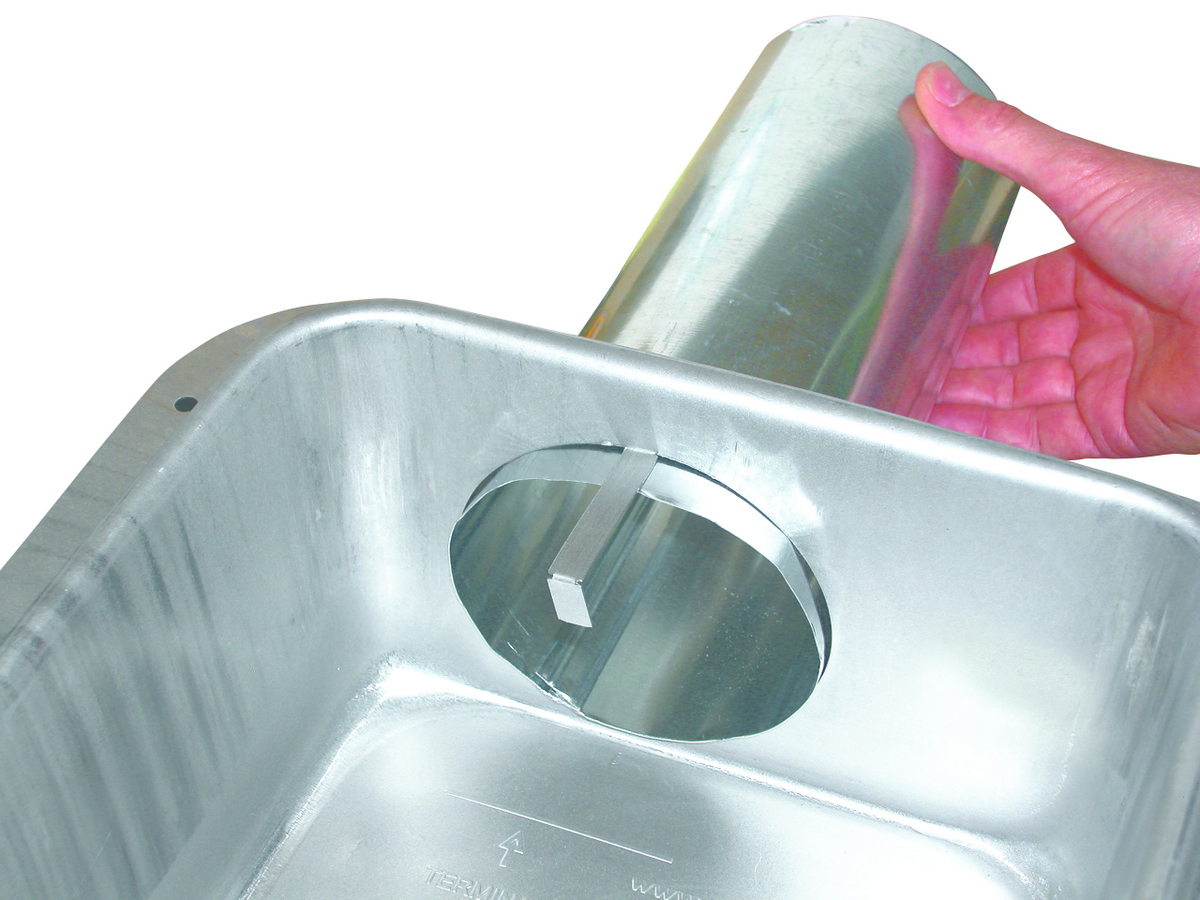
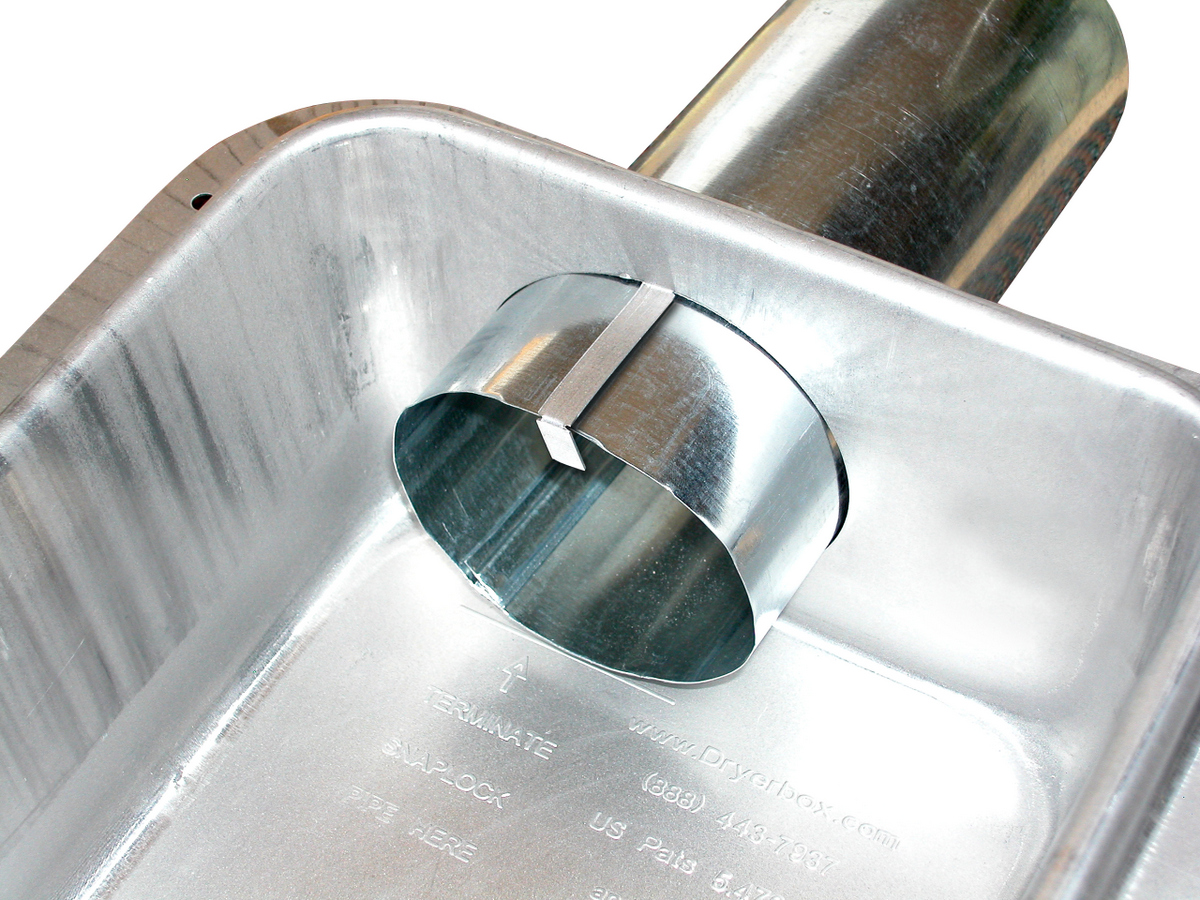
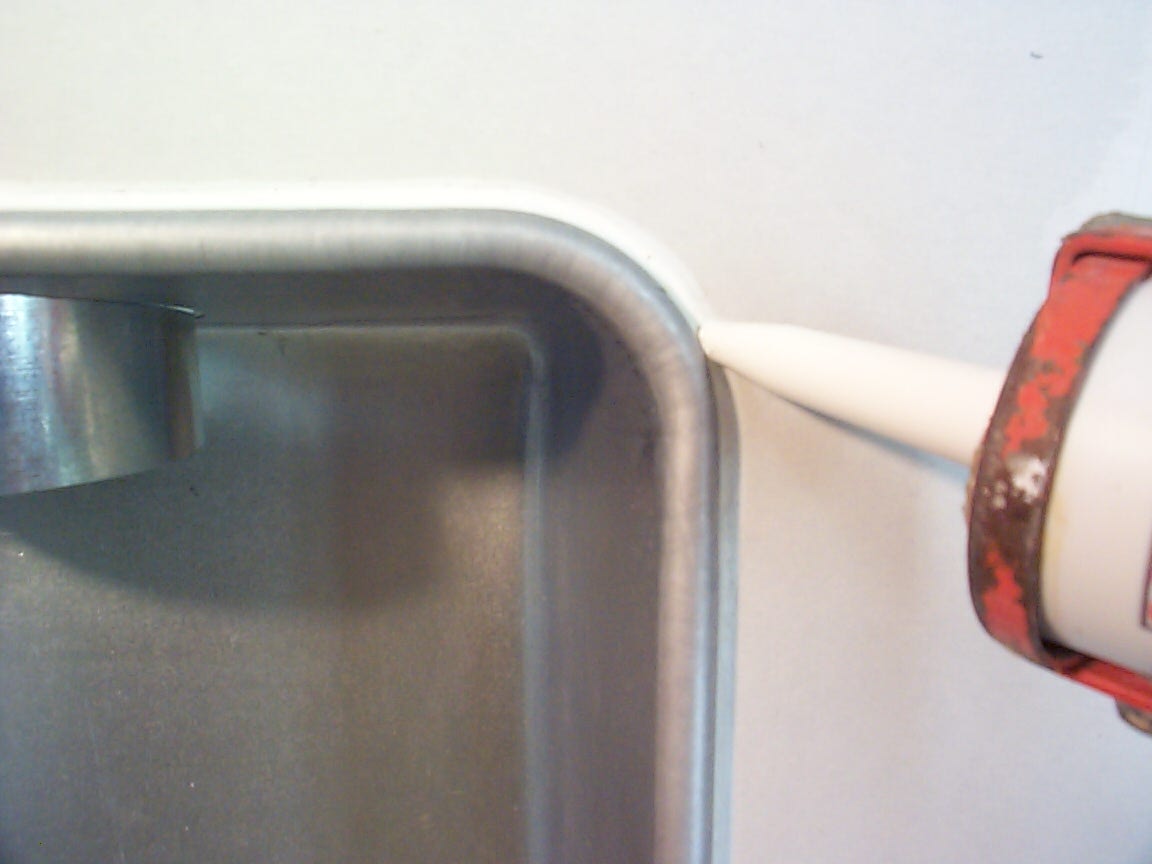
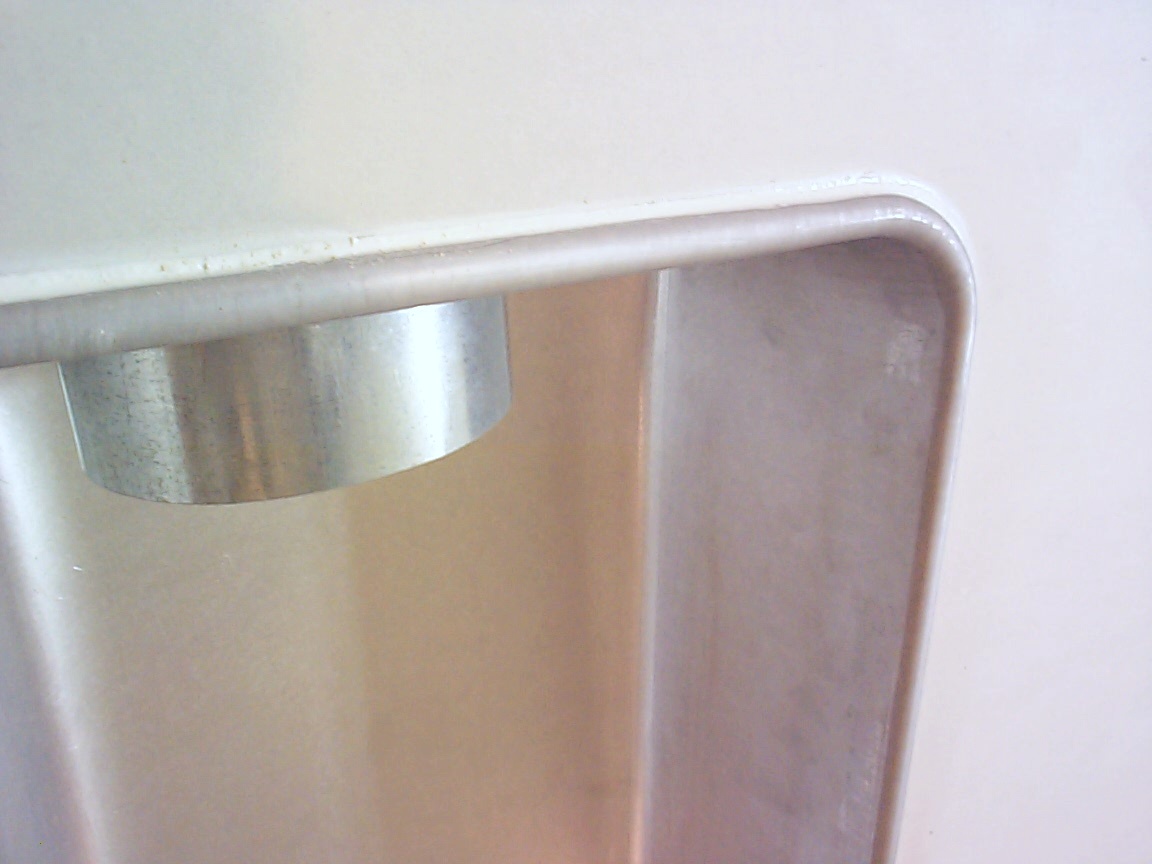
Pipe Support Tab

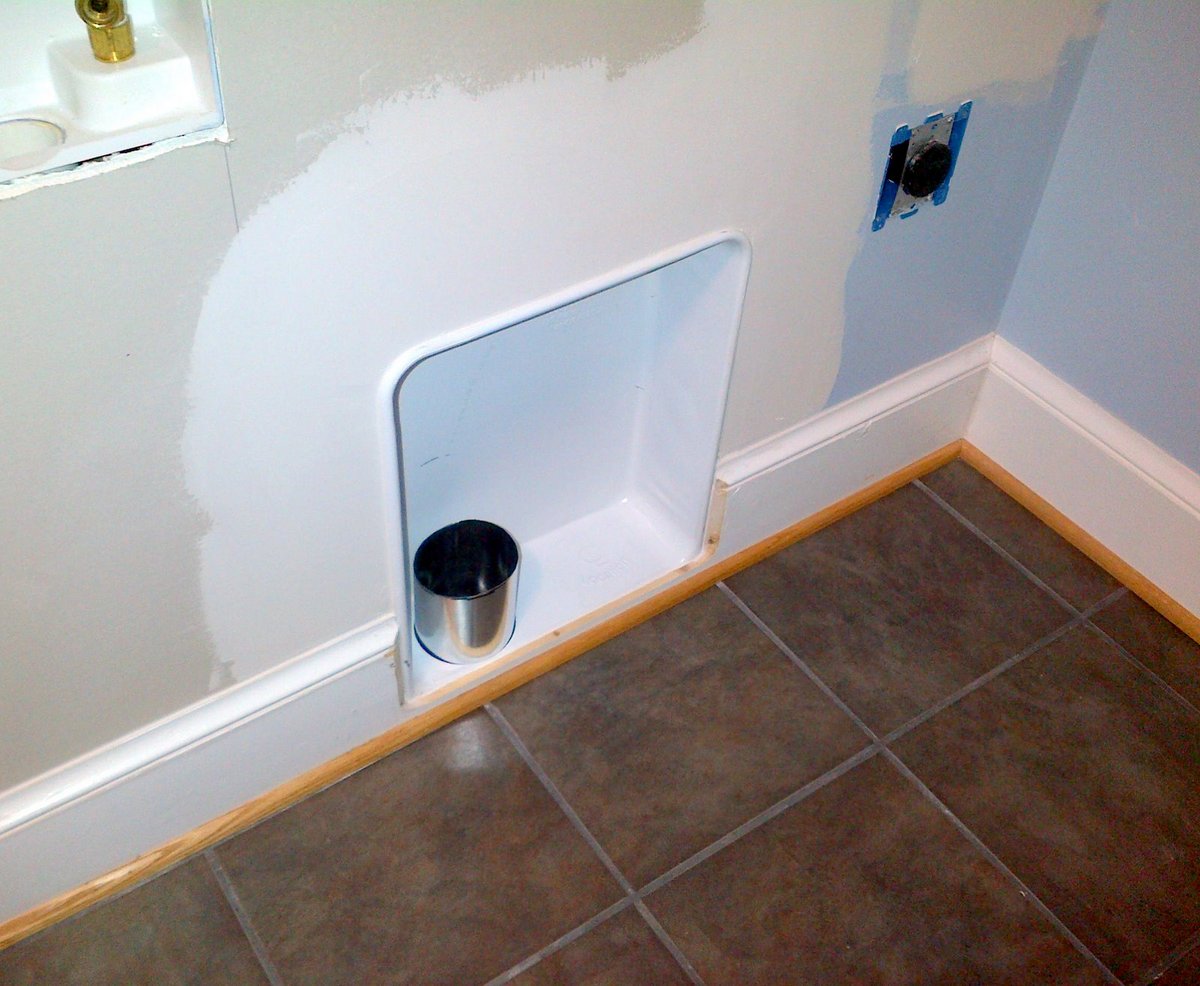
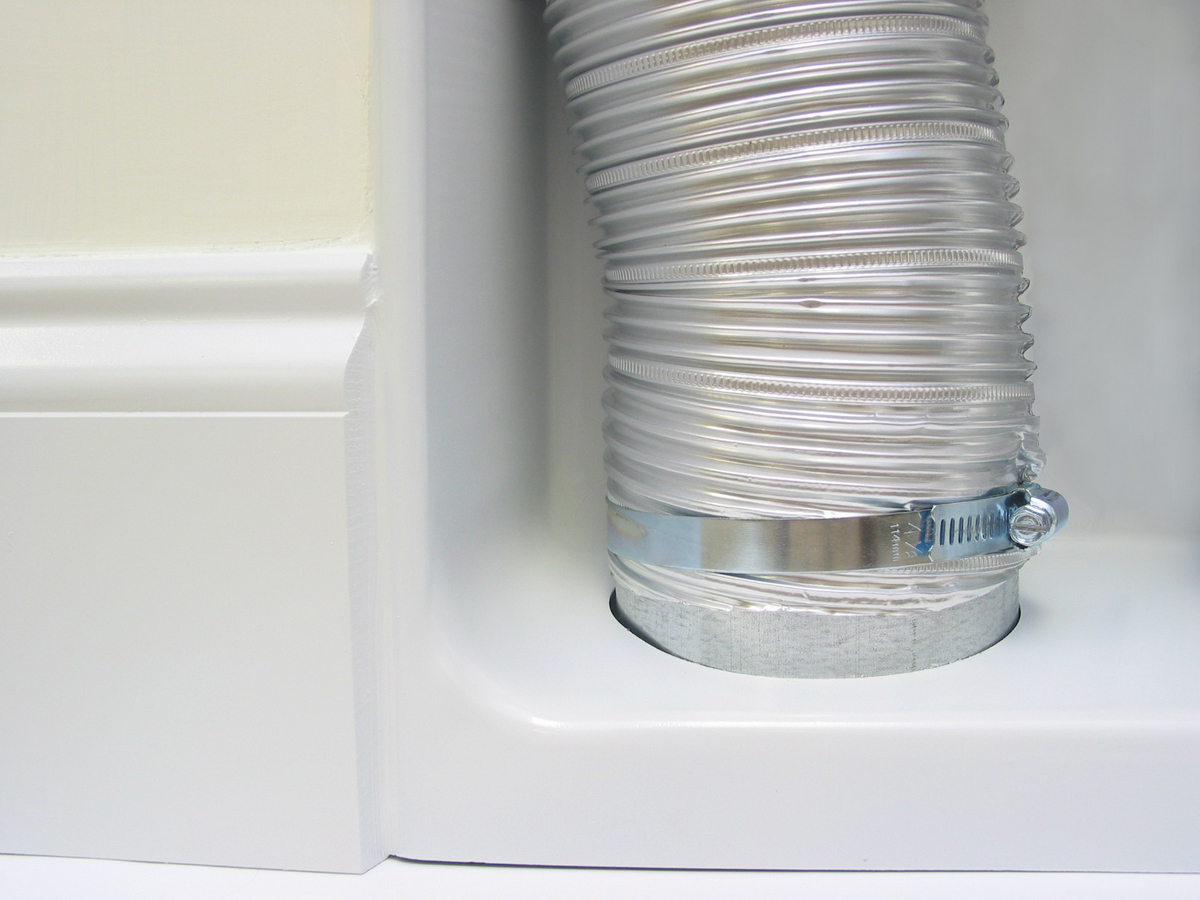
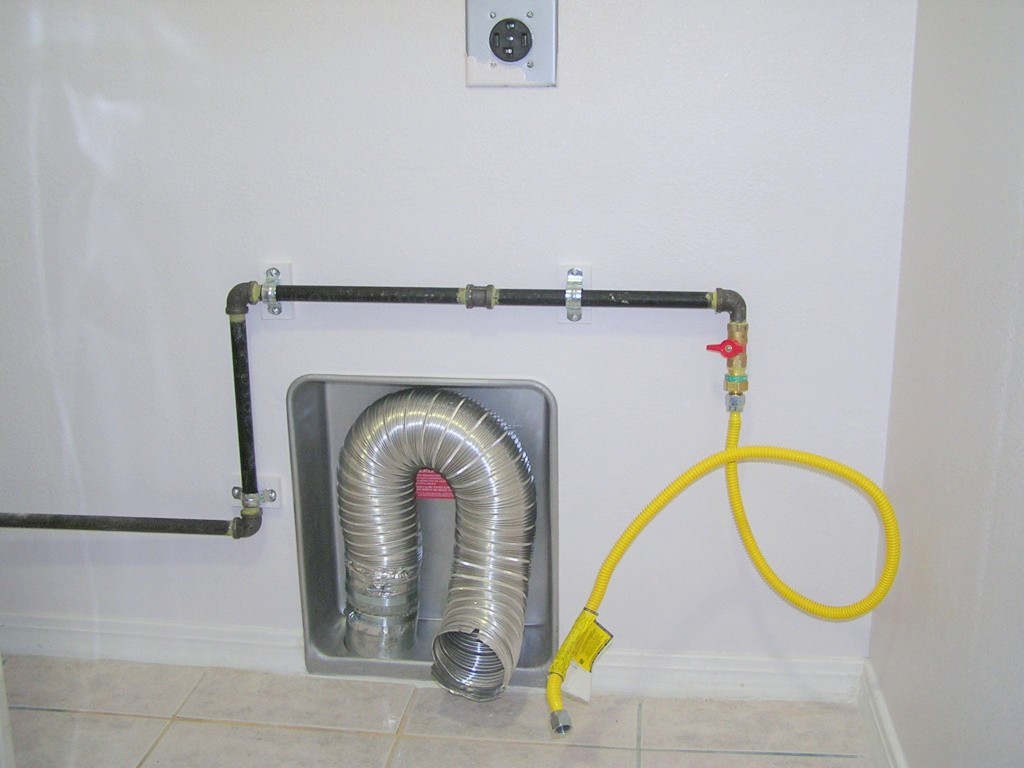
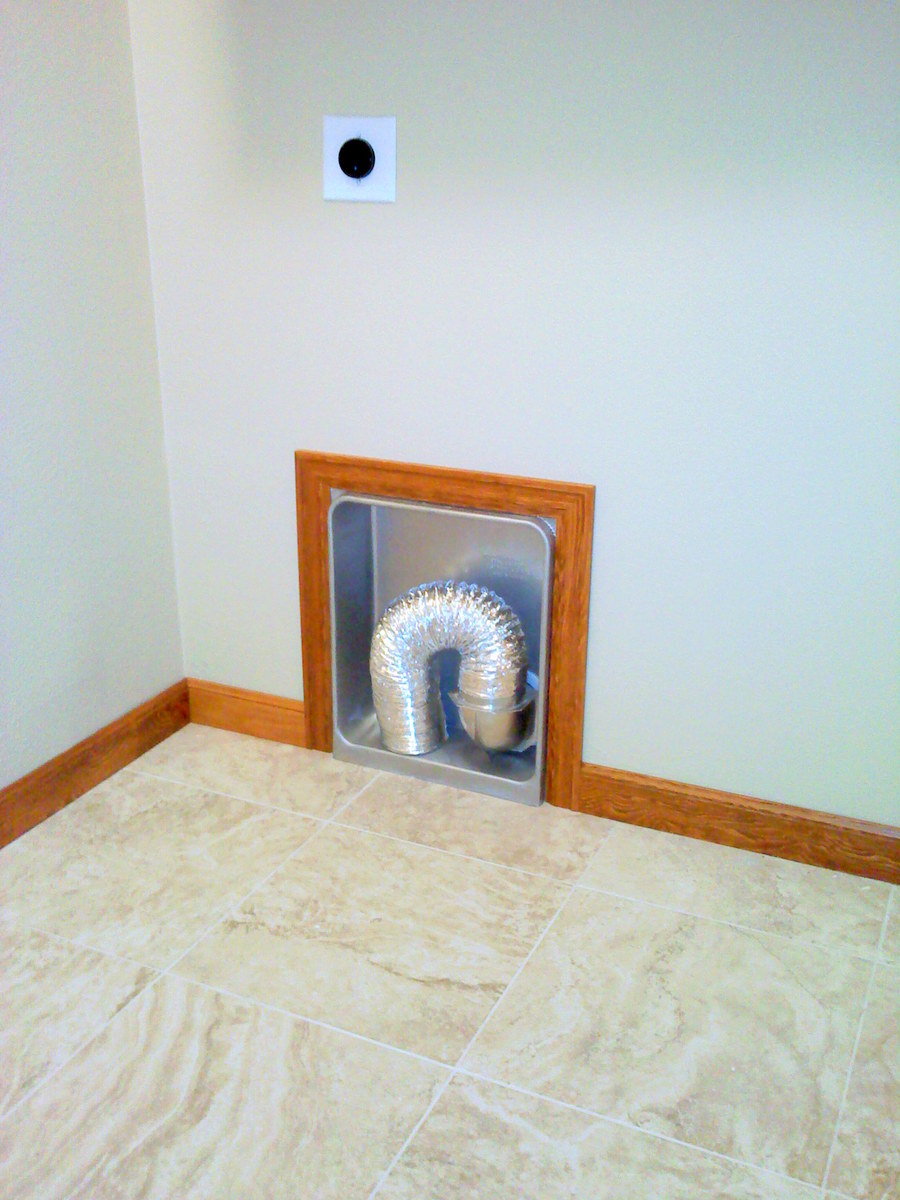
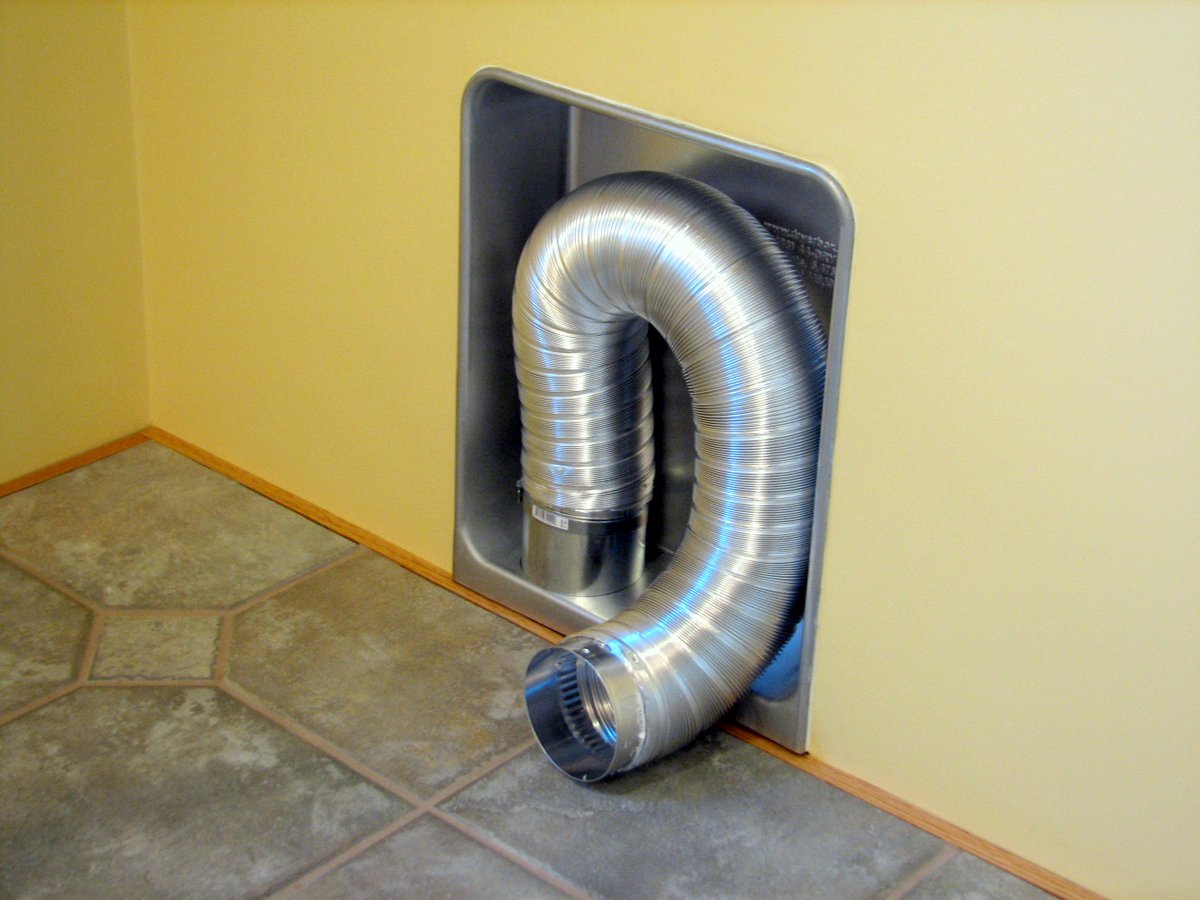
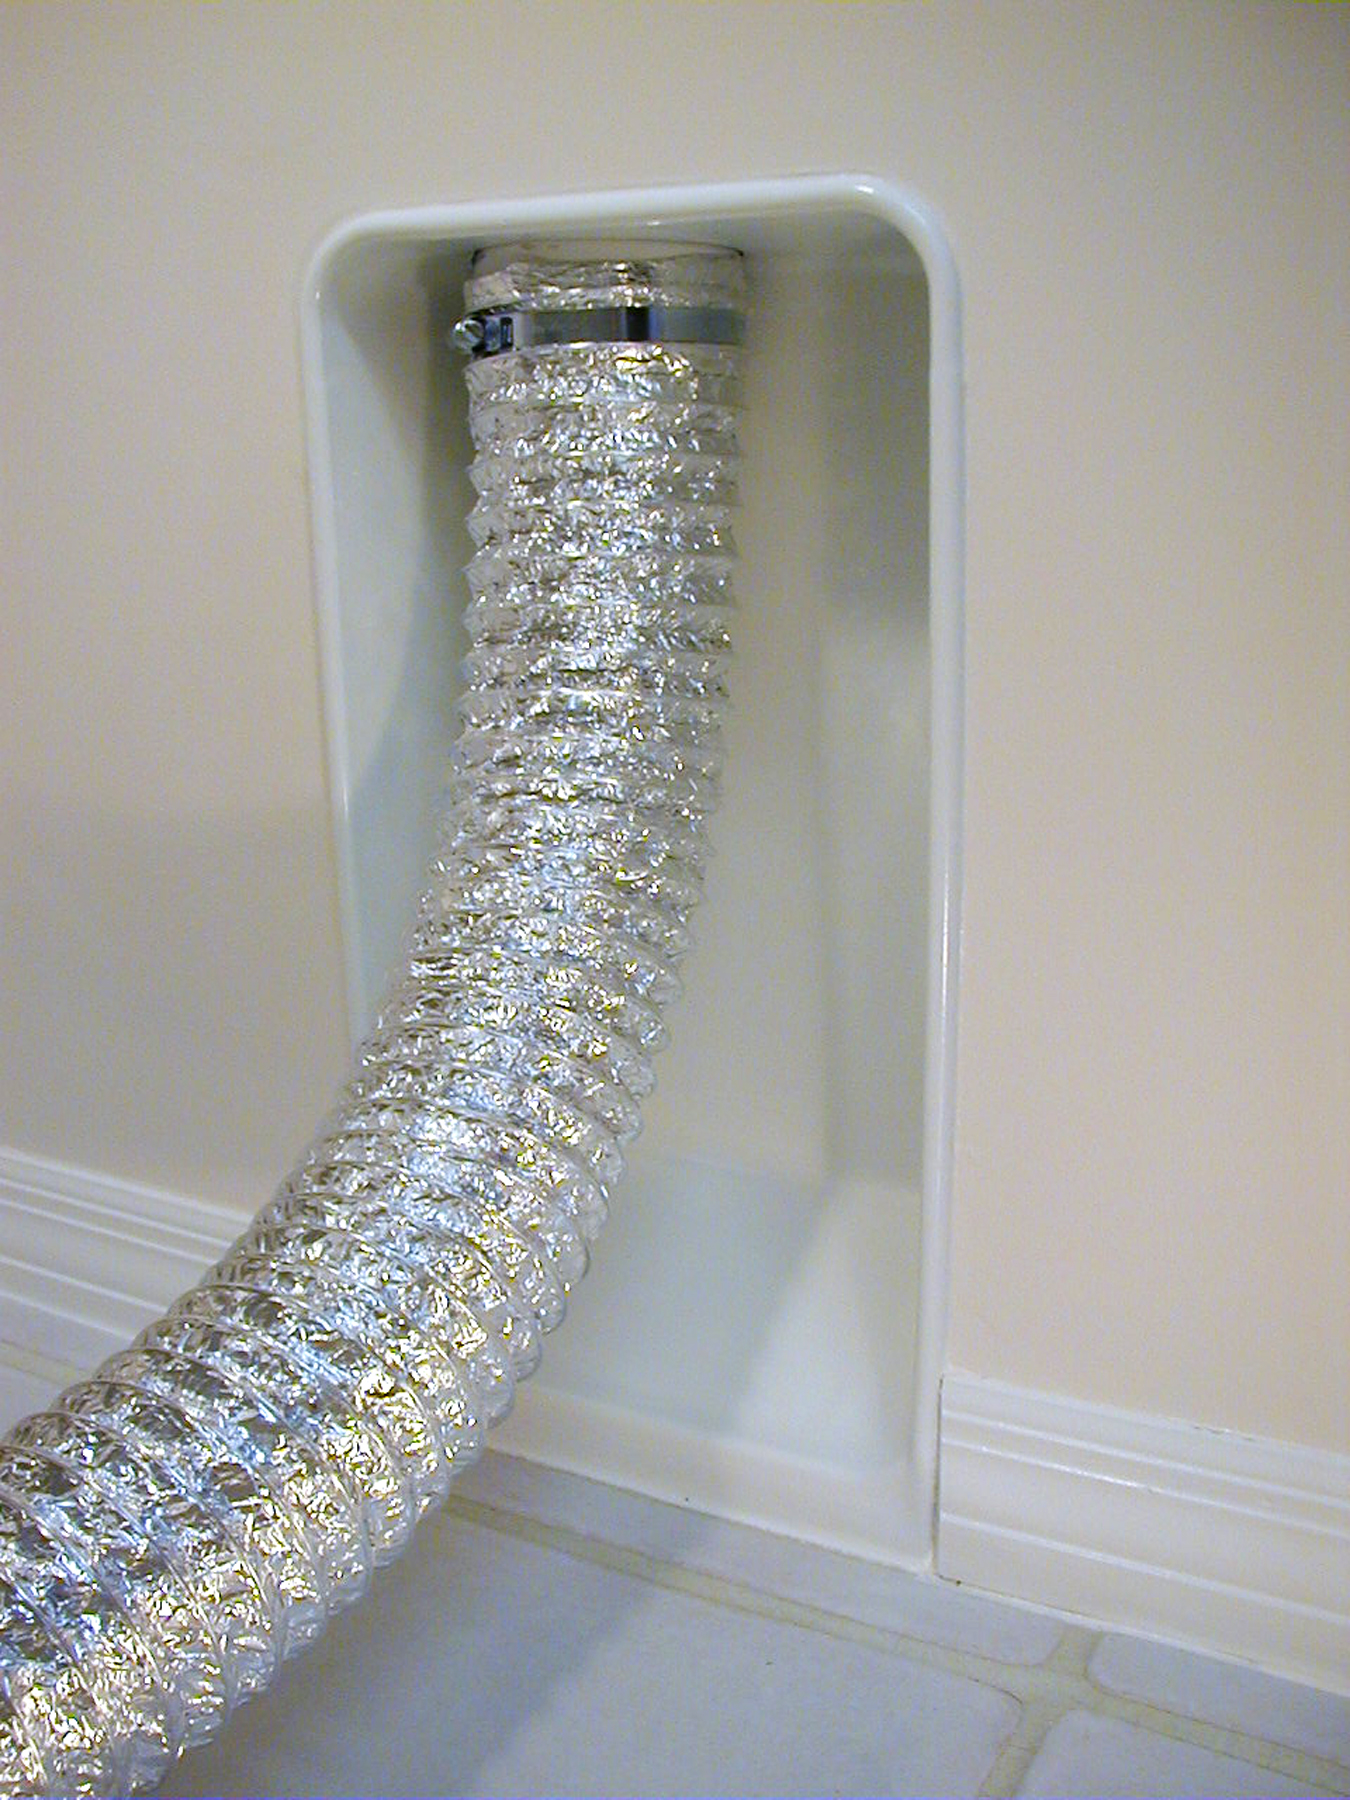
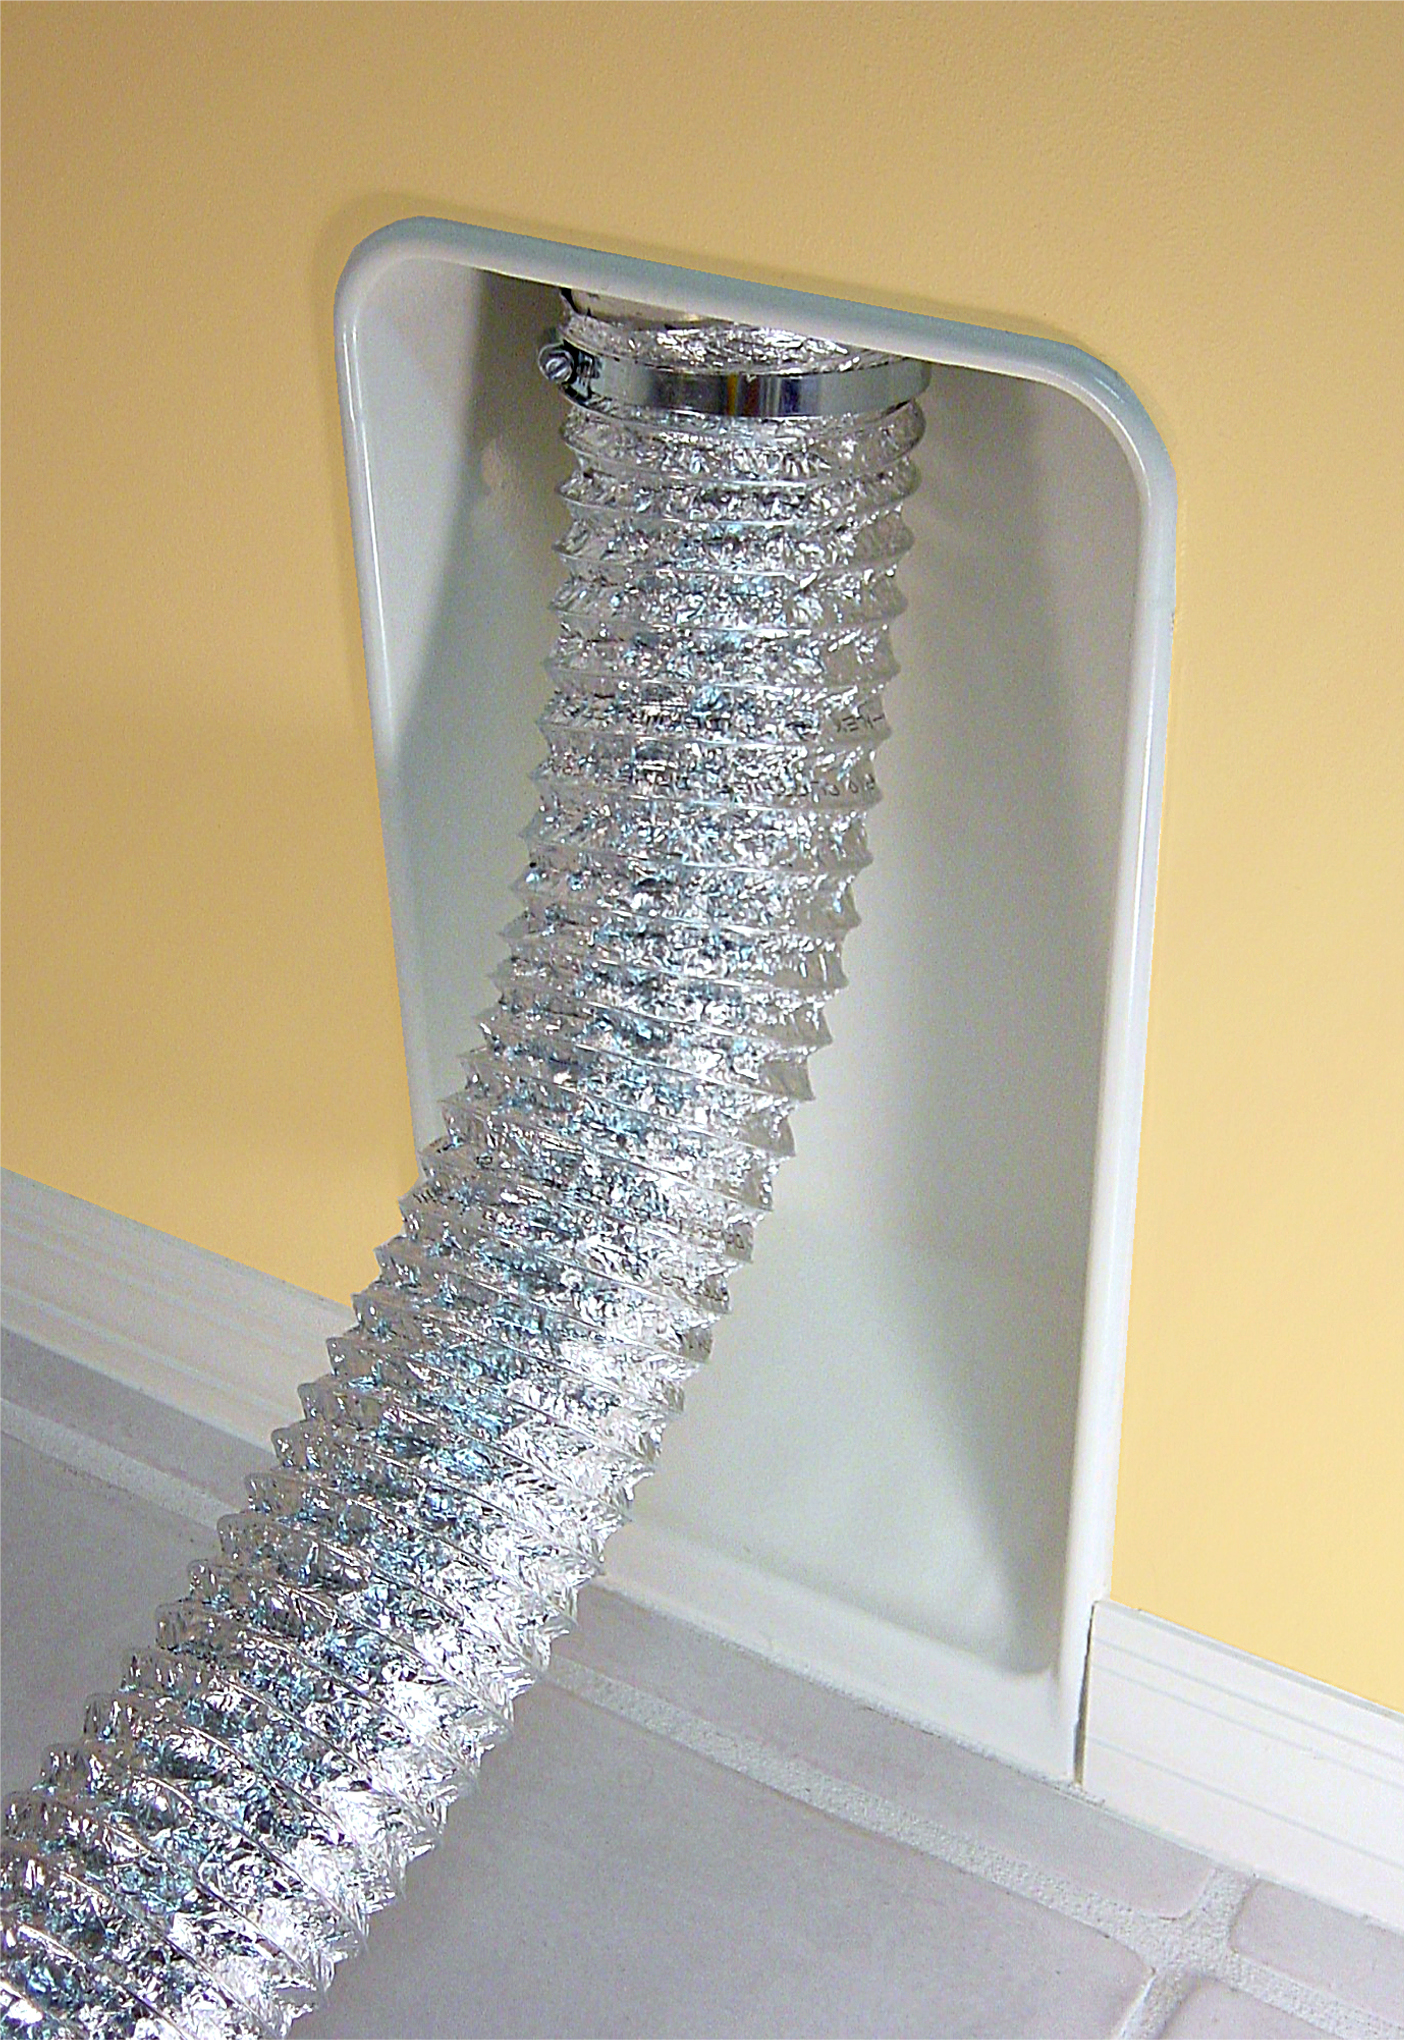
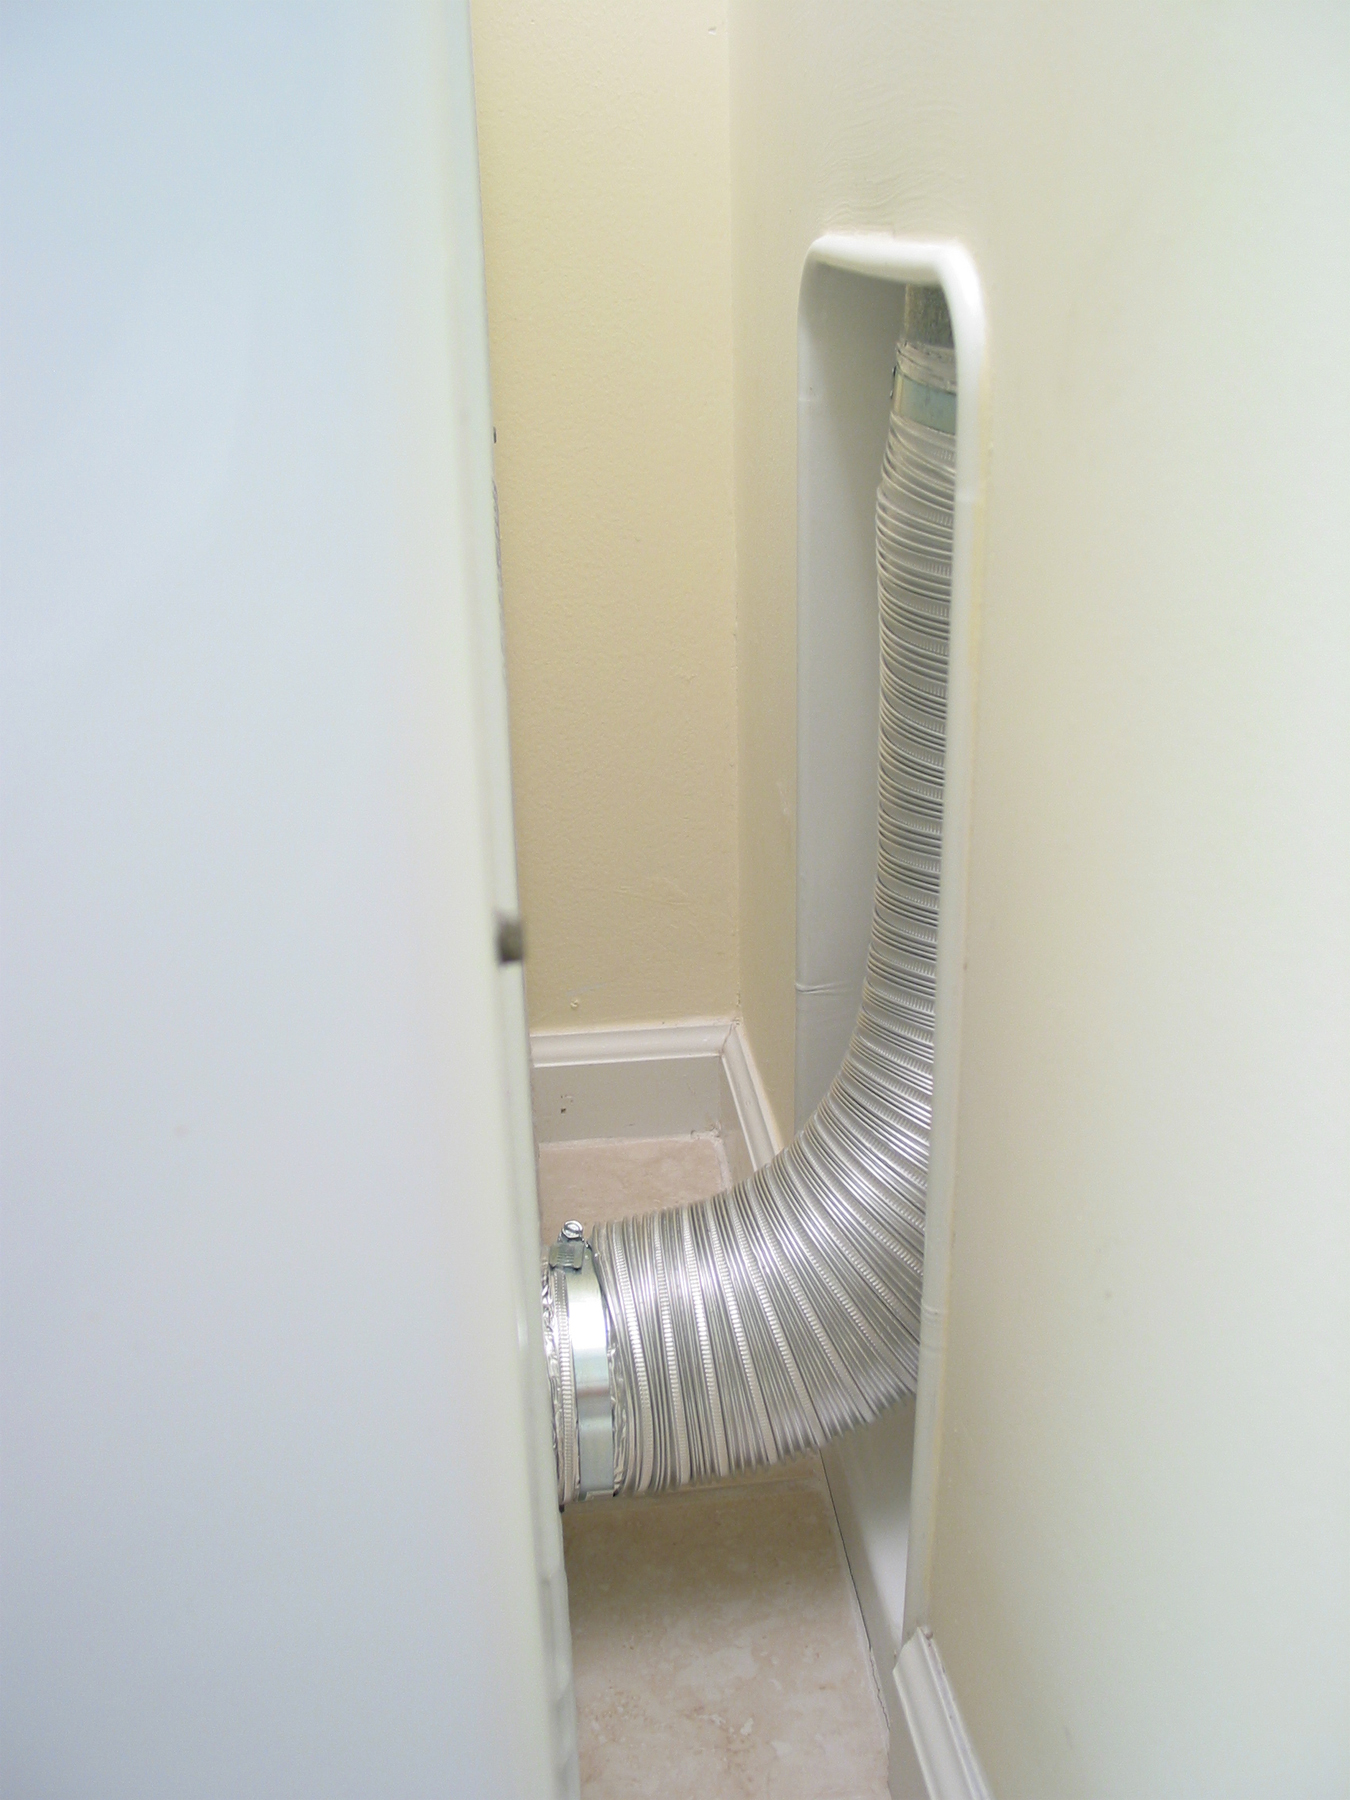
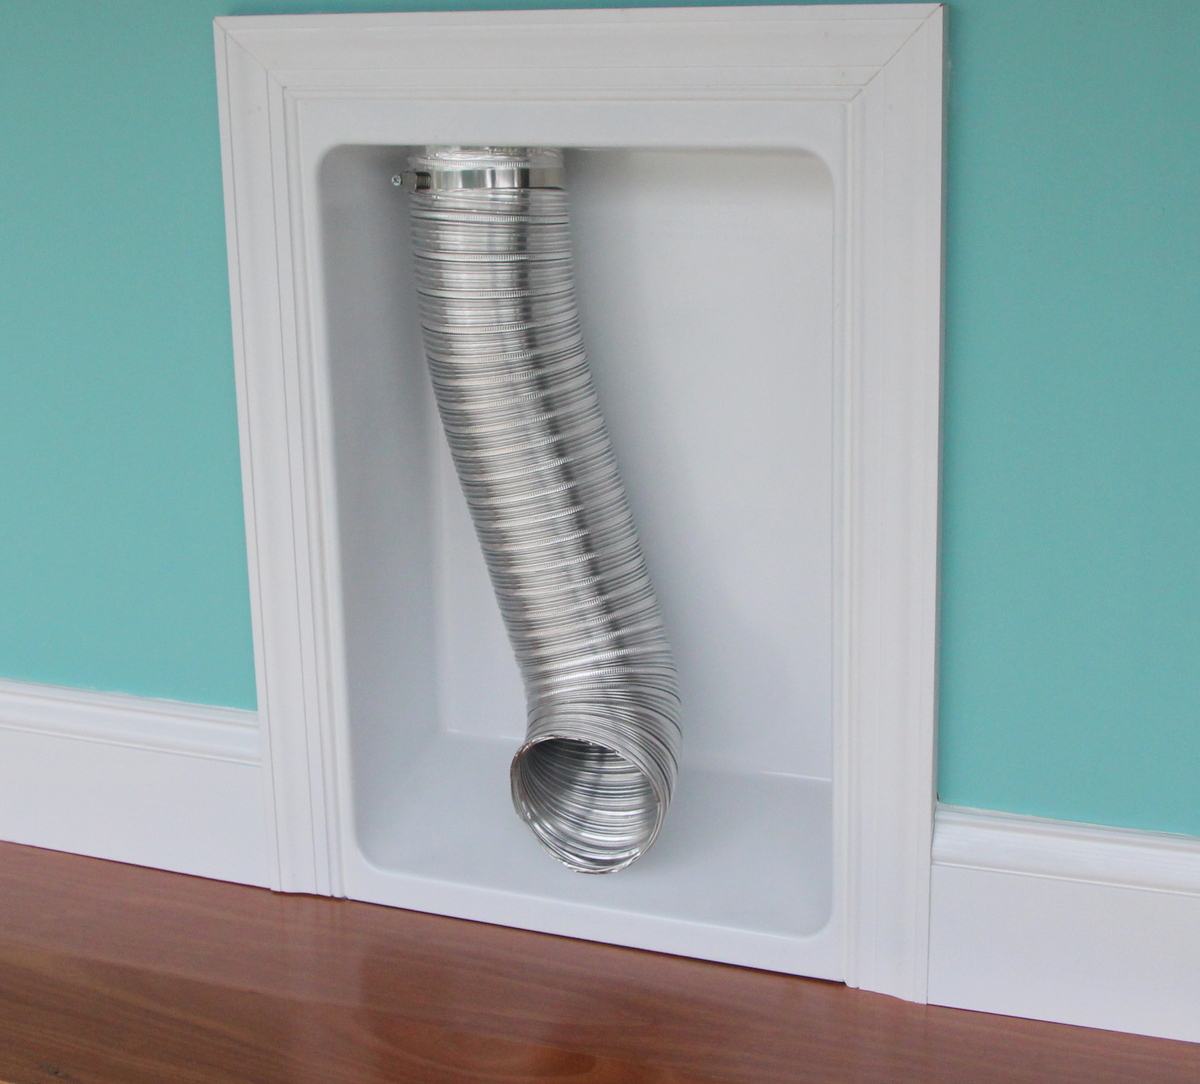
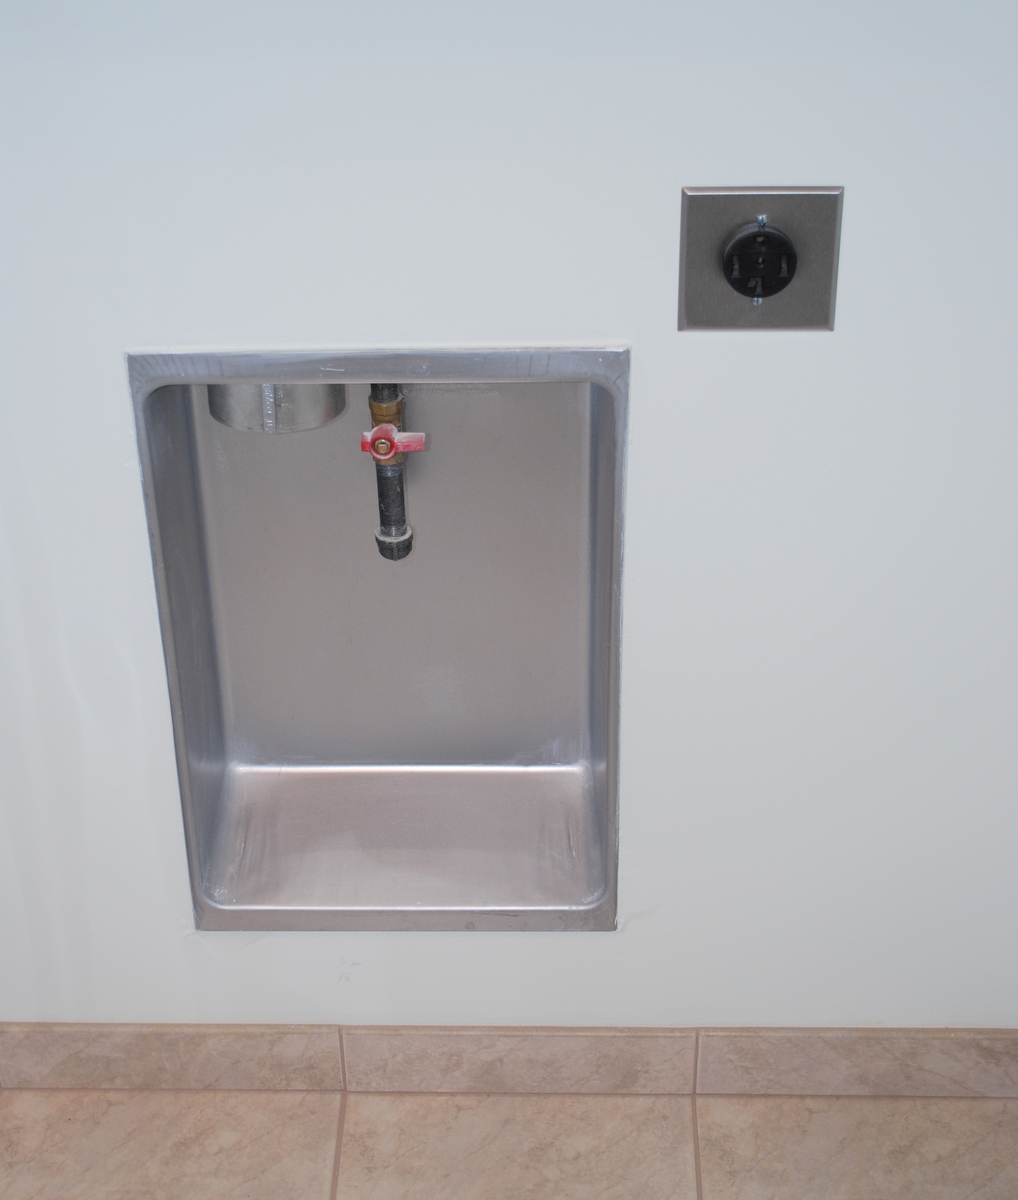
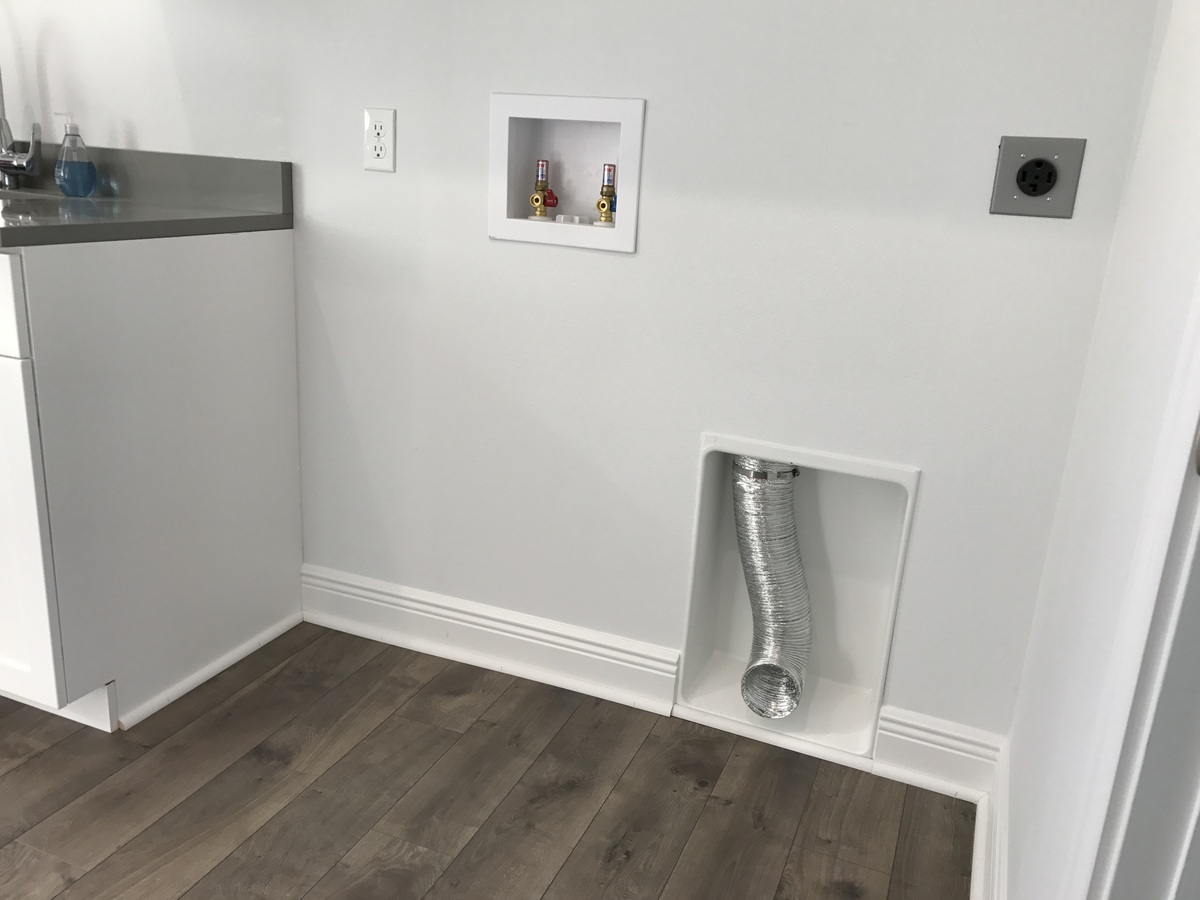
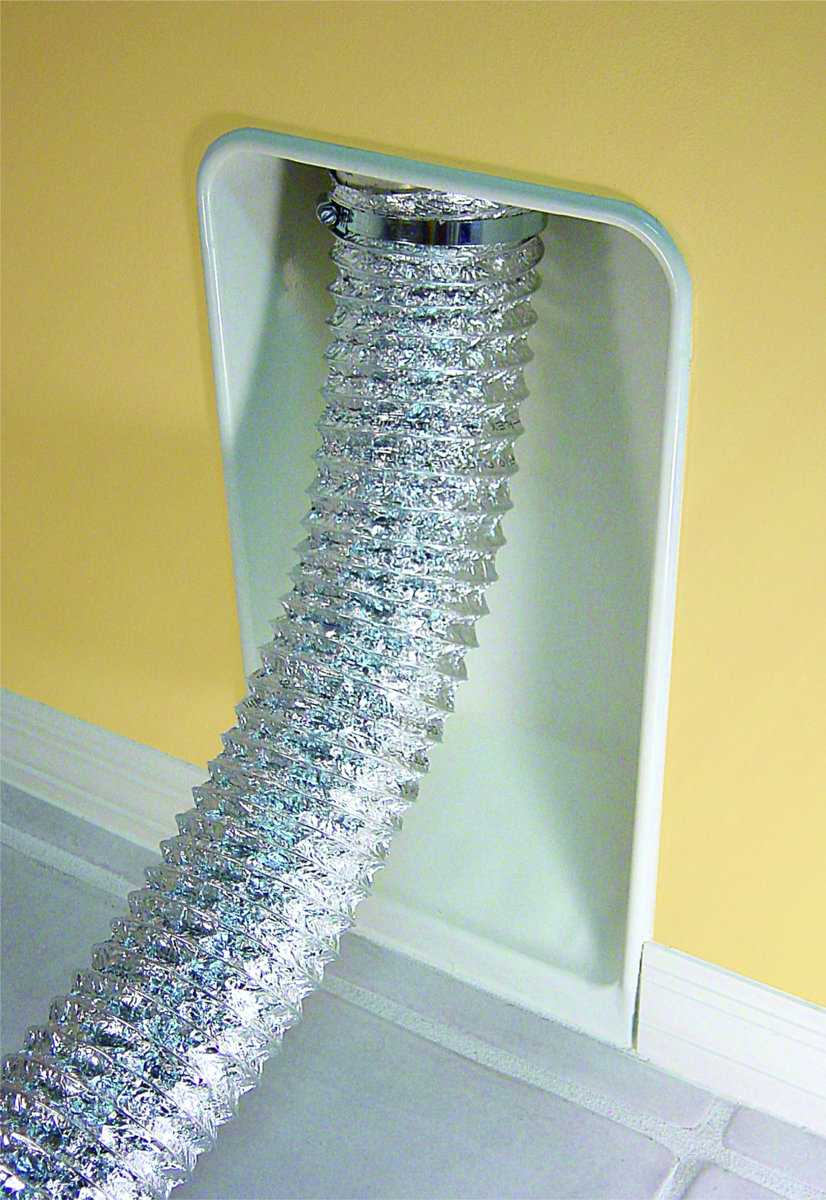
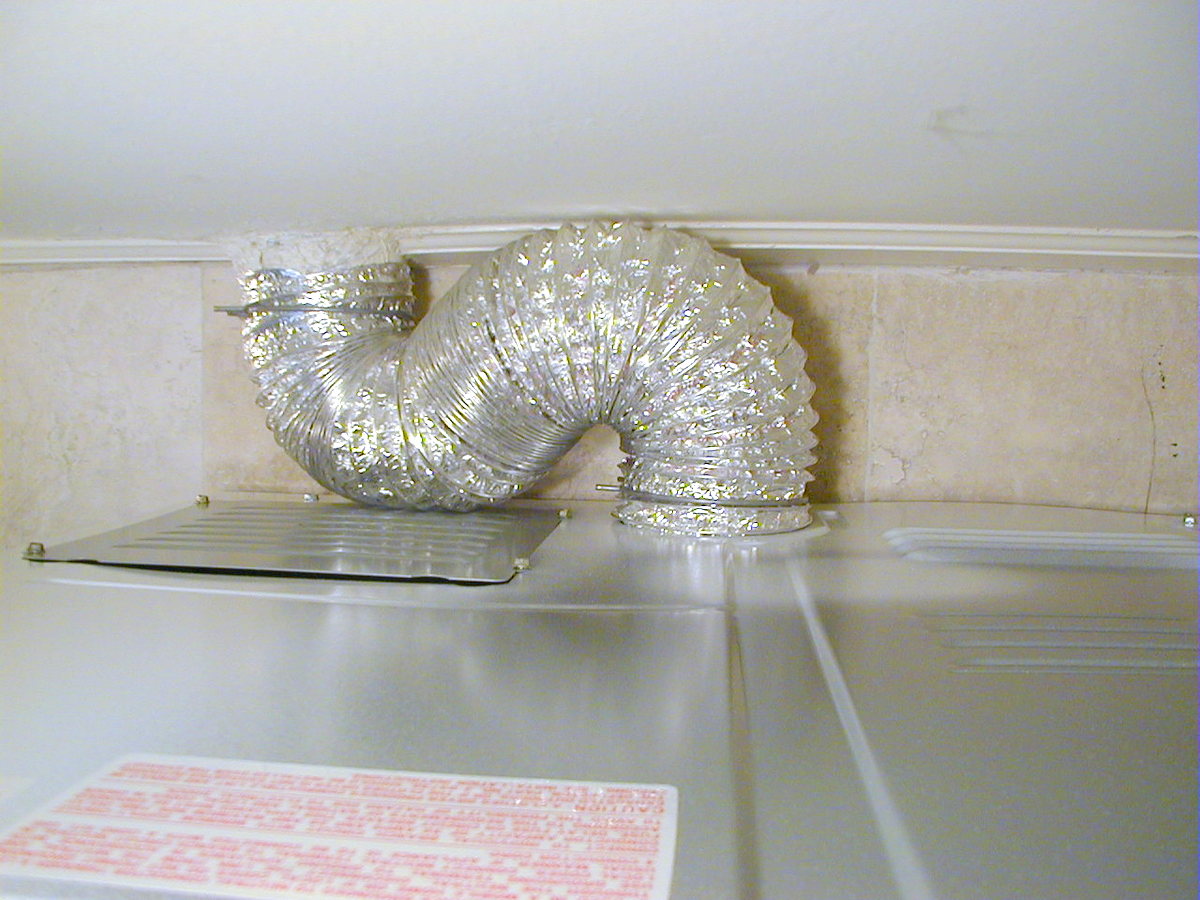
Finished Products
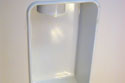
Finish Product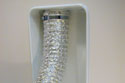
Finish Product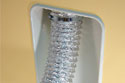
Finish Product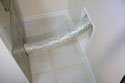
Finish Product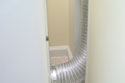
Finish Product


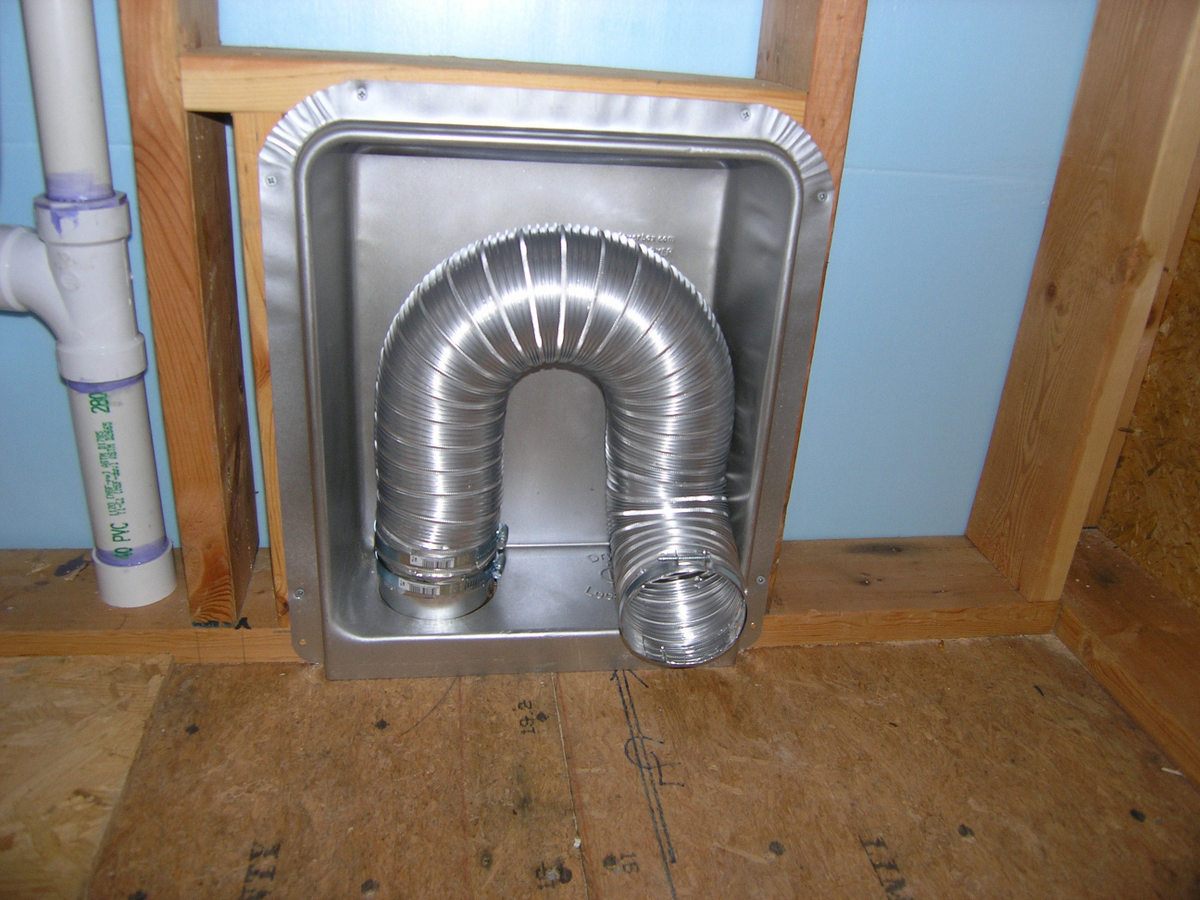
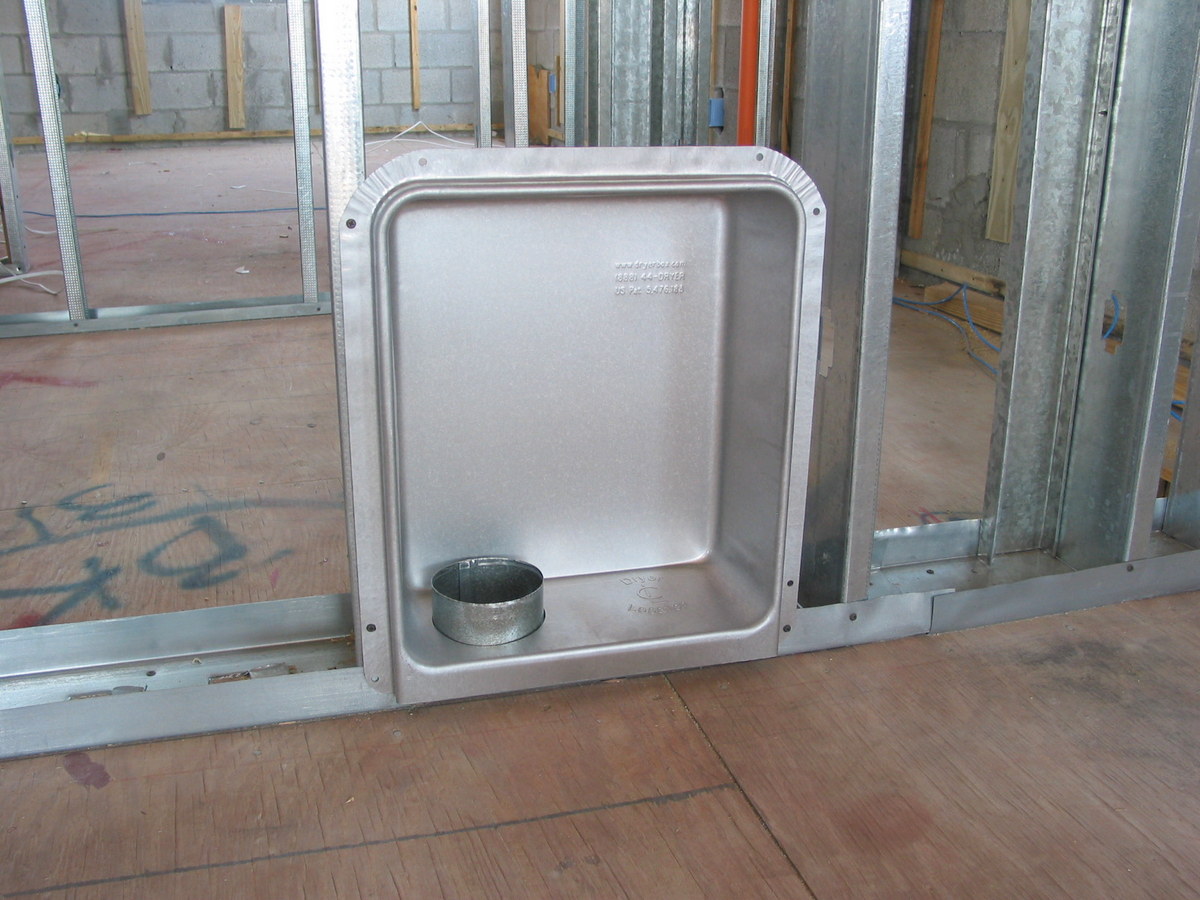
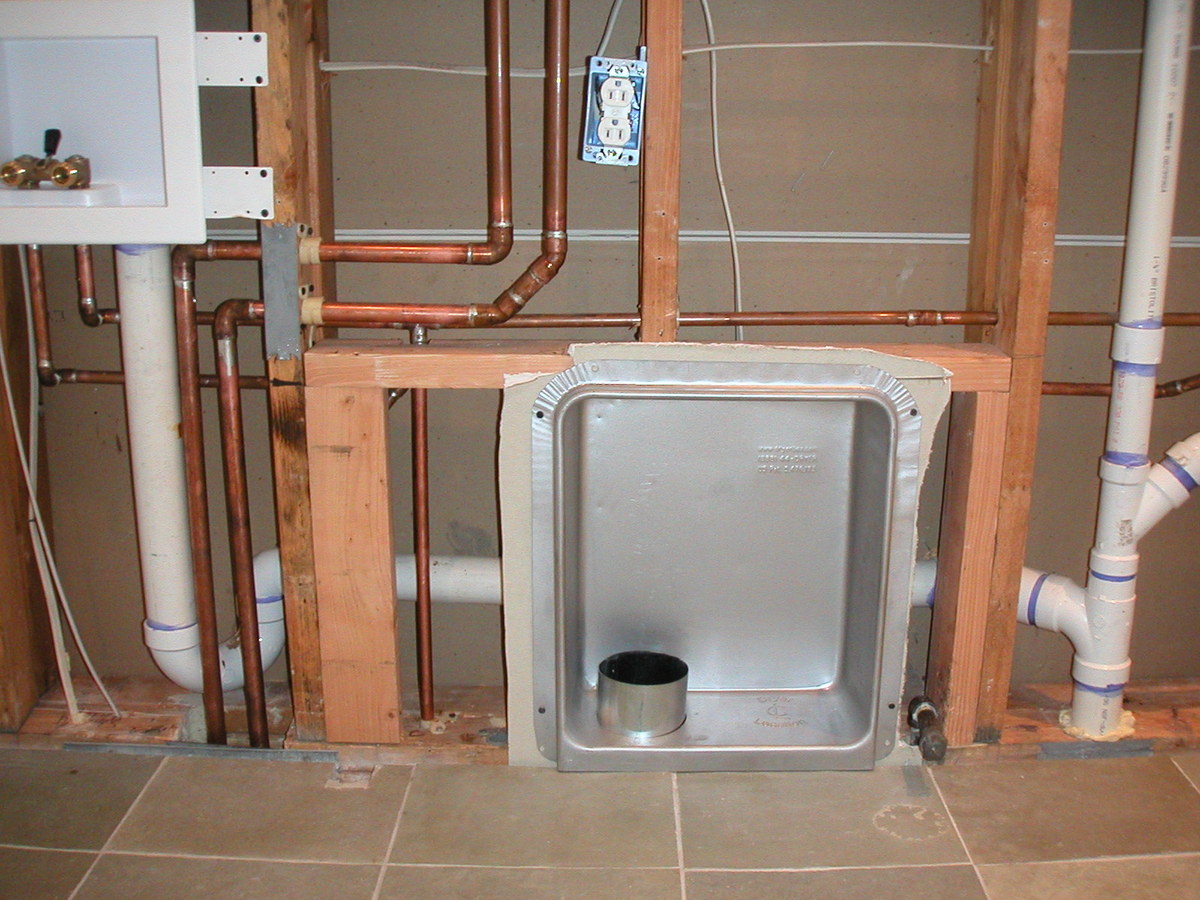
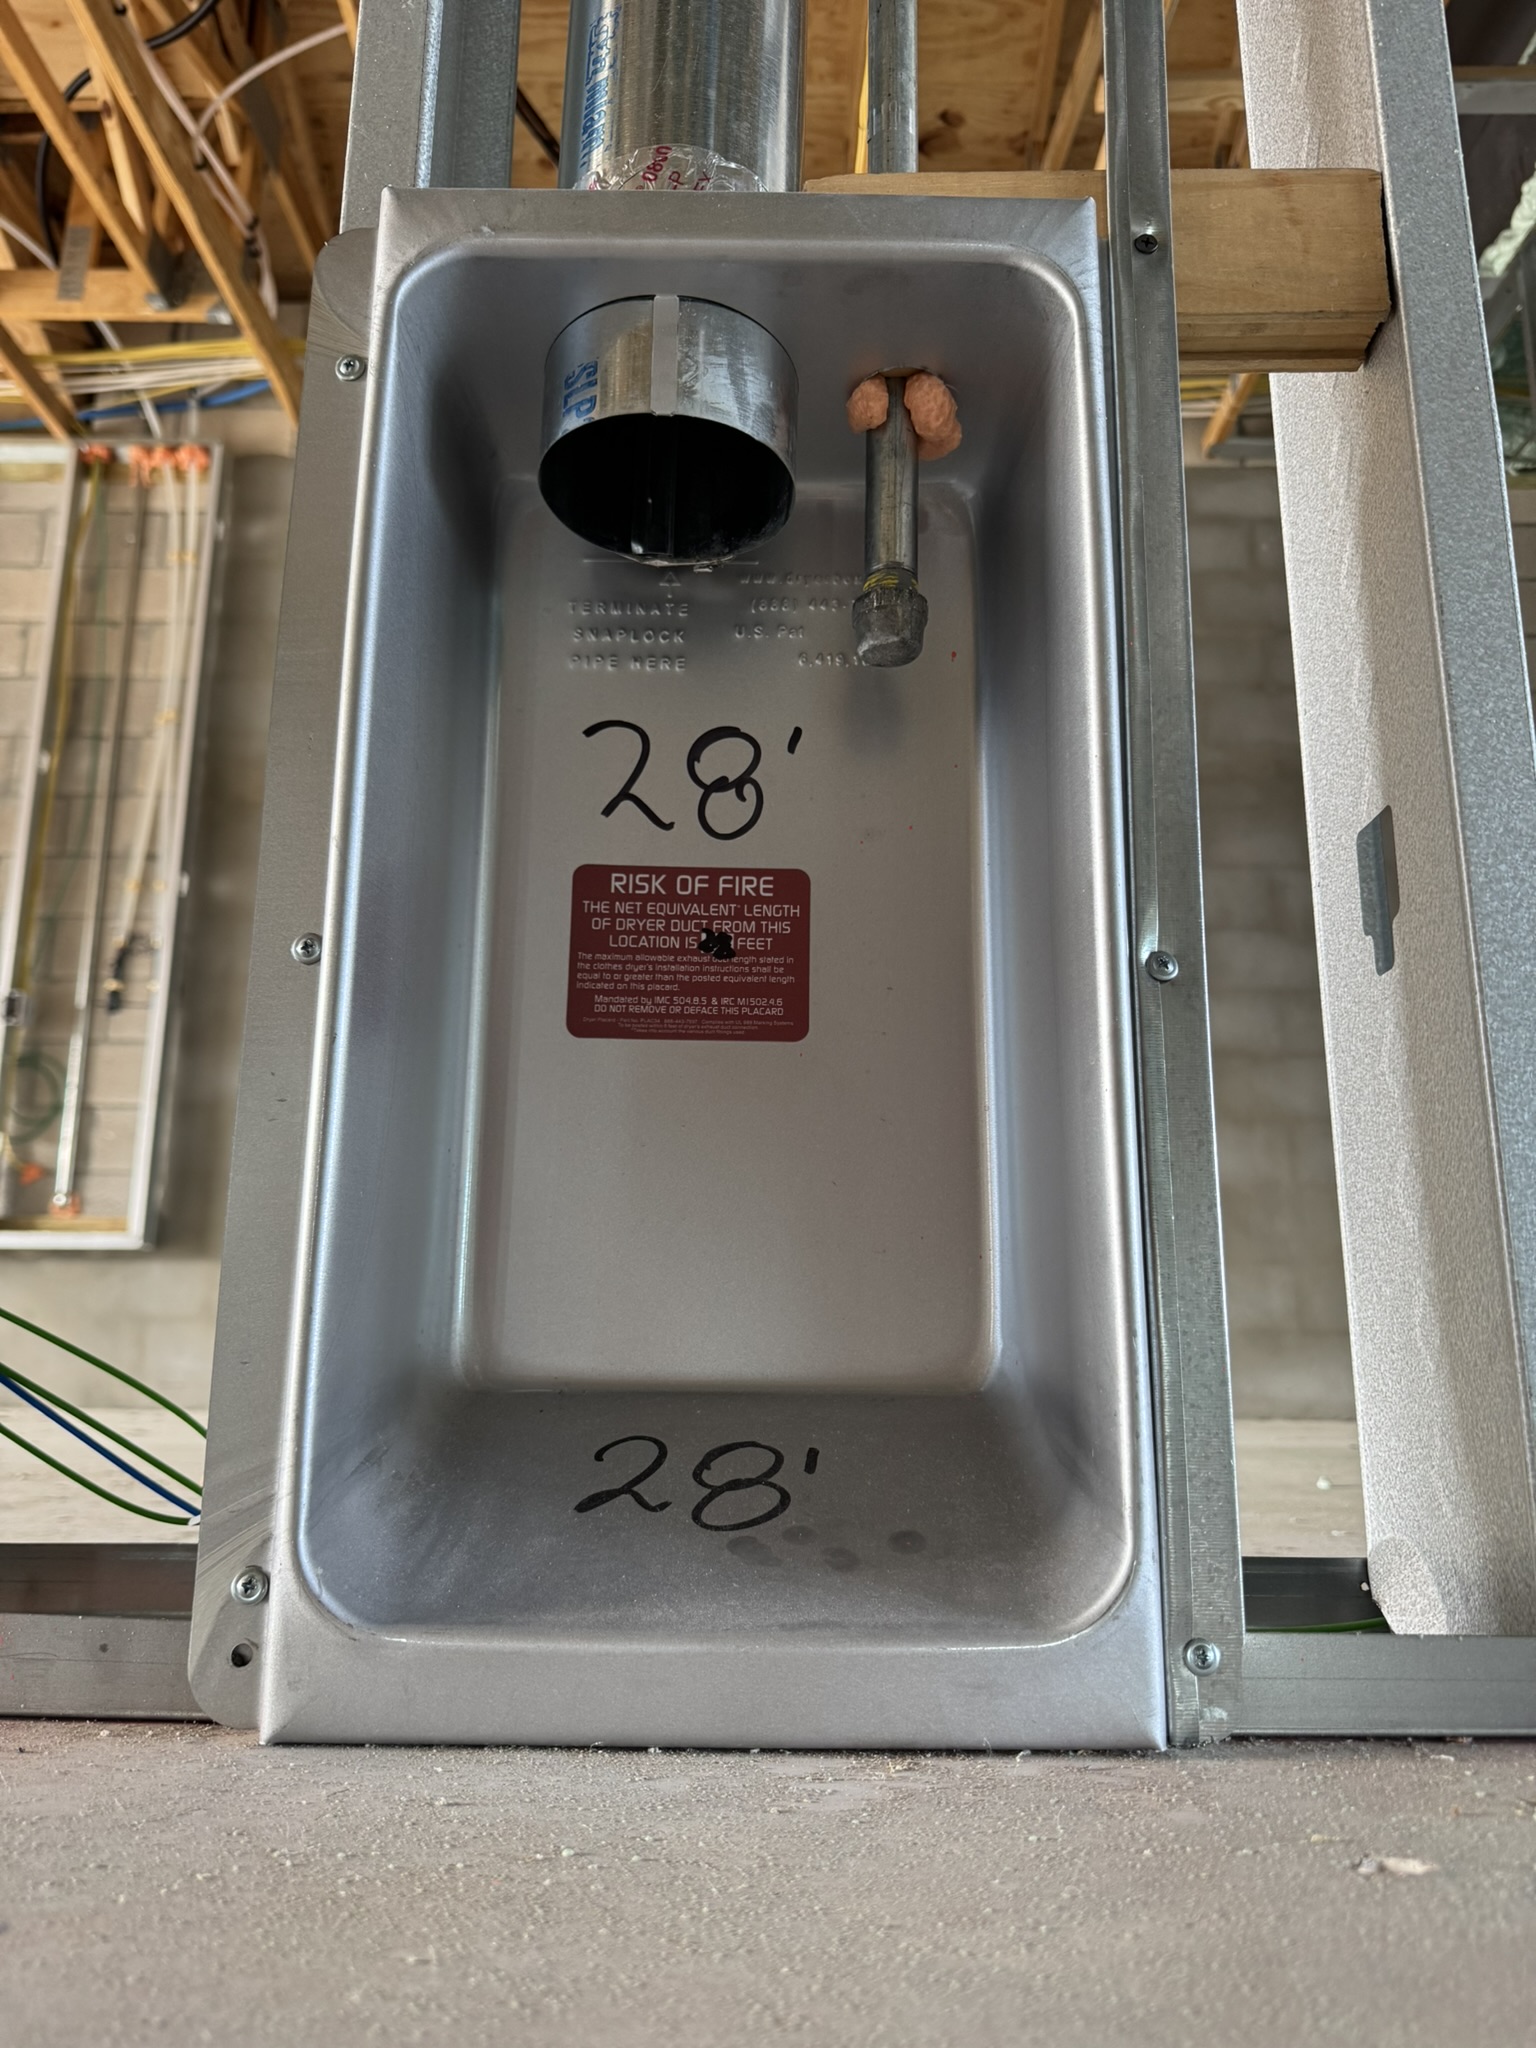
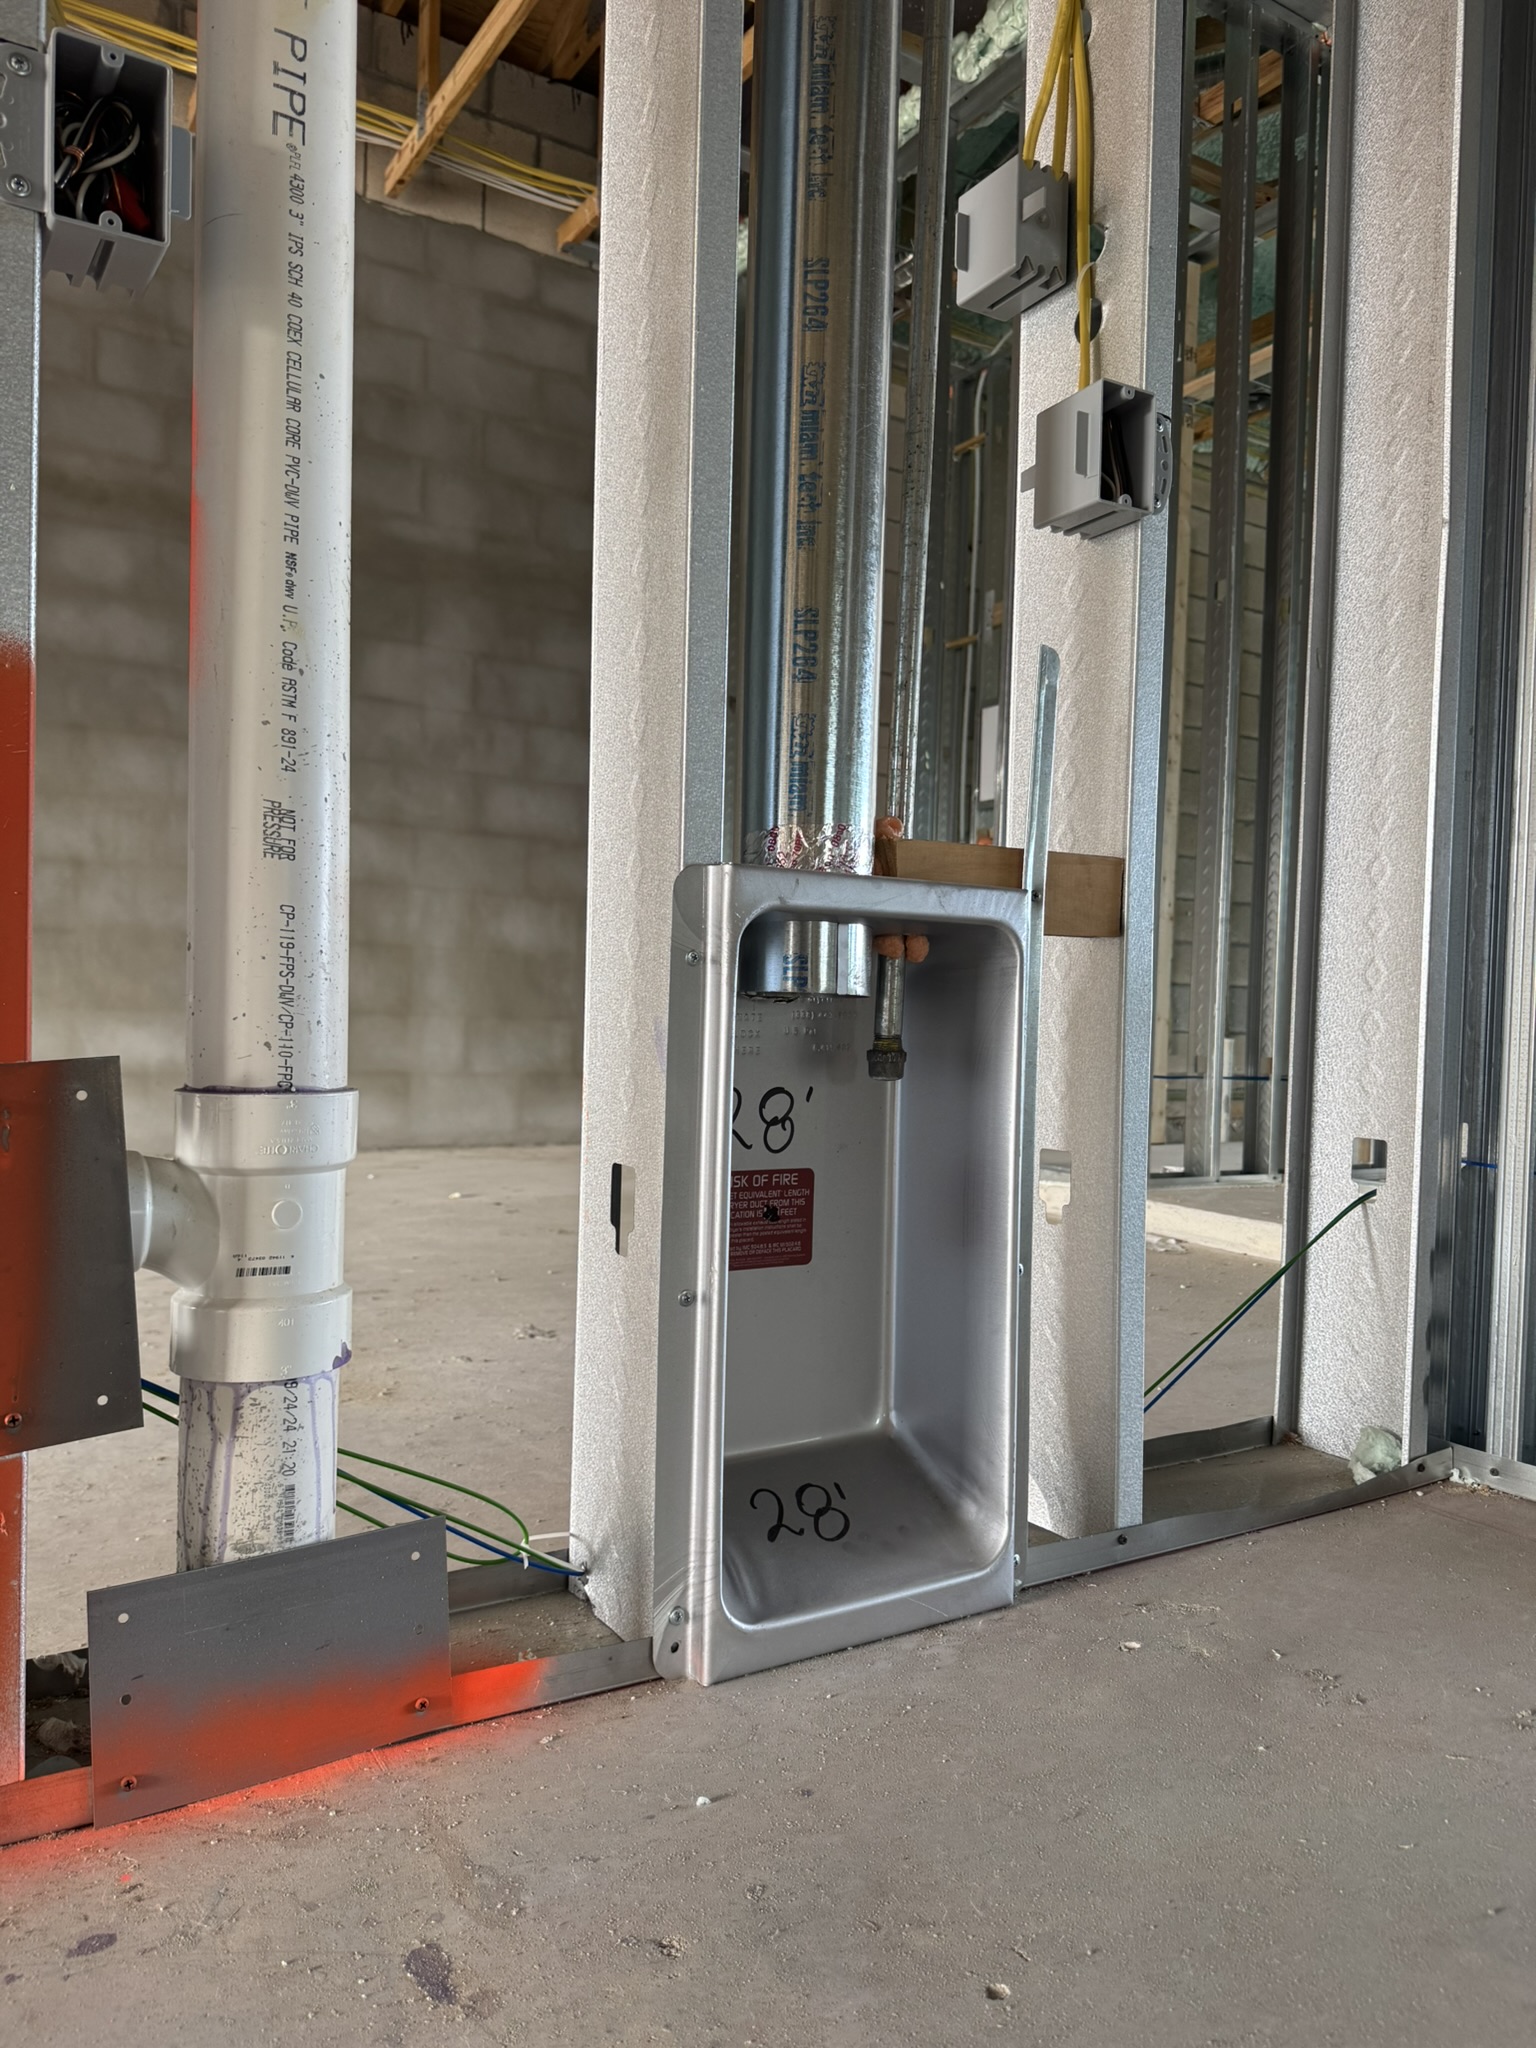
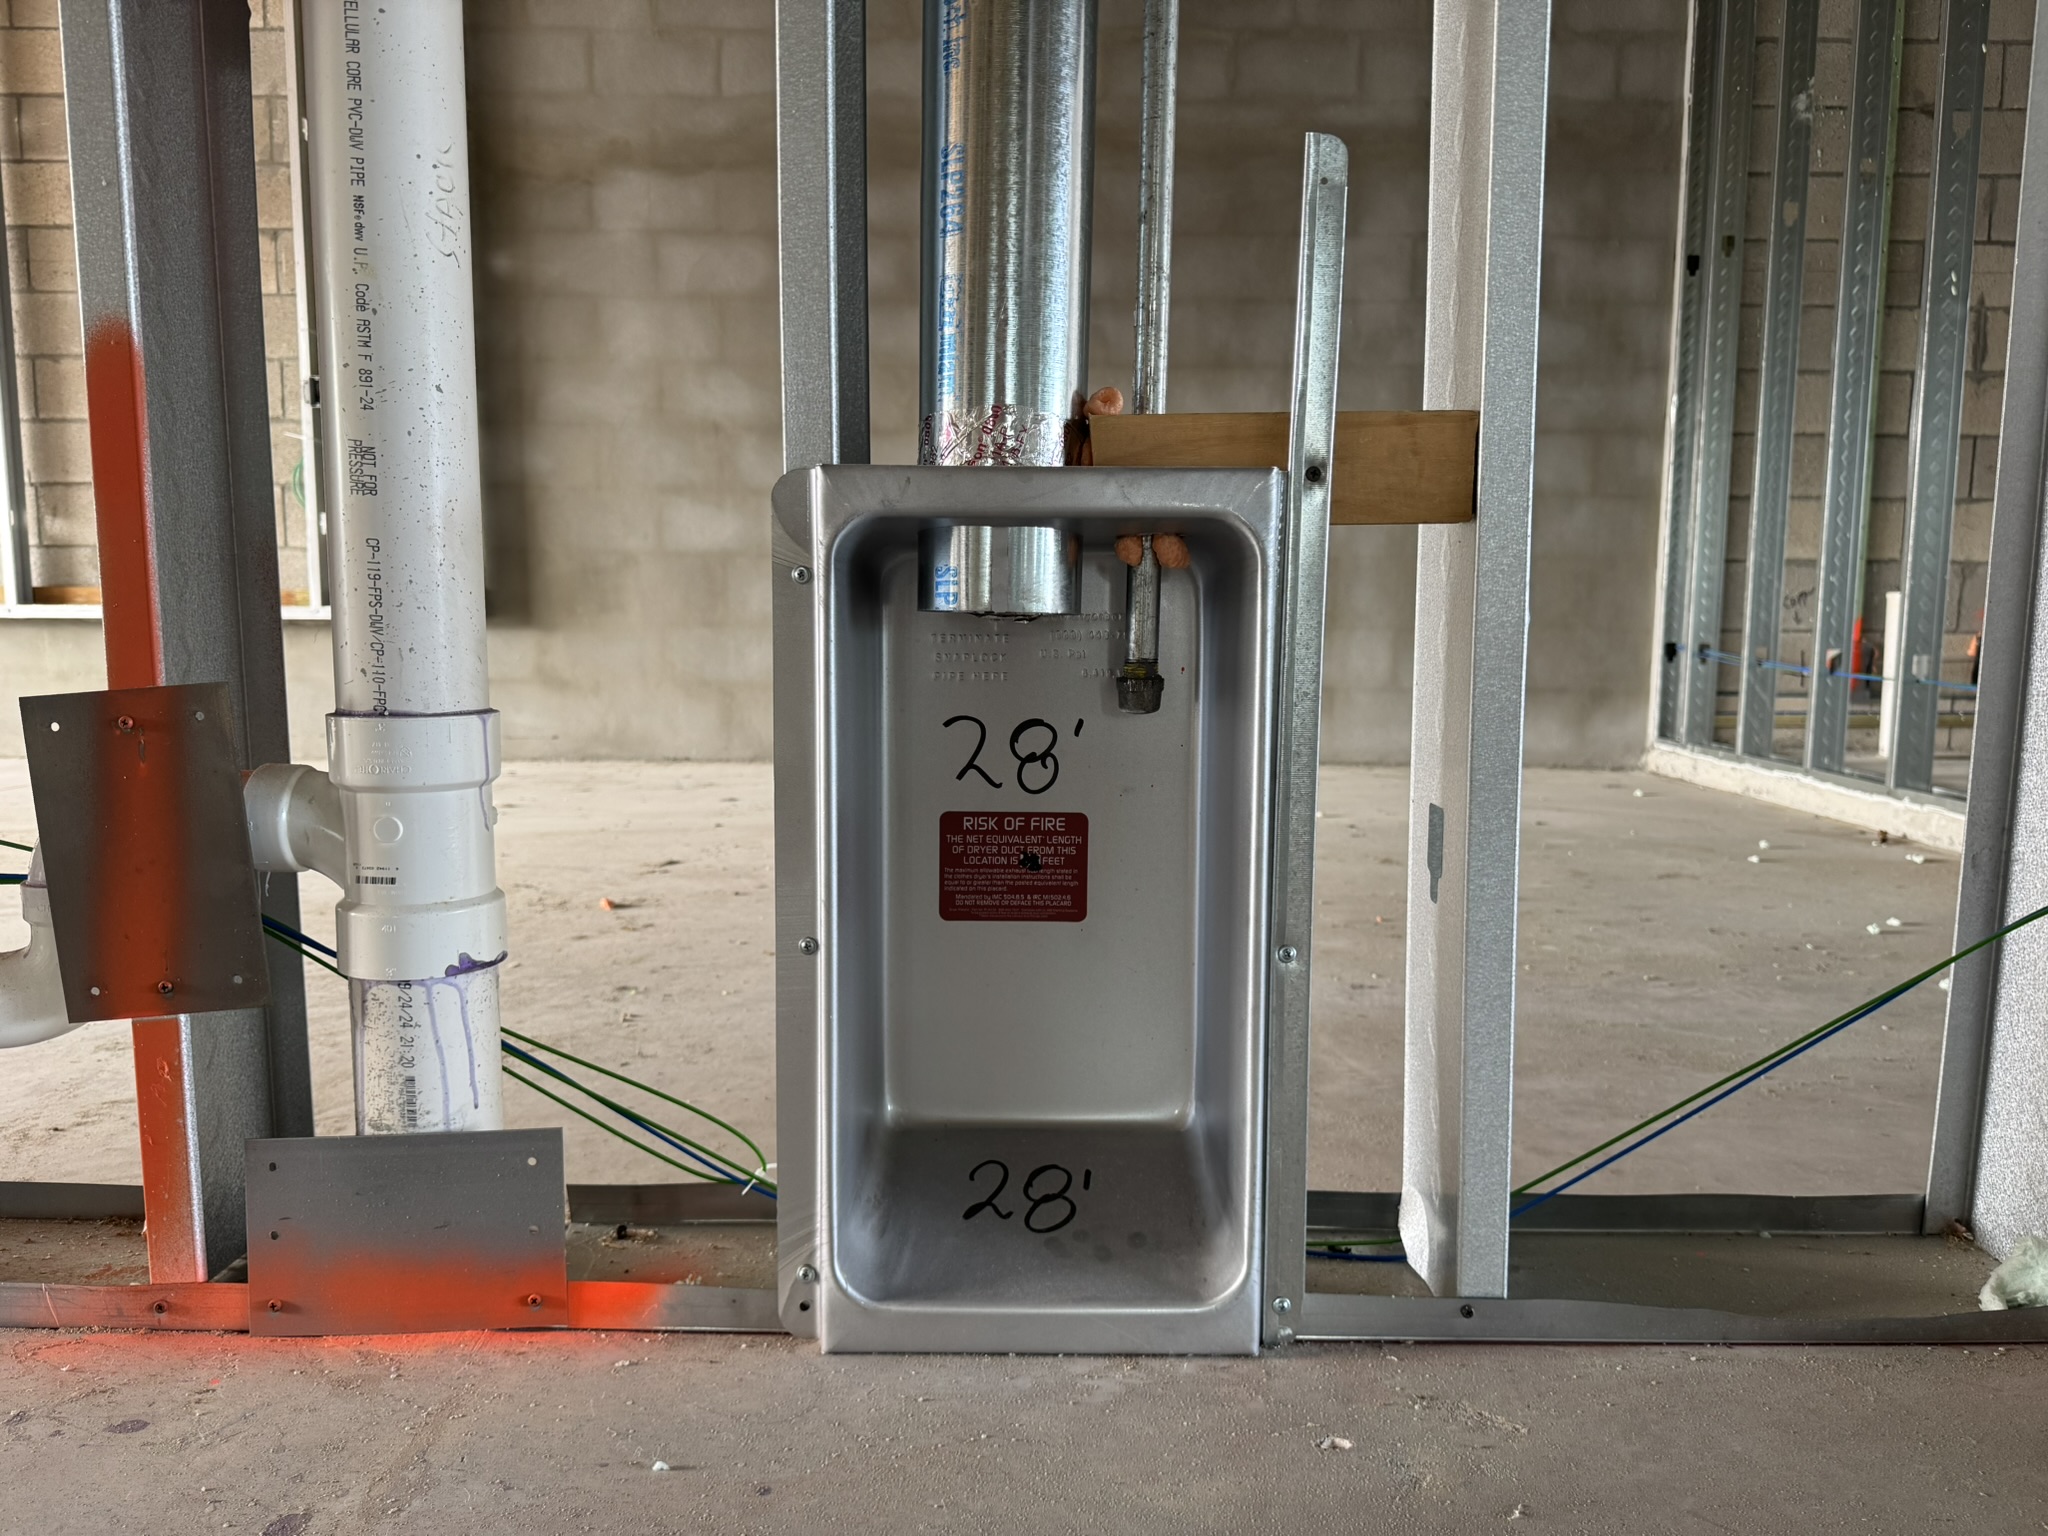
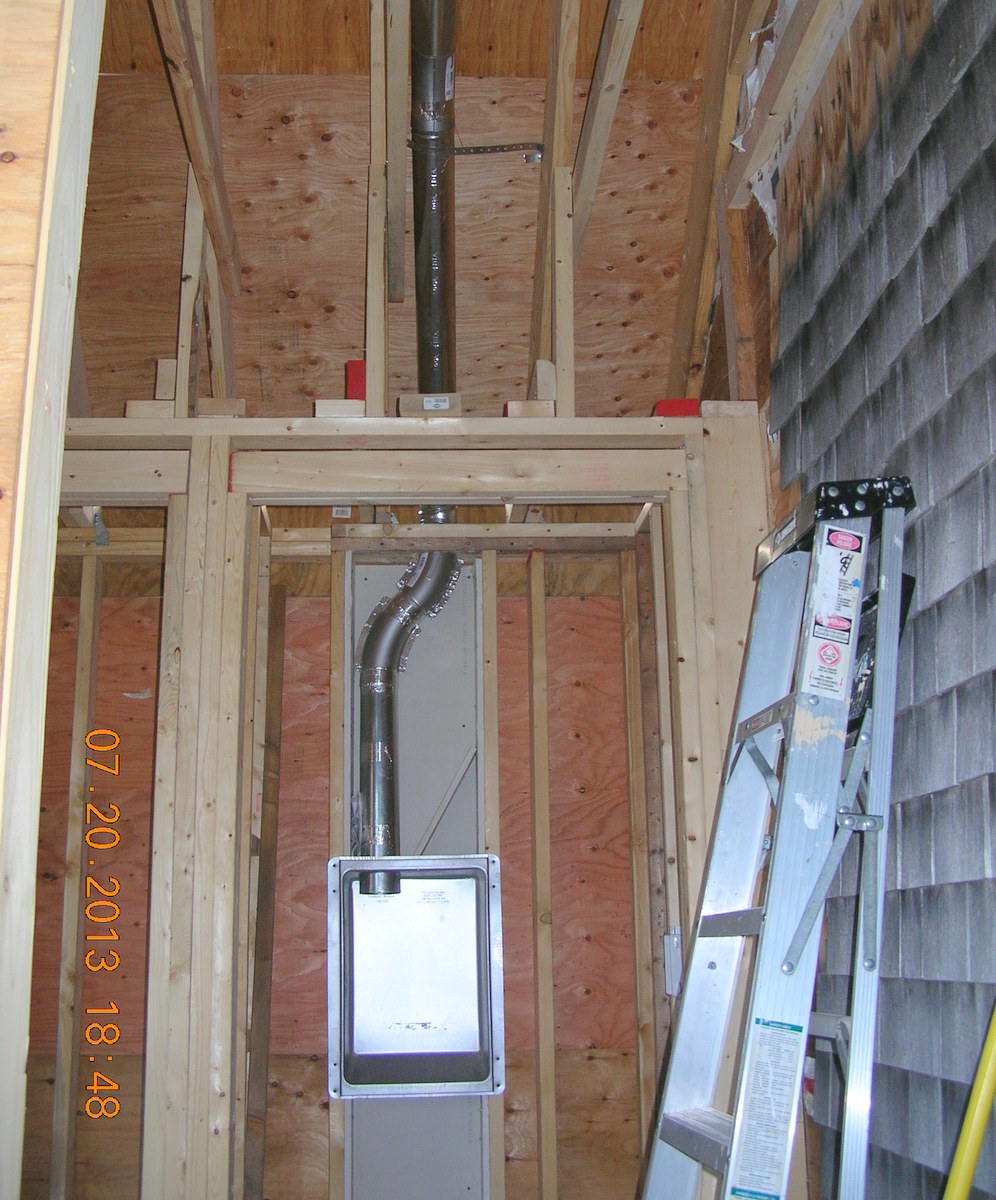
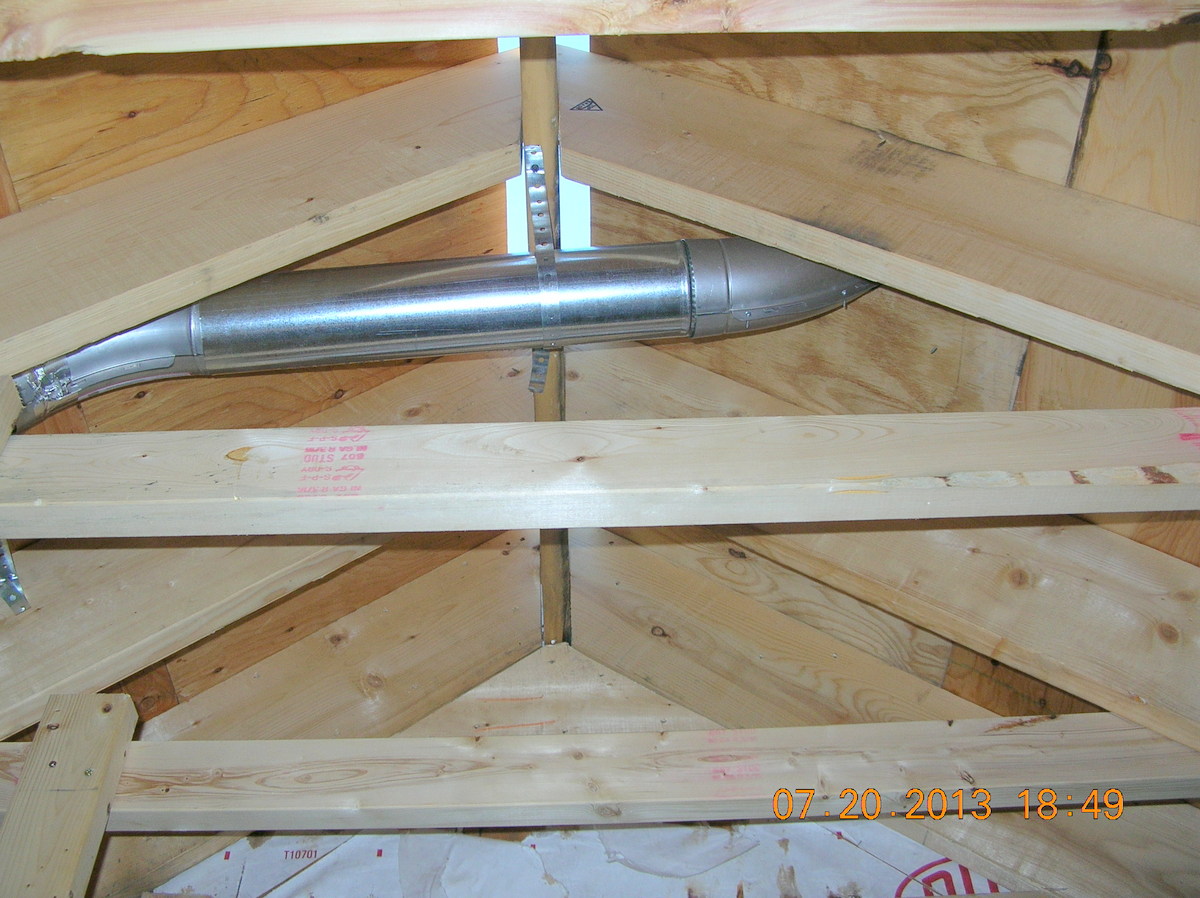
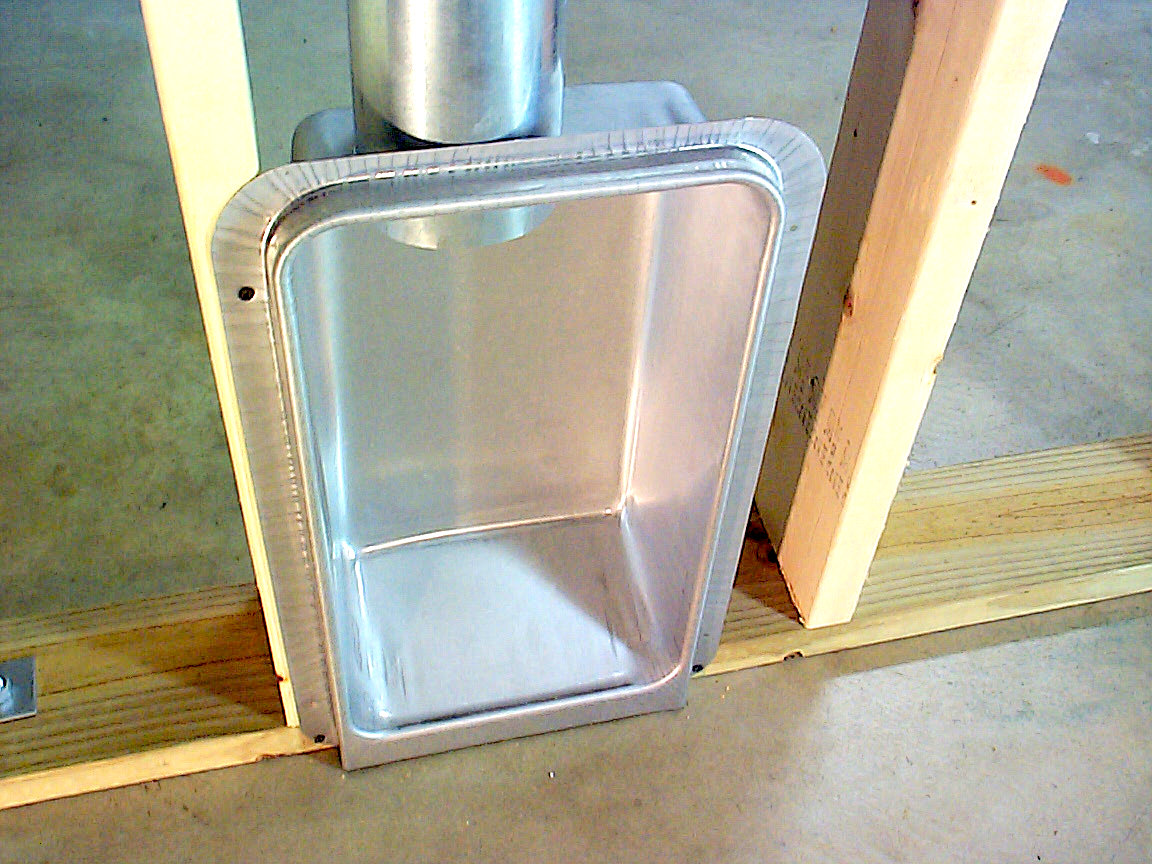
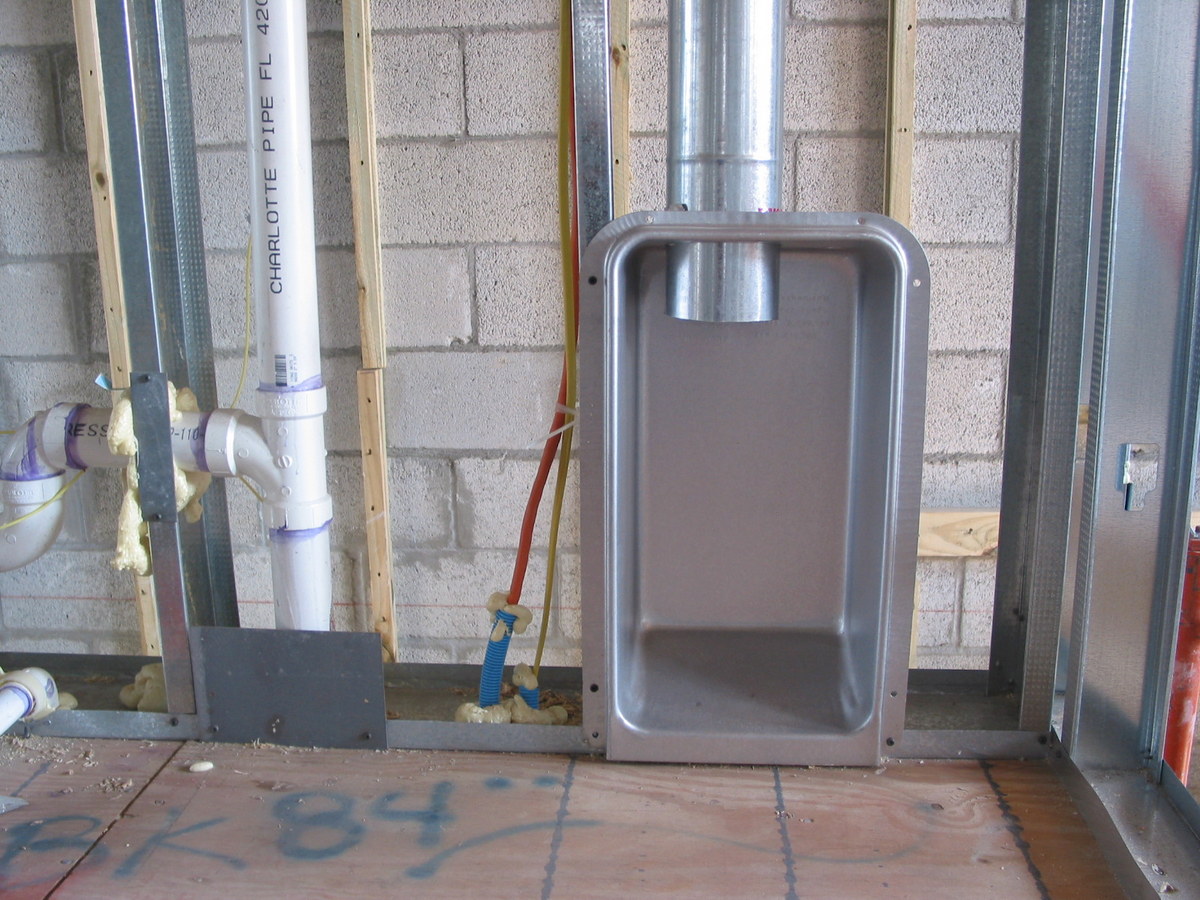
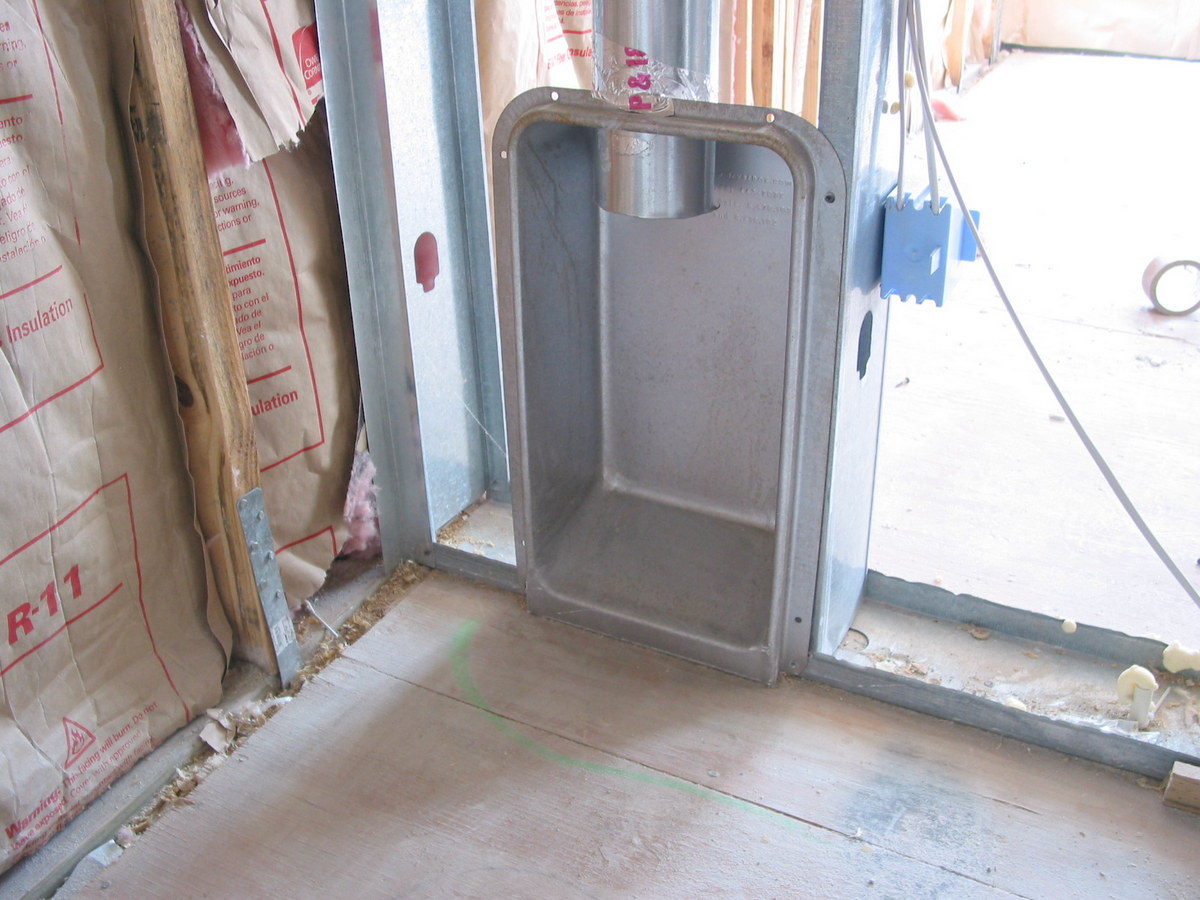
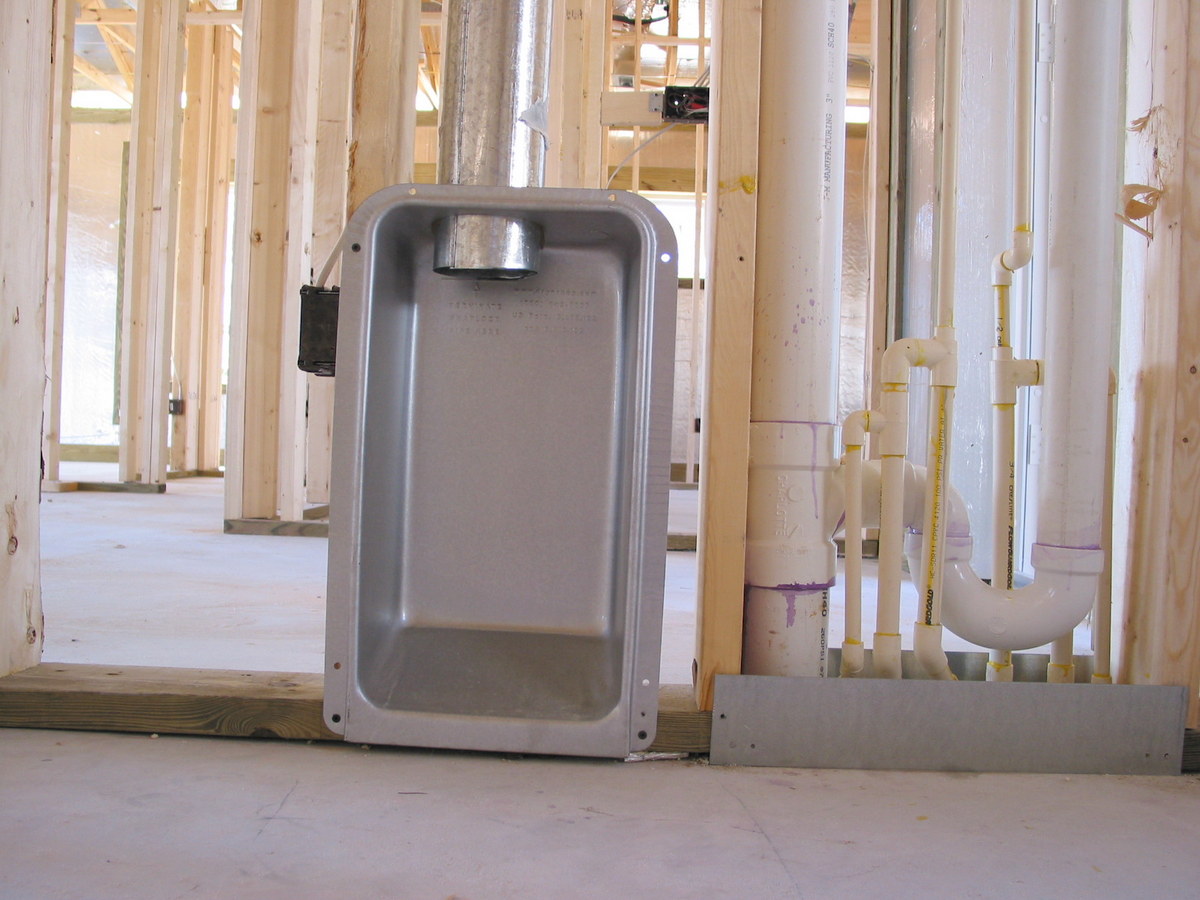
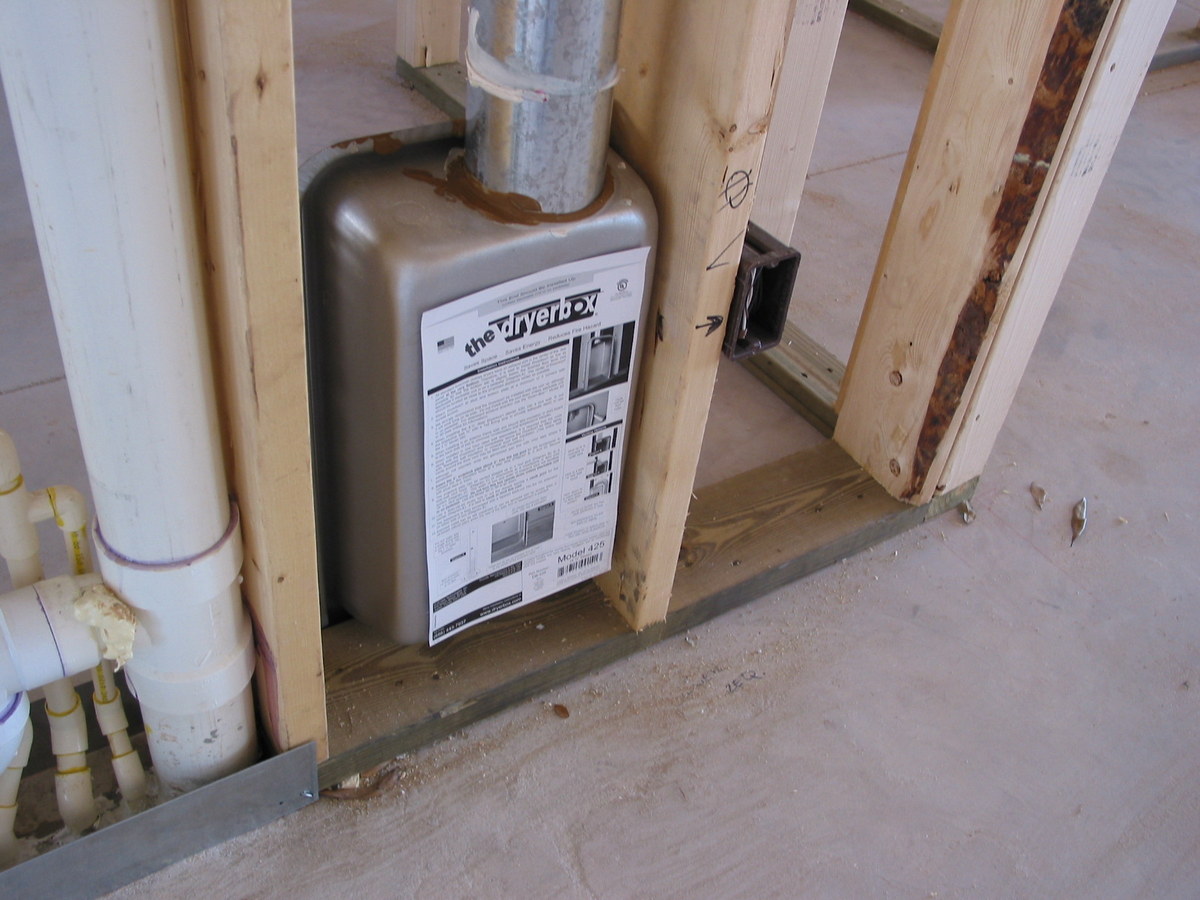
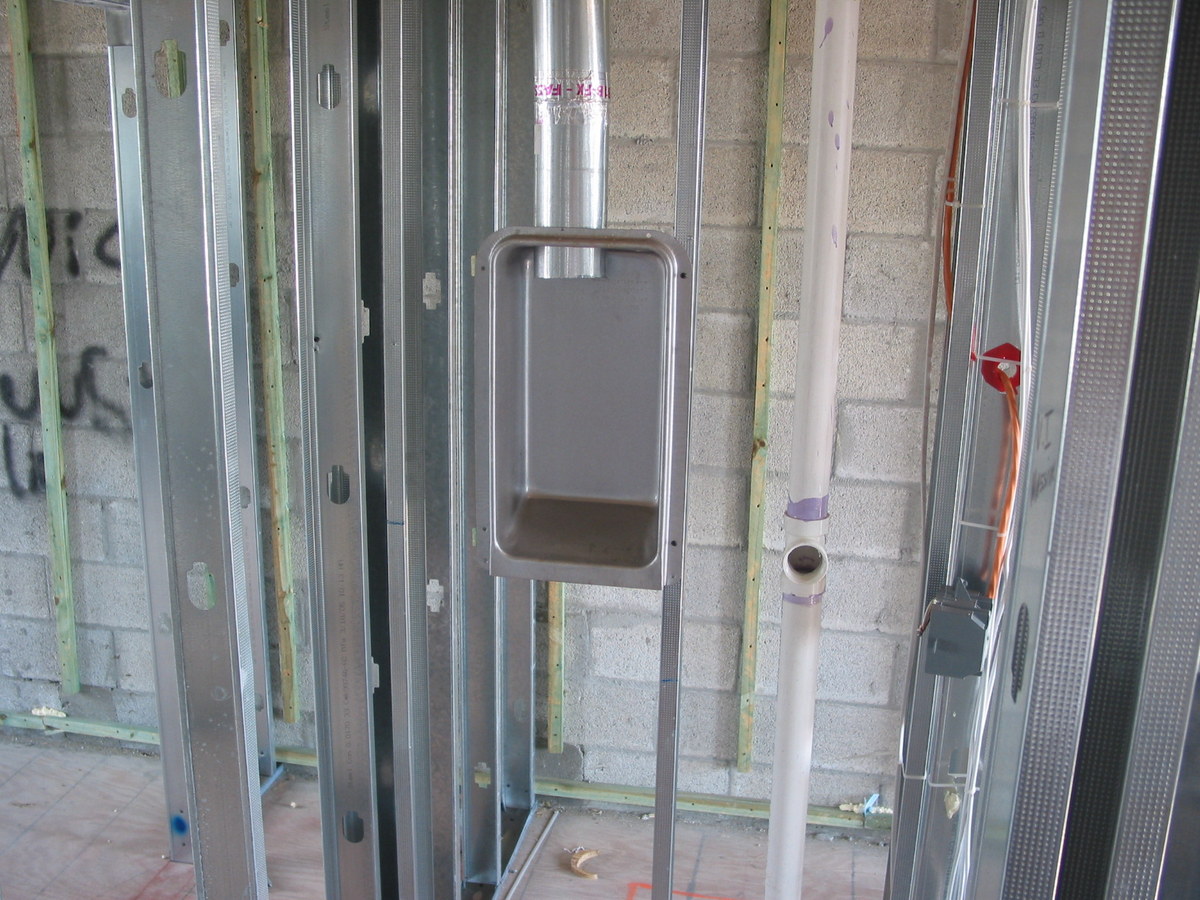
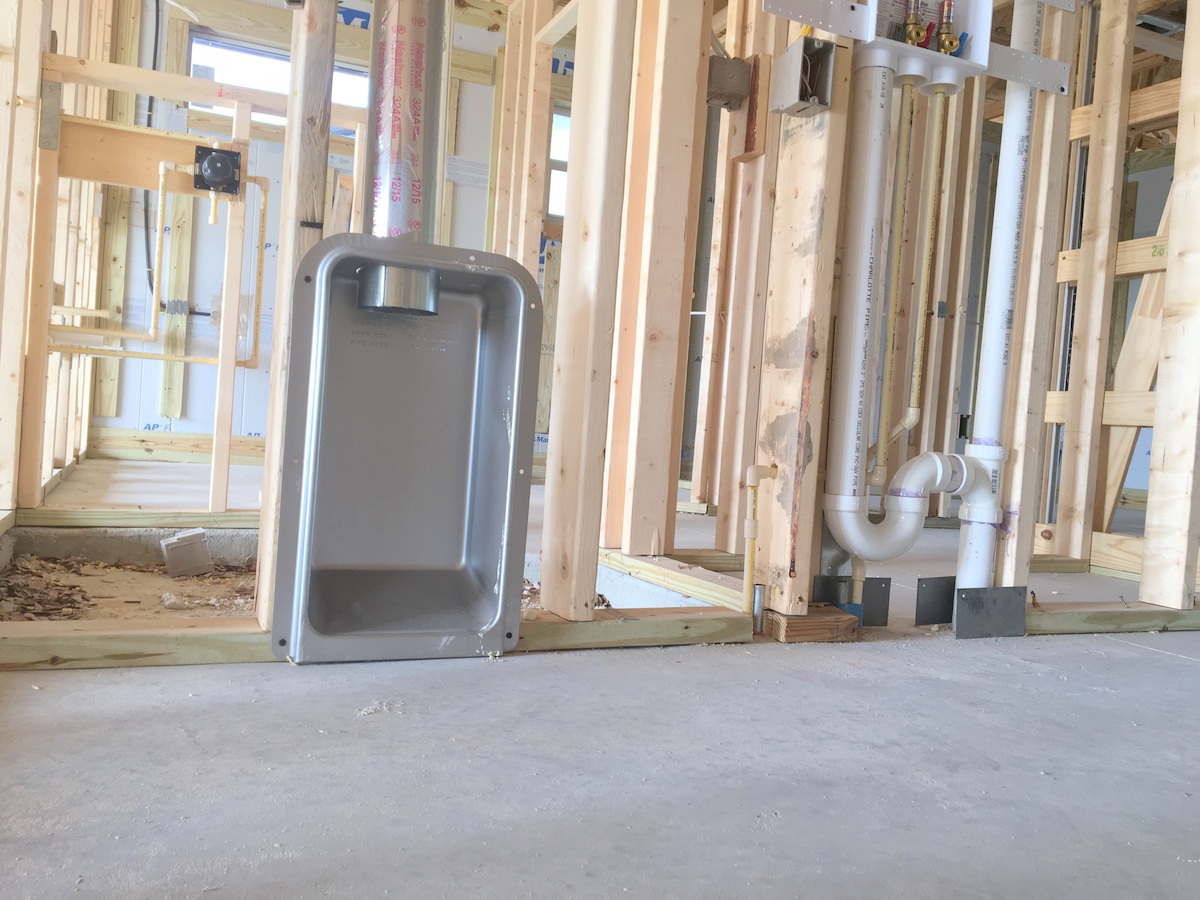
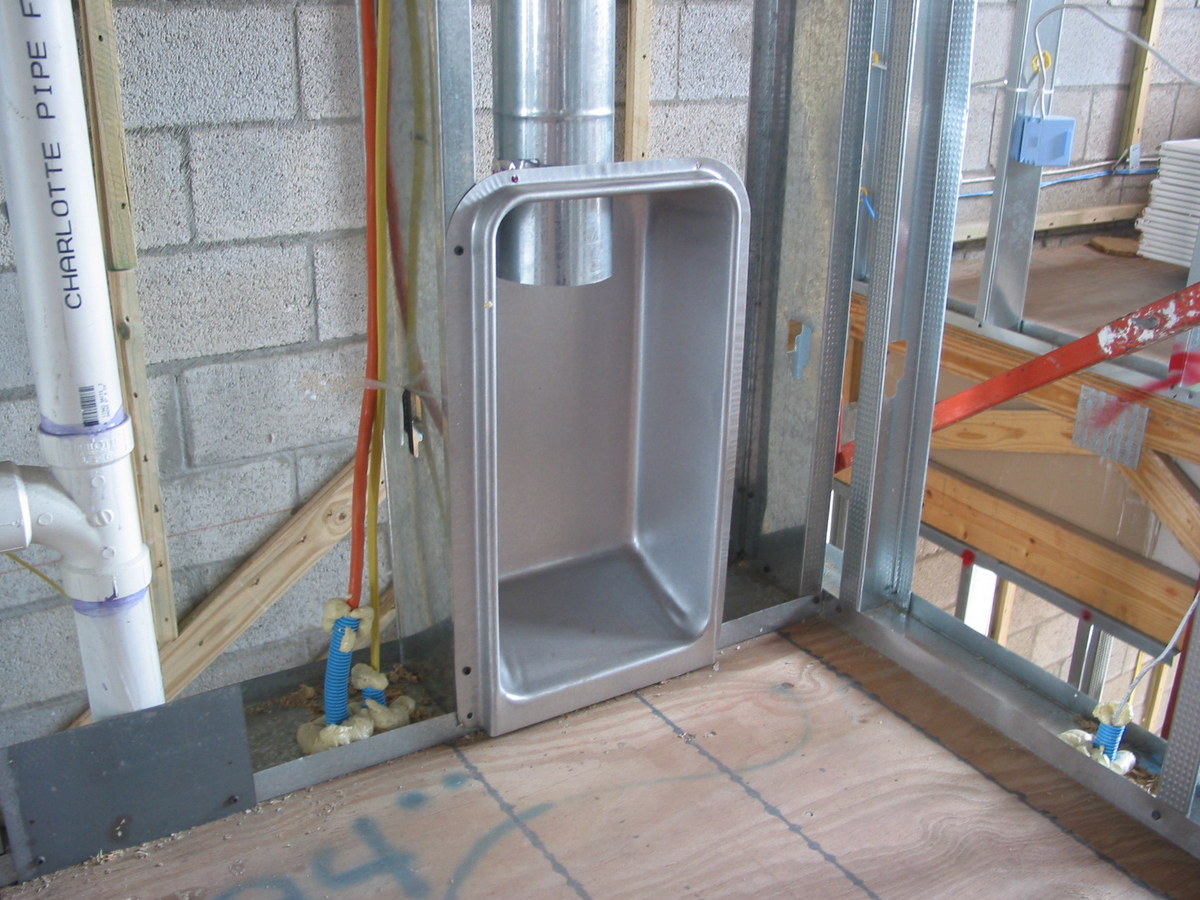
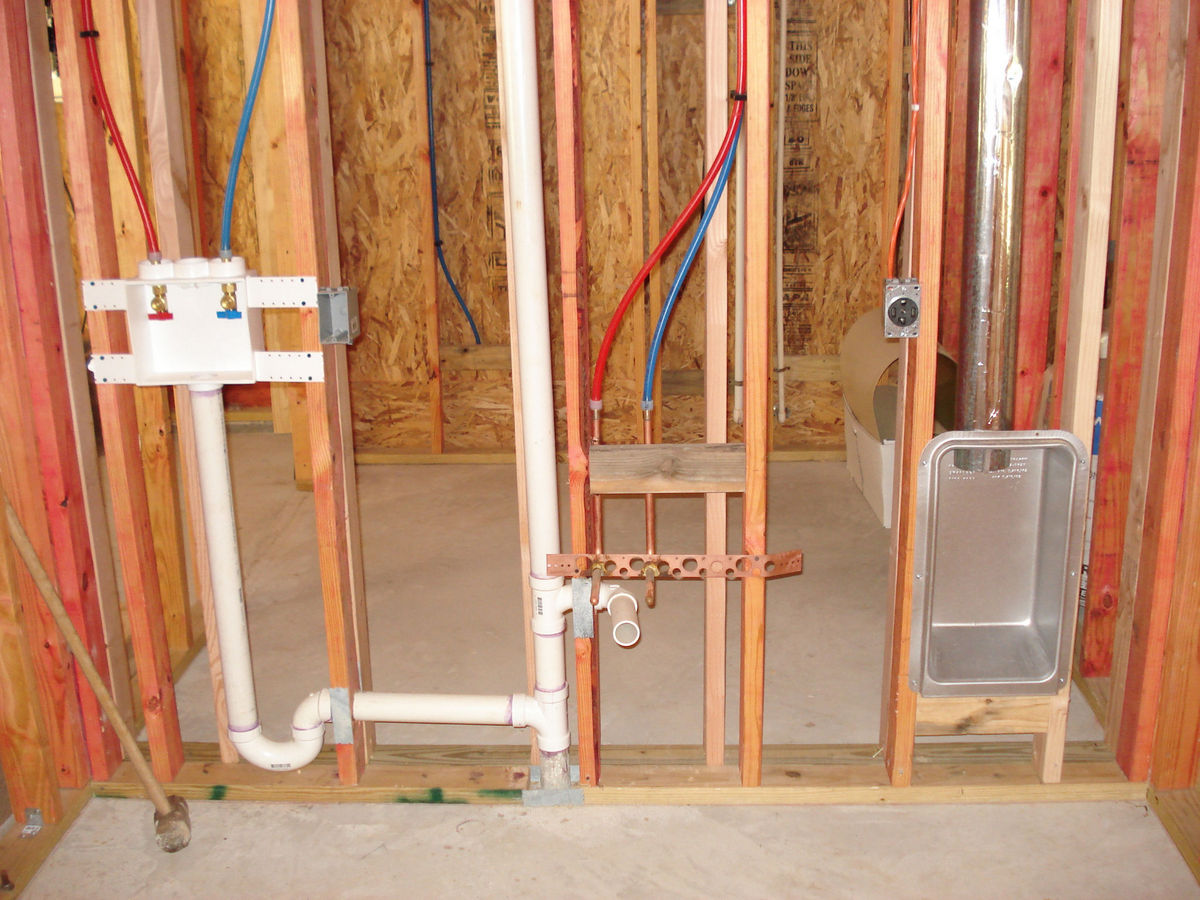
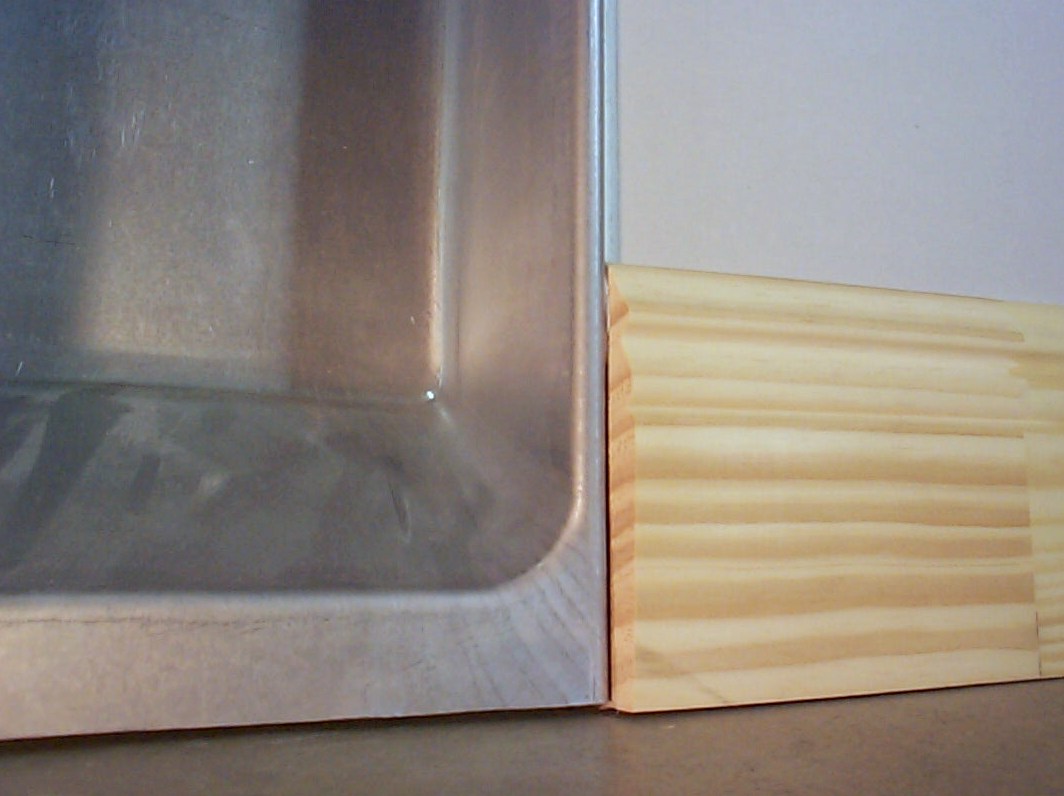
Rough Install
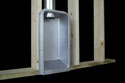
Rough Install 425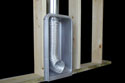
Rough Install 425
Rough Install 425
Rough Install 4D


~-480dryerbox.jpg)


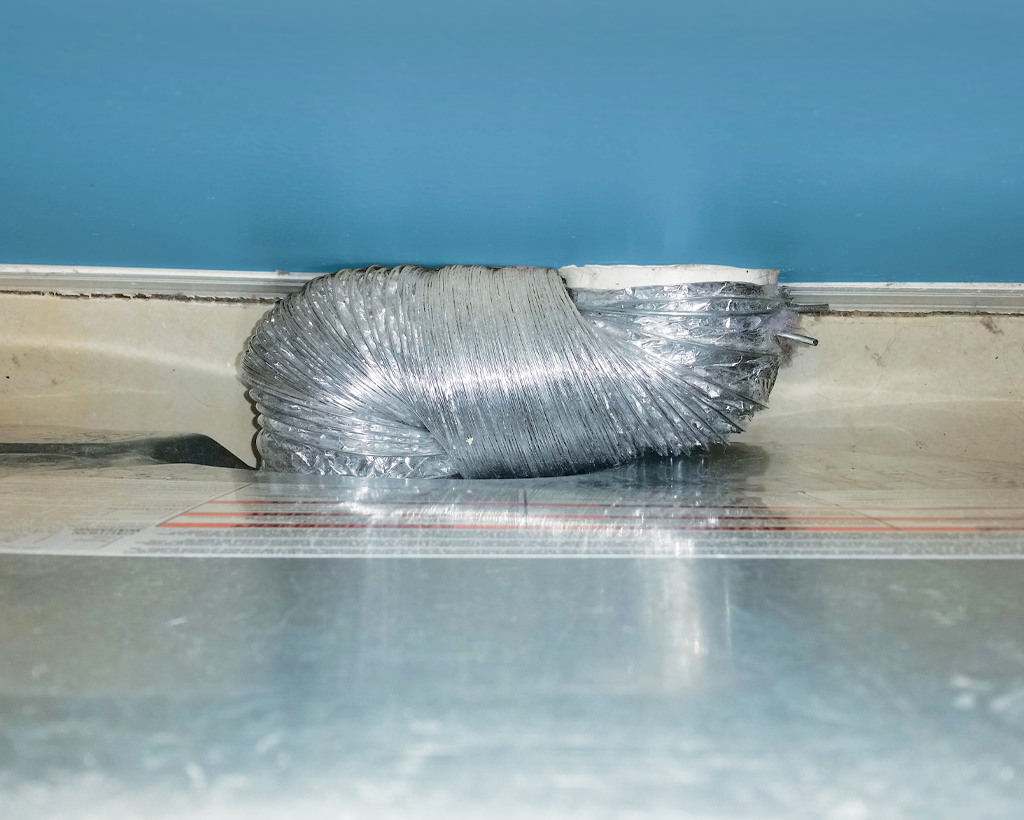

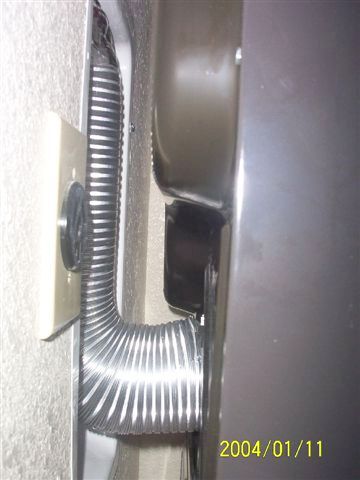
~-2 Pics Flex.jpg)